Scrapbooking is a beautiful way to preserve memories while expressing creativity. One versatile material that can enhance your scrapbook projects is ribbon. With its varied textures, colors, and styles, ribbon can add depth, elegance, and a personal touch to your layouts. In this article, we’ll explore how to effectively use ribbon in scrapbooking, offering tips and techniques to help you unleash your creativity and elevate your pages to new artistic heights.
Whether you’re a seasoned scrapbooker or just beginning your creative journey, understanding how to incorporate ribbon can transform your designs. From selecting the right types of ribbon to mastering various application techniques, this guide serves as an essential resource. Let’s dive into the magic of ribbon in scrapbooking!
Unleashing Creativity: The Magic of Ribbon in Scrapbooking
Ribbon has a unique ability to convey emotion and thematic elements in your scrapbook pages. Its soft texture and visual appeal can help set the tone of your layout, adding warmth and charm. Whether you’re working on a wedding album, a travel journal, or a holiday scrapbook, incorporating ribbon can instantly enhance the overall aesthetic. Ribbons can be used to create borders, frames, or even as accents that draw attention to significant details in your photos.
In addition to its decorative qualities, ribbon is also a fantastic way to introduce dimensionality to your pages. A simple bow or a layered ribbon effect can create visual interest that flat materials often lack. By mixing and matching different types of ribbon, you can create unique textures and styles that make your scrapbook truly one-of-a-kind. The possibilities are endless, making ribbon a must-have in every scrapbooker’s toolkit.
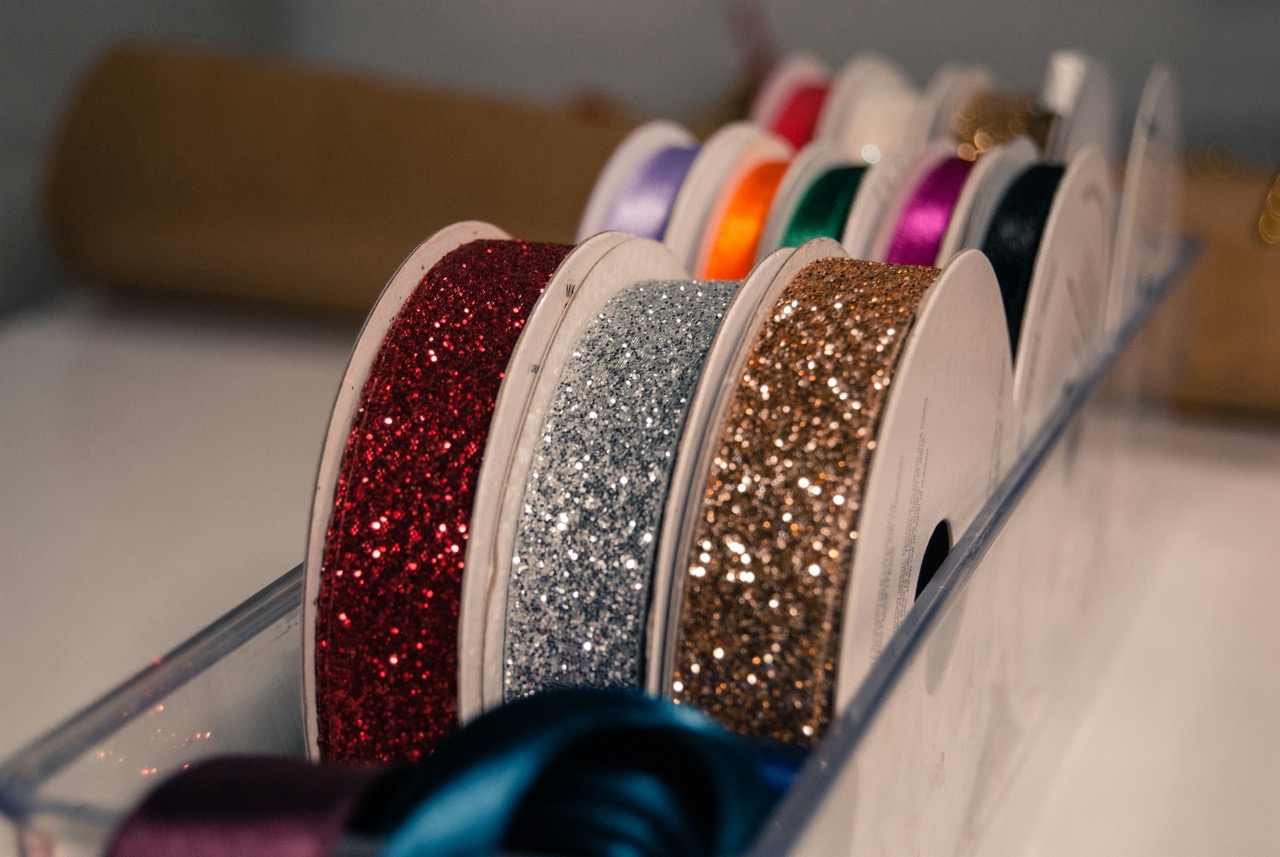
Choosing the Right Ribbon: Types and Textures Explained
When selecting ribbon for your scrapbook, you’ll find an abundance of options ranging from sheer organza to sturdy burlap. Each type of ribbon offers its own unique character and can evoke different feelings. For example, satin ribbon provides a smooth, glossy finish that can add a touch of elegance, while jute or twine brings a rustic, earthy vibe to your designs. Understanding these distinctions will help you make informed choices that align with your theme.
Texture plays a crucial role in how ribbon interacts with other elements on your page. Consider incorporating a variety of textures—such as lace, velvet, or grosgrain—to create a rich, tactile experience. Mixing textures can also help to draw the eye and lead the viewer’s attention across your layout. As you explore different types of ribbon, experiment with combinations that enhance your scrapbook’s overall design and narrative.
Essential Tools for Working with Ribbon in Scrapbooking
To make the most of ribbon in your scrapbooking endeavors, having the right tools at your disposal is essential. A good pair of scissors is crucial for clean cuts, while specialty ribbon scissors can help ensure a precise edge and prevent fraying. Additionally, consider investing in a ribbon cutter that seals the edges of synthetic ribbons to keep them from unraveling. This small tool can make a big difference in the longevity of your projects.
Another important tool is adhesive that works well with ribbon. Double-sided tape, glue dots, and hot glue are all excellent choices, but it’s essential to test them on a scrap piece of ribbon first to ensure compatibility. A crafting mat can also be beneficial for laying out your designs before permanently attaching the ribbon. With the right tools in hand, you’ll be ready to create stunning ribbon accents that elevate your scrapbook pages.
Color Theory: Pairing Ribbons with Your Scrapbook Pages
Understanding color theory is key to effectively pairing ribbon with your scrapbook pages. Start by considering the color wheel; complementary colors—those opposite each other—can create a bold, eye-catching effect, while analogous colors—those next to each other—create a harmonious, soothing look. When selecting ribbon, think about the emotional response you wish to evoke and choose colors that resonate with your theme.
You can also take advantage of patterned ribbons to add complexity to your color palette. Floral prints, polka dots, or stripes can work beautifully when combined with solid colors, helping to create a dynamic visual experience. Always keep in mind the overall layout, and don’t hesitate to experiment. Sometimes, the most unexpected color combinations can lead to striking results that become the centerpiece of your scrapbook page.
Measuring and Cutting Ribbon: Tips for Perfect Lengths
Once you’ve decided on the type of ribbon to use, measuring and cutting it accurately is crucial. For bows and knots, allow extra length; a good rule of thumb is to cut ribbon twice the length you think you need. This will provide you ample material to work with without the risk of falling short. Additionally, when creating layered looks, remember that shorter lengths can create a more compact, dense effect, while longer lengths can add fluidity and movement to your design.
To achieve clean, precise cuts, use sharp scissors specifically designed for crafting. If your ribbon tends to fray, consider using a lighter to carefully seal the ends after cutting. Be cautious, as this can be a tricky process, especially with synthetic materials. Ultimately, proper measuring and cutting ensure that your ribbon accents are just the right lengths for any project, enhancing your overall design without compromising quality.
Attaching Ribbon: Adhesives and Techniques to Use
Attaching ribbon to your scrapbook pages can be done using various adhesives and techniques, each suited to different looks and styles. Double-sided tape is a popular choice for flat ribbons, providing a clean look and easy application. For thicker or heavier ribbons, hot glue or glue dots can offer a more secure bond. Experiment with different adhesives to find what works best for your specific ribbon type and project.
Beyond adhesives, consider incorporating stitching as a technique to attach ribbon. Hand-stitching or using a sewing machine can add an artistic flair while ensuring durability. Additionally, wrapping ribbon around the edges of photos or embellishments can create a polished, layered look. The technique you choose should reflect your personal style and the overall theme of your scrapbook, allowing your creativity to shine through.
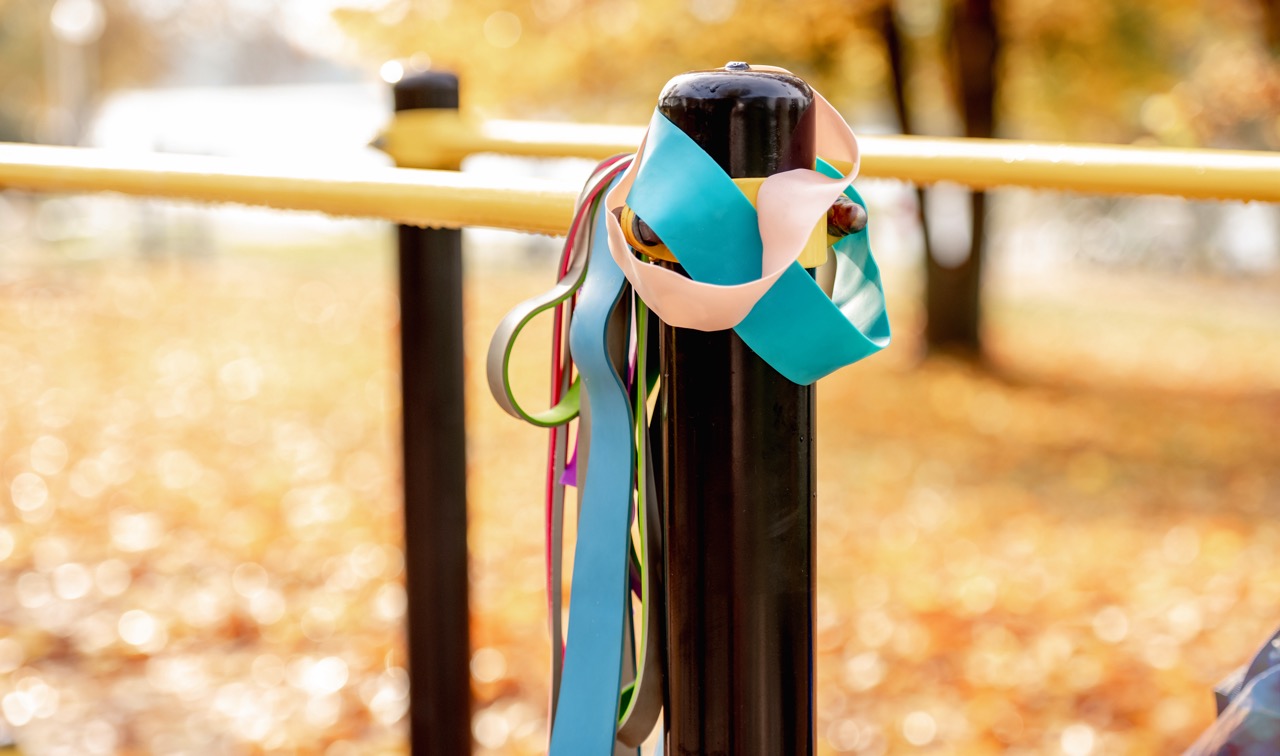
Creative Ways to Tie Ribbons for Stunning Effects
Tying ribbons isn’t just about making bows; there are countless techniques you can employ to add stunning effects to your scrapbook pages. A classic bow can be accented with tails cut at an angle for a polished look or combined with contrasting colors for a playful twist. The looped ribbon technique, where you create multiple loops and secure them in the center, adds fullness and dimension that can act as a focal point on your page.
Another creative option is to knot ribbon in various ways, such as a simple knot or a more intricate sailor’s knot, which can evoke a sense of adventure or nautical themes. You can also experiment with tying ribbon into shapes like hearts or flowers for a more whimsical touch. The key is to allow your imagination to guide you, using ribbon as a tool to bring your unique vision to life.
Layering Ribbon: Adding Depth to Your Scrapbook Designs
Layering ribbon is an excellent technique for adding depth and visual interest to your scrapbook designs. By stacking different types, colors, and widths of ribbon, you create a multi-dimensional effect that draws the eye and adds richness to the layout. Consider using a wide ribbon as a base and topping it with a thinner one for contrast, or combining several different textures to create an intricate and appealing design.
Incorporating ribbon into layered elements can also enhance focal points on your pages. For instance, wrapping a ribbon around a cluster of photos or embellishments can tie them together and create a cohesive look. Remember to play with the arrangement to find the most visually pleasing setup, allowing the ribbons to complement your other design elements while standing out in their own right.
Incorporating Ribbons into Your Layouts: Design Ideas
Integrating ribbon into your scrapbook layouts can be both simple and sophisticated, depending on how you choose to use it. A straightforward approach is to create a ribbon border around the edges of a page, which can frame your photos and journaling beautifully. Alternatively, you can use ribbon to section off different areas of your layout, helping to organize your design and guide the viewer’s eye through the narrative of your scrapbook.
Another creative idea is to use ribbon as a backdrop for embellishments or titles. For instance, draping a length of ribbon behind a cluster of flowers or other embellishments creates a stunning focal point. You can also string ribbon across the page and clip photos or journal entries to it with mini clothespins for a fun and interactive element. The use of ribbon is only limited by your imagination, so don’t hesitate to experiment with different layouts and styles!
Seasonal Themes: Using Ribbon to Enhance Holiday Pages
Ribbons can be a powerful tool for enhancing seasonal and holiday-themed scrapbook pages. During the festive season, choosing colors associated with that time of year—red and green for Christmas or pastels for Easter—can help to evoke the spirit of the holiday. Decorative ribbons featuring seasonal prints, such as snowflakes for winter or pumpkins for fall, can add an extra layer of celebration to your scrapbook.
Moreover, ribbons can be used in creative ways to reflect holiday traditions. For instance, creating a wreath using green ribbon can serve as a beautiful embellishment for a Christmas page. Similarly, using ribbon to mimic garlands or bunting can add a festive touch to your layouts. Seasonal themes provide an excellent opportunity to play with colors and textures, making your scrapbook pages not just a record of memories but also a celebration of the seasons.
Customizing Ribbons: Personal Touches for Unique Projects
Customizing ribbons can add a personal touch that makes your scrapbook unique and reflective of your style. Consider printing your own ribbon using fabric ink to create personalized quotes or dates that enhance the narrative of your scrapbook. You can also use fabric markers to draw or write on plain ribbons, allowing for endless possibilities in expressing your voice.
Another approach to customization is to dye plain ribbon to match your project’s color scheme. This can be especially useful when you want a specific shade that may not be readily available in stores. Using techniques like ombre or tie-dye can create beautifully textured ribbons that are truly one-of-a-kind. By personalizing your ribbon choices, you infuse your projects with meaning and creativity, setting them apart from the rest.
Incorporating ribbon into your scrapbooking projects can transform your layouts and enhance your creative expression. From selecting the right types of ribbon to mastering the art of tying and attaching it, the possibilities are endless. Ribbons not only add visual appeal but also help to tell your story in a tangible way, connecting memories with artistry.
As you venture into the world of ribbon, remember to experiment, have fun, and let your creativity flow. With the tips and techniques outlined in this guide, you’re equipped to elevate your scrapbooking experience. So gather your materials, unleash your imagination, and watch as your scrapbook pages come to life with the magic of ribbon!