Creating your own ribbon hair ties not only adds a personal touch to your accessories but also allows you to unleash your creativity while ensuring durability. Store-bought hair ties may often fall flat in both style and longevity, leading many to explore the vibrant world of DIY. In this article, we will walk you through the entire process of making ribbon hair ties that not only look fantastic but also stand the test of time. Whether you’re crafting for personal use or looking to gift handmade treasures to friends and family, this guide has you covered.
With just a few materials and some basic techniques, you can transform colorful ribbons into chic and functional hair ties that suit any occasion. Let’s embark on this craft adventure and learn how to make ribbon hair ties that last, exuding both style and strength.
Unleashing Creativity: The Art of Ribbon Hair Ties
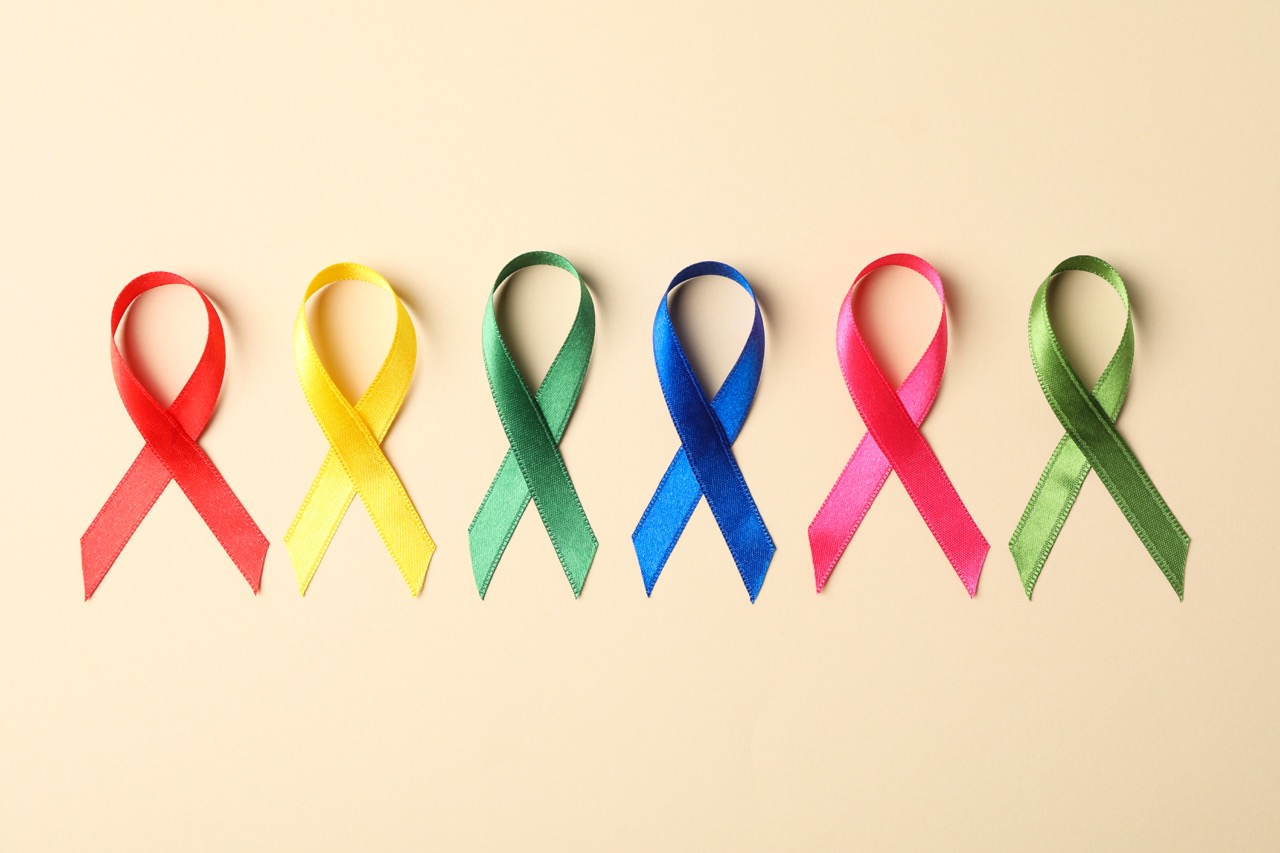
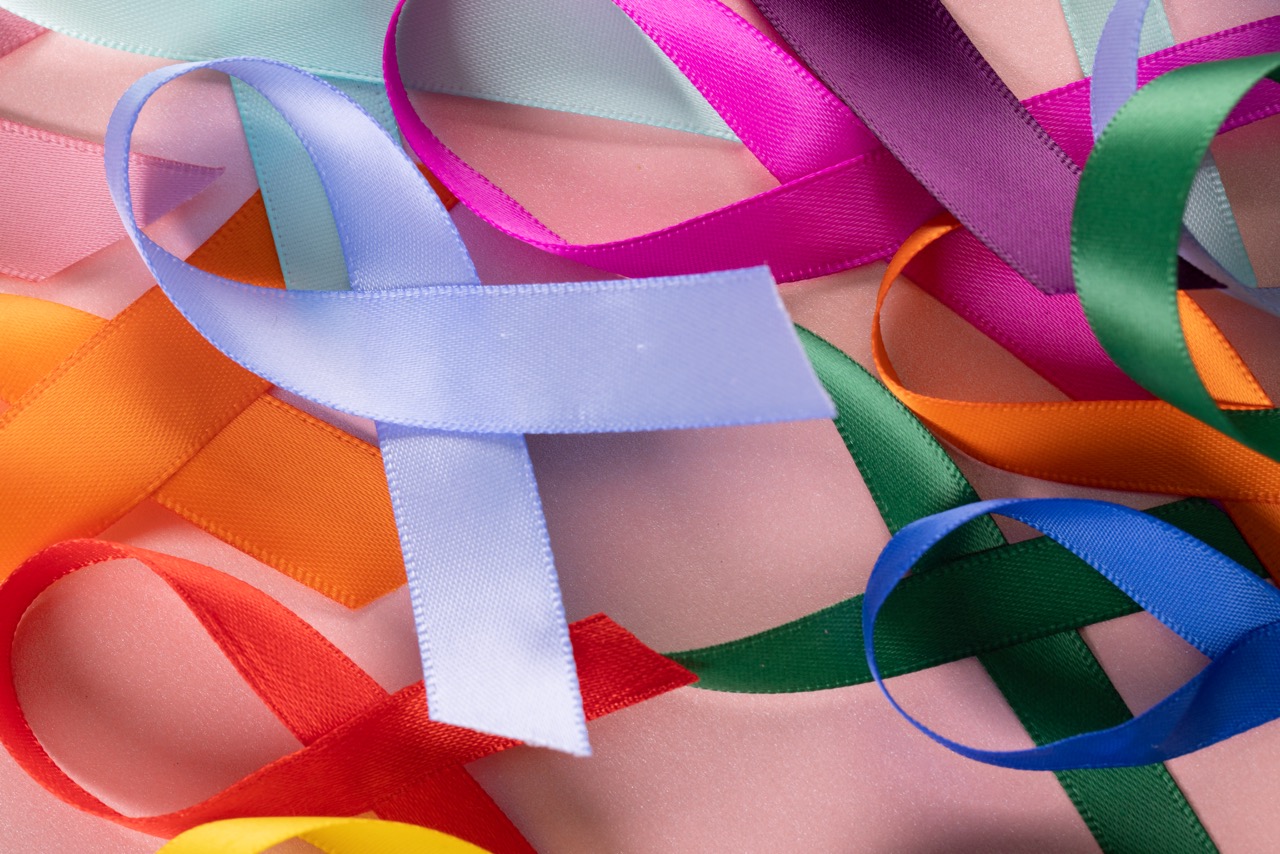
The beauty of ribbon hair ties lies in their versatility. You can express your personality through an endless array of colors, patterns, and textures. Whether you prefer bold and vibrant hues or soft pastels, the choices are limitless. Additionally, ribbon hair ties can seamlessly transition from casual day wear to elegant evening accessories, making them an essential addition to your collection.
Creating ribbon hair ties also provides a wonderful opportunity to experiment with different styles. From classic bows to intricate knots, your imagination is your only limit. The act of sewing or tying can also be therapeutic, allowing you to unwind while creating something beautiful and practical.
Choosing the Right Materials for Durability and Style
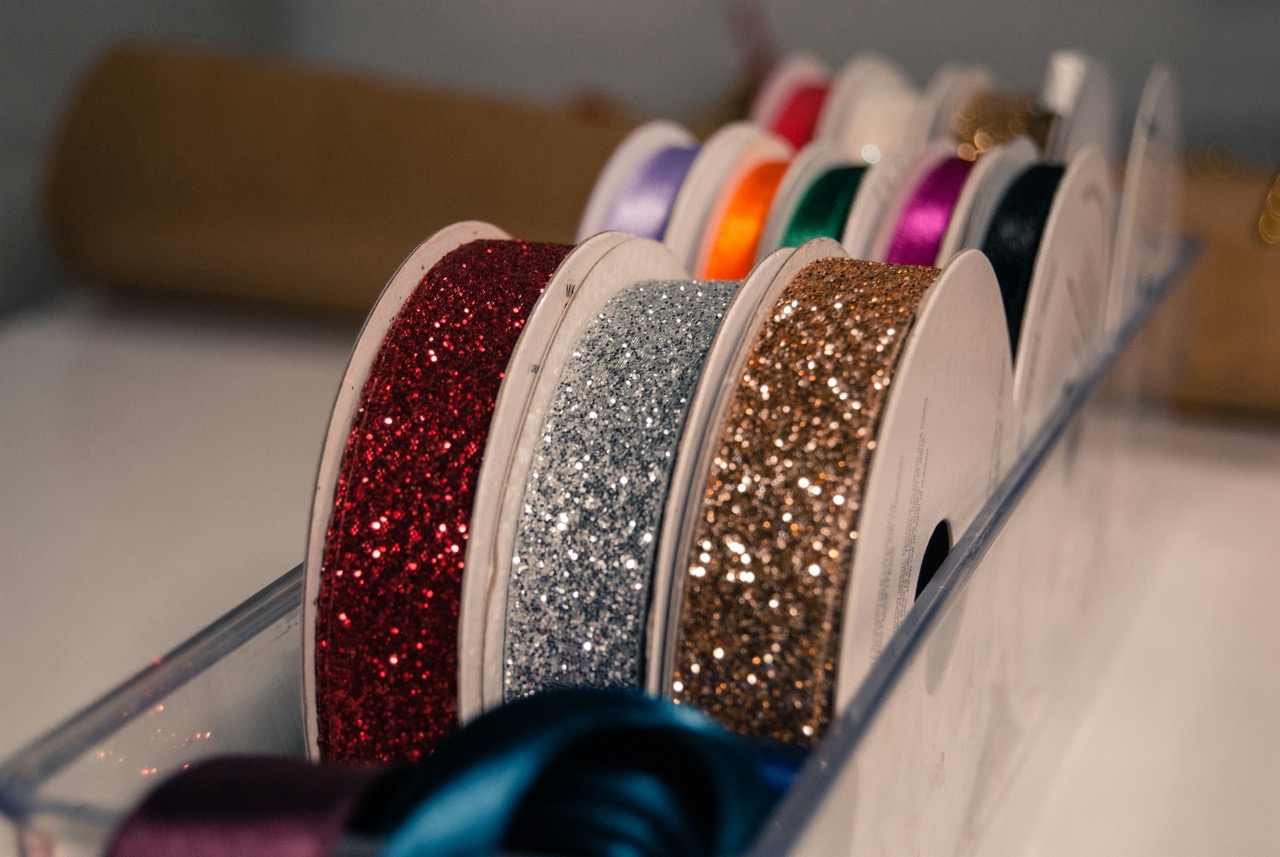
The longevity of your ribbon hair ties heavily depends on the materials you select. Opt for high-quality ribbons made from polyester or nylon, as these materials are known for their strength and resilience. Avoid flimsy, inexpensive ribbons that may fray or lose their shape after a few uses. Additionally, consider the elasticity of the elastic used in the hair ties; it should have enough stretch to secure hair without snapping easily.
When it comes to style, think about the width and design of the ribbon. Wider ribbons provide a bolder look, while narrower ribbons offer a more delicate feel. You might also want to mix and match patterns for a unique, layered effect. Ultimately, the right combination of materials will not only enhance the aesthetics of your hair ties but also contribute to their durability.
Essential Tools: What You Need for Ribbon Hair Ties
Before diving into the crafting process, gather all the necessary tools to ensure a smooth and enjoyable experience. You will need fabric scissors, which are essential for cutting your ribbon cleanly without fraying. A ruler will help you measure the lengths accurately, while fabric glue can be helpful for securing ends and preventing unraveling.
Additionally, a lighter or heat seal tool will be beneficial for melting the edges of synthetic ribbons. This technique prevents fraying and adds to the longevity of your hair ties. If you’re looking to embellish your creations with beads, buttons, or other decorative items, have a hot glue gun or needle and thread at hand for secure attachment.
Step-by-Step Guide: Cutting Your Ribbon to Perfection
Start by measuring the desired length of your ribbon, typically between 12 to 24 inches, depending on your preferred style and thickness. Use your ruler to mark the ribbon carefully, ensuring it is straight and even. Once marked, take your fabric scissors and cut along the line, taking care not to tug or pull on the ribbon to prevent distortion.
After cutting, it’s essential to seal the edges with a lighter or heat seal tool. Gently run the lighter along the edges of the ribbon to melt the fibers slightly, which will prevent fraying over time. This small but vital step will enhance the durability of your ribbon hair ties, allowing them to withstand frequent use without showing signs of wear and tear.
Crafting Techniques: Tying Knots for Stronger Holds
When it comes to securing your ribbon hair ties, the way you tie your knots can make a significant difference in their functionality. One effective method is the double knot technique, which involves creating two overlapping knots that provide a secure hold. To do this, simply tie your ribbon around the elastic band and wrap it twice before pulling tightly.
Another option is the square knot, which is known for its stability. This technique involves making two loops and tying them in a specific way to create a flat knot. Experimenting with these techniques will enable you to find the best knot that fits your preference for both style and function.
Adding Flair: Decorative Elements for Personalized Ties
Personalization is key when crafting ribbon hair ties. Adding decorative elements such as beads, charms, or even small flowers can elevate your creations to the next level. Use a hot glue gun to attach these embellishments securely to the ribbons, ensuring they stay in place during wear.
Additionally, consider combining different types of ribbons or fabrics. For instance, pairing a sheer organza ribbon with a satin one can create a striking contrast. You can also weave in contrasting colors for a playful touch. The goal is to let your personality shine through your designs while maintaining a cohesive look.
Measuring Length: Finding the Right Size for Hair Types
Finding the right length for your ribbon hair ties is crucial, as different hair types may require different sizes for optimal hold. For fine or thin hair, shorter ribbons around 12 inches may suffice, while thicker or longer hair might need ribbons closer to 24 inches for a comfortable tie.
When measuring, it’s helpful to test the length by wrapping the ribbon around your hair to gauge how well it holds. Adjustments can be made based on personal preference and the thickness of the hair. Remember, the flexibility of your design allows for experimentation, so don’t hesitate to try different lengths and styles.
Securing Your Creation: Effective Finishing Techniques
After you’ve crafted your hair ties, it’s essential to ensure all components are secured for durability. This could involve re-checking the knots and applying additional fabric glue to ends or decorative elements. For those using elastic bands, double-check that they are threaded correctly through the ribbon and that the knots are tight.
Another effective finishing technique is to add a small loop of contrasting thread around the knot to reinforce it. This not only adds a decorative touch but also serves a functional purpose by adding another layer of security to your hair tie. With these finishing techniques, you can rest assured that your creations will stand the test of time.
Testing Durability: How to Ensure They Last Longer
To ensure that your ribbon hair ties last longer, it’s important to conduct a durability test after you’ve finished crafting them. Gently tug on the ties to see if the knots hold and check for any signs of fraying. If you notice any weakness in the ribbon or elastic, consider re-sealing the edges or re-tying the knots for added security.
Additionally, using your hair ties in various hairstyles can help you assess their strength under different conditions. Whether you’re wearing them for a workout, a casual day out, or an elegant evening, testing them in real-life scenarios will show you how well they hold up and allow you to make necessary adjustments for improved durability.
Caring for Your Ribbon Ties: Maintenance Tips and Tricks
Proper care is key to ensuring your ribbon hair ties maintain their beauty and functionality over time. After use, it’s best to store them in a cool, dry place, away from direct sunlight. This will prevent the colors from fading and the materials from deteriorating.
If your hair ties become soiled, gently hand wash them in cold water with mild soap. Avoid using a washing machine, as the agitation may cause damage to the ribbons or knots. After washing, let them air dry completely before storing or using them again. Following these care tips will significantly extend the life of your ribbon hair ties.
Creative Ideas: Using Up Scraps for Fun Accessories
Don’t let leftover ribbon scraps go to waste! Instead, get creative and use them to make smaller accessories like ribbon bookmarks, keychains, or even decorative hair clips. These mini projects not only utilize your leftover materials but also provide additional opportunities to showcase your crafting skills.
You can also consider hosting a craft afternoon with friends or family to create matching accessories using scraps. This not only promotes sustainability but also encourages bonding over a fun and productive activity. Get inventive, and you might discover new favorite projects along the way!
Sharing the Love: Gifting Homemade Hair Ties with Joy
One of the most rewarding aspects of crafting ribbon hair ties is the joy of sharing your creations with others. Homemade gifts carry a personal touch that store-bought items simply can’t replicate. Consider packaging your hair ties in cute boxes or bags, maybe even attaching a small note explaining the care instructions or the inspiration behind each design.
Gifting homemade hair ties is perfect for birthdays, holidays, or just as a surprise for friends. Not only will your loved ones appreciate the thoughtfulness of your gift, but they will also enjoy wearing a unique accessory that reflects your creativity and care. Share the joy of crafting and brighten someone’s day with your handmade hair ties!
Creating ribbon hair ties that last is not just a craft; it’s a delightful journey of creativity, personalization, and sustainability. By following this guide, you can ensure that your handmade accessories not only reflect your unique style but also withstand the test of time. Whether you’re making them for yourself or gifting them to loved ones, each hair tie becomes a cherished item imbued with love and care. So gather your materials, unleash your creativity, and enjoy the process of crafting beautiful ribbon hair ties that you can proudly wear and share!