Creating beautiful ribbon flowers is a delightful craft that allows you to explore your creativity while producing stunning decorations for various occasions. Whether you’re embellishing a gift, creating a hair accessory, or simply adding a touch of floral elegance to your home decor, ribbon flowers can be tailored to suit any style. This beginner’s guide will walk you through the essential steps of making ribbon flowers, ensuring that even those new to crafting can create beautiful results.
With just a few materials and some basic techniques, you’ll be able to transform simple ribbons into gorgeous flowers that showcase your artistic flair. Each step is designed to build your skills and confidence, helping you master this charming and rewarding craft. Let’s delve into the art of ribbon flower making!
Discover the Art of Ribbon Flowers: A Beginner’s Guide
Ribbon flowers are a versatile and fun craft that can be enjoyed by anyone, regardless of skill level. The process of making these lovely floral creations involves an array of techniques, from folding to gluing, allowing for a fantastic outlet for creativity. Not only are ribbon flowers visually appealing, but they also provide a tactile experience that is very satisfying. This guide will help you navigate each step, ensuring that you can create your own unique ribbon flowers.
As you embark on this crafting journey, you’ll find that ribbon flowers can be personalized in countless ways. You can choose colors, shapes, and sizes to match your vision, making them suitable for gifts, home decorations, or even as unique accessories. By the end of this guide, you’ll not only have a beautiful flower to show off but also the skills to create more intricate designs and variations in the future.
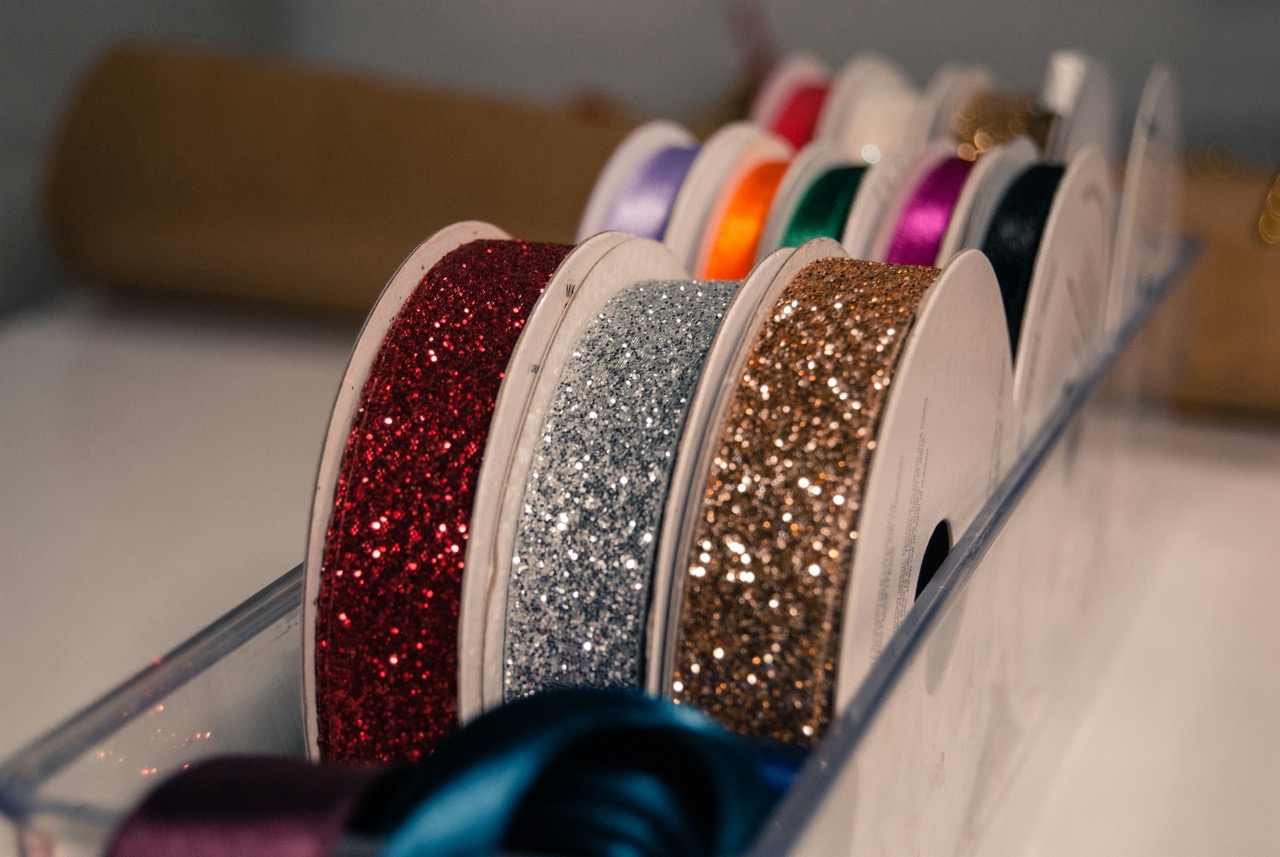
Essential Materials You’ll Need for Ribbon Flower Crafting
Before you begin crafting your ribbon flowers, it’s important to gather all the necessary materials. The main ingredient, of course, is a variety of ribbons. You can choose from satin, grosgrain, organza, or even lace ribbons depending on the look you’re going for. Additionally, you’ll need scissors to cut the ribbons, a hot glue gun or needle and thread for assembly, and a lighter to seal the ribbon ends to prevent fraying.
Other helpful supplies include floral wire for structure, beads or buttons for embellishing the center of your flowers, and a base like felt or floral foam for attaching your flowers. Having all your materials ready will streamline the process and allow you to focus on the fun part—creating beautiful ribbon flowers!
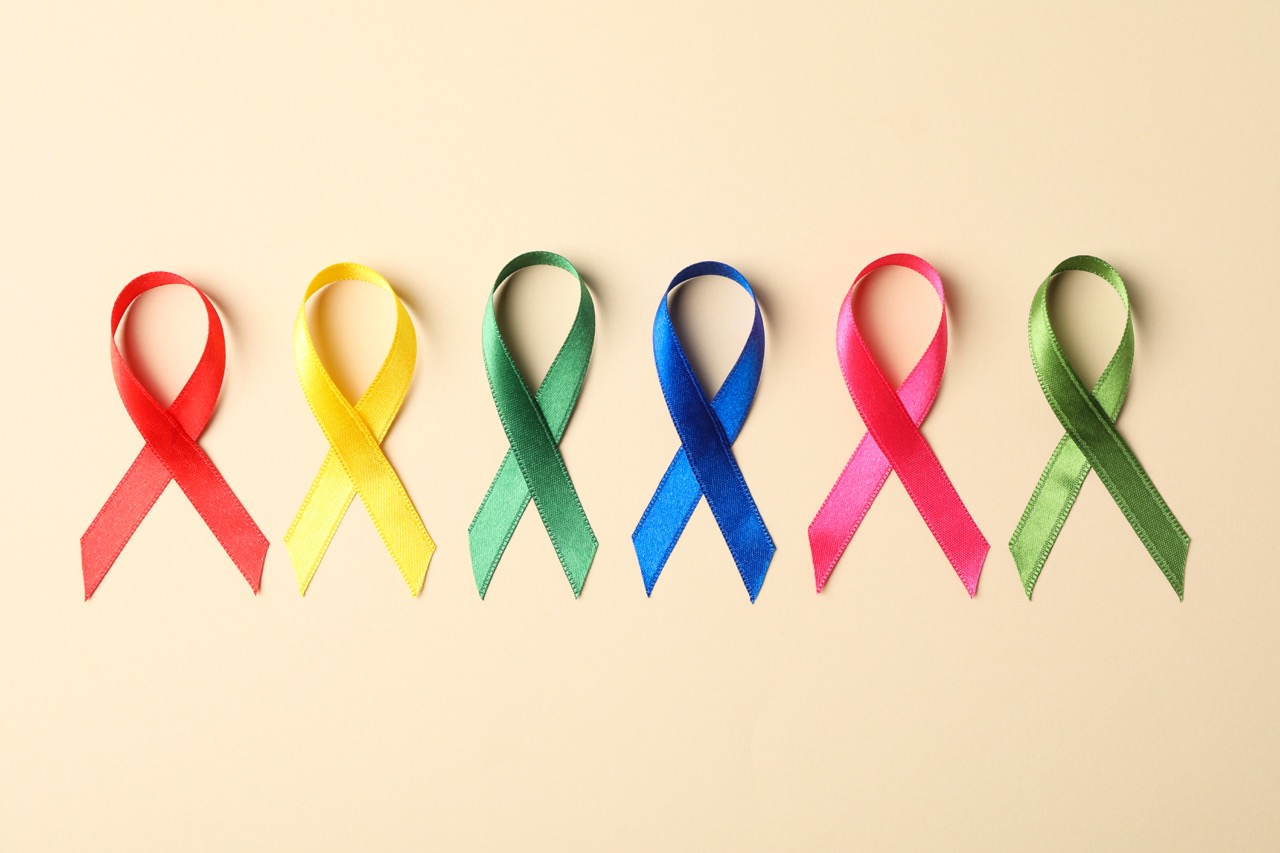
Choosing the Right Ribbon: Types and Textures Explained
The type of ribbon you select will greatly influence the final appearance of your flowers. Satin ribbons are popular due to their smooth texture and luxurious sheen, making them ideal for elegant flowers. Grosgrain ribbons are thicker and sturdier, providing structure that can be beneficial for more robust petals. Organza ribbons, with their translucent quality, can add a delicate touch, allowing light to filter through beautifully.
When selecting ribbons, consider the color and texture that will best suit your project. For instance, vibrant colors can create bold statements, while pastel shades may offer a softer, more romantic feel. Combining different types of ribbons can also yield interesting textures and depth, leading to unique floral designs that capture attention.
Step 1: Cutting Your Ribbon to Perfect Lengths
Now that you’ve chosen your ribbons, it’s time to cut them into the appropriate lengths. The length of your ribbon pieces will depend on the size of the flower you wish to create. A good starting point for petals is 4 to 6 inches, but feel free to adjust according to your design. Use sharp scissors for clean cuts, as this will help maintain the professional appearance of your flowers.
Additionally, it’s wise to cut a few extra pieces, especially if you’re new to crafting. Having a few spare lengths will give you the opportunity to practice without the risk of running out of material. Once all your ribbons are cut, you’ll be one step closer to bringing your flowers to life!
Step 2: Mastering the Basic Petal Fold Technique
With your ribbon cut to size, it’s time to dive into the basic petal fold technique, the foundation of ribbon flower crafting. Begin by folding the ribbon piece in half, aligning the ends together. This creates the basic shape of the petal. After folding, you can shape the edges by either cutting them at a slight angle or rounding them to create a more organic look.
Once you’ve mastered the basic fold, practice different variations by adjusting the angles of the folds. You may want to create a pointy petal for a specific flower type, or a rounded one for a softer effect. Experimenting with these folds will help you develop your own style and enhance your skills as you progress.
Step 3: Creating Layers for a Lush Flower Design
To give your ribbon flower depth and dimension, layering is key. Start with the largest petals at the base and gradually add smaller petals on top. This technique not only enhances the visual appeal of your flower but also helps to create a fuller, more lifelike appearance. You can use various colors or shades of ribbon to introduce complexity and vibrancy to your design.
When layering petals, consider how they will overlap. Aim for a balanced arrangement where each layer complements the others. As you assemble your layers, you may want to temporarily pin them in place or use small dots of glue to hold them while you work. This will allow you to tweak the arrangement until you achieve your desired look before securing everything permanently.
Step 4: Assembling Your Flower: Tips for a Flawless Finish
As you get ready to assemble your flower, it’s important to take your time to ensure everything fits together seamlessly. Start by placing the largest petals in the center of your base, securing them with glue or stitching. Once the foundation is secure, begin adding your smaller petals one by one, layering them in a circular fashion around the center.
Make sure each petal is positioned to enhance the overall shape of the flower. It’s helpful to rotate the flower as you work, ensuring that the petals are evenly distributed. Don’t be afraid to adjust as you go—this is part of the creative process! Once satisfied with the assembly, let everything dry before moving on to the finishing touches.
Step 5: Adding a Unique Centerpiece to Your Flower
The centerpiece of your ribbon flower is where you can truly express your creativity. Options for embellishing the center are endless: consider using a bead, a button, or even a small fabric circle. This focal point draws attention and can add a touch of sparkle or texture to your flower design.
When selecting a centerpiece, think about how it will harmonize with the colors and materials of your petals. For instance, a contrasting bead can provide a fun pop of color, while a fabric circle in a similar shade will create a more cohesive look. Whichever option you choose, ensure it is securely attached so that it remains a lasting feature of your flower.
Step 6: Securing Your Flower: Glue and Stitching Methods
Once your flower is fully assembled and embellished, it’s crucial to secure everything properly. Hot glue is often the go-to choice for fastening the petals and center together, as it dries quickly and provides a strong bond. For a more professional finish, consider using needle and thread to sew the layers together, which also adds durability to your creation.
When using glue, apply small dabs to avoid excess that can seep out and affect the look of your flower. If stitching, choose a thread color that matches your ribbon to keep the focus on the flower itself. Ensure all components are tightly secured, as this will help your ribbon flower maintain its shape and elegance over time.
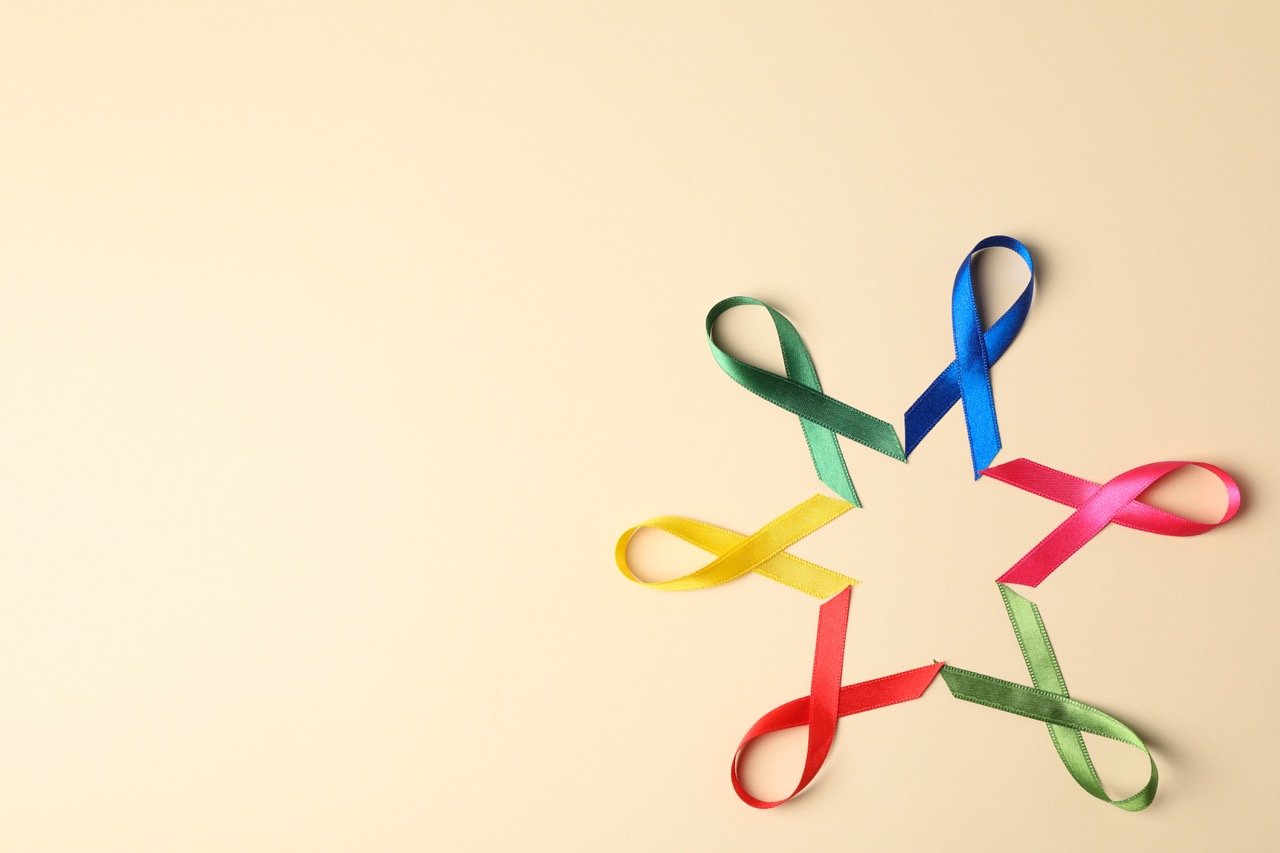
Creative Variations: Different Flower Shapes to Try
Once you’ve mastered the basic ribbon flower, the world of creative possibilities opens up. You can explore different flower shapes and styles, from traditional roses to whimsical daisies. Experiment with varying petal shapes, such as pointed, rounded, or even layered ruffled petals to create unique designs.
You can also play with sizes—mixing large and small petals together creates a striking contrast that can make your flowers stand out even more. Additionally, consider using multiple types of ribbons and fabrics to add texture and depth to your creations. With each variation you try, you’ll discover new techniques and styles that reflect your personal aesthetic.
Using Your Ribbon Flowers: Craft Projects and Decorations
Now that you’ve created stunning ribbon flowers, the next step is to think about how to incorporate them into your projects. These flowers can be used in various crafting applications, such as hair accessories, brooches, gift wrapping, or as part of a bouquet arrangement. They can easily elevate any craft project, adding a touch of elegance and uniqueness.
Consider using your ribbon flowers in home decor, too. They can be attached to wreaths, used in centerpieces, or glued to a decorative canvas for wall art. The possibilities are endless, and each flower can contribute to creating a cheerful atmosphere in any setting. Your imagination is the limit!
Caring for Your Ribbon Flowers: Storage and Maintenance Tips
Once you’ve crafted your ribbon flowers, you’ll want to ensure they remain looking beautiful over time. To care for your flowers, store them in a cool, dry place away from direct sunlight to prevent fading and damage. A padded box or a fabric pouch can help protect them from crushing, ensuring they maintain their shape.
For maintenance, gently wipe any dust away with a soft cloth. If a flower becomes misshapen, you can lightly steam it to restore its form. Avoid excessive handling, as this can lead to wear and tear. By taking these simple steps, you can enjoy your ribbon flowers for years to come.
Creating ribbon flowers is not only a fulfilling craft but also an enriching way to express your creativity and personalize your surroundings. With the step-by-step guidance provided in this article, you have the foundation and inspiration to create stunning floral designs that reflect your unique style. As you continue to practice and experiment, you’ll only grow more confident in your abilities, leading to endless possibilities for your crafting journey.
So gather your materials, unleash your creativity, and enjoy the beautiful art of ribbon flower making! Happy crafting!