Have you ever wanted to elevate your accessory game with something uniquely personal? Ribbon-embellished scarves are an excellent way to express your style while providing a thoughtful touch to an otherwise ordinary piece of fabric. With a few simple techniques and a dash of creativity, you can transform a plain scarf into a stunning statement accessory that showcases your personality and flair. Whether you’re preparing for a casual outing or a formal event, these scarves can serve as the perfect complement to your outfit. Let’s explore how to make these beautiful creations step by step.
Creating ribbon-embellished scarves is not just a rewarding craft; it’s also a wonderful way to tap into your creative instincts. The process allows you to experiment with colors, patterns, and textures, transforming your ideas into tangible pieces of art. In this guide, we will cover everything from selecting the right materials to showcasing your finished work online. So gather your supplies and let’s get started on this exciting journey of crafting!
Discover the Art of Ribbon-Embellished Scarves Today
The art of ribbon-embellished scarves is an intersection of fashion and creativity that offers endless possibilities for customization. Scarves, in their basic form, are versatile accessories that can be worn in numerous ways, but adding ribbons can transform them into something extraordinary. This craft allows you to express your individuality, showcasing your unique style through color combinations and design choices. By learning a few simple techniques, you can elevate a simple scarf into a stunning piece that can be tailored for any occasion.
Taking on this craft does not only result in beautiful accessories; it also serves as a therapeutic activity. Engaging in creative pursuits can be incredibly calming and fulfilling. You’ll find that as you immerse yourself in ribbon-embellishing, you can clear your mind and focus on the joy of creating. So, let’s dive into what you need to embark on this exciting DIY adventure!
Gather Your Materials: What You’ll Need to Get Started
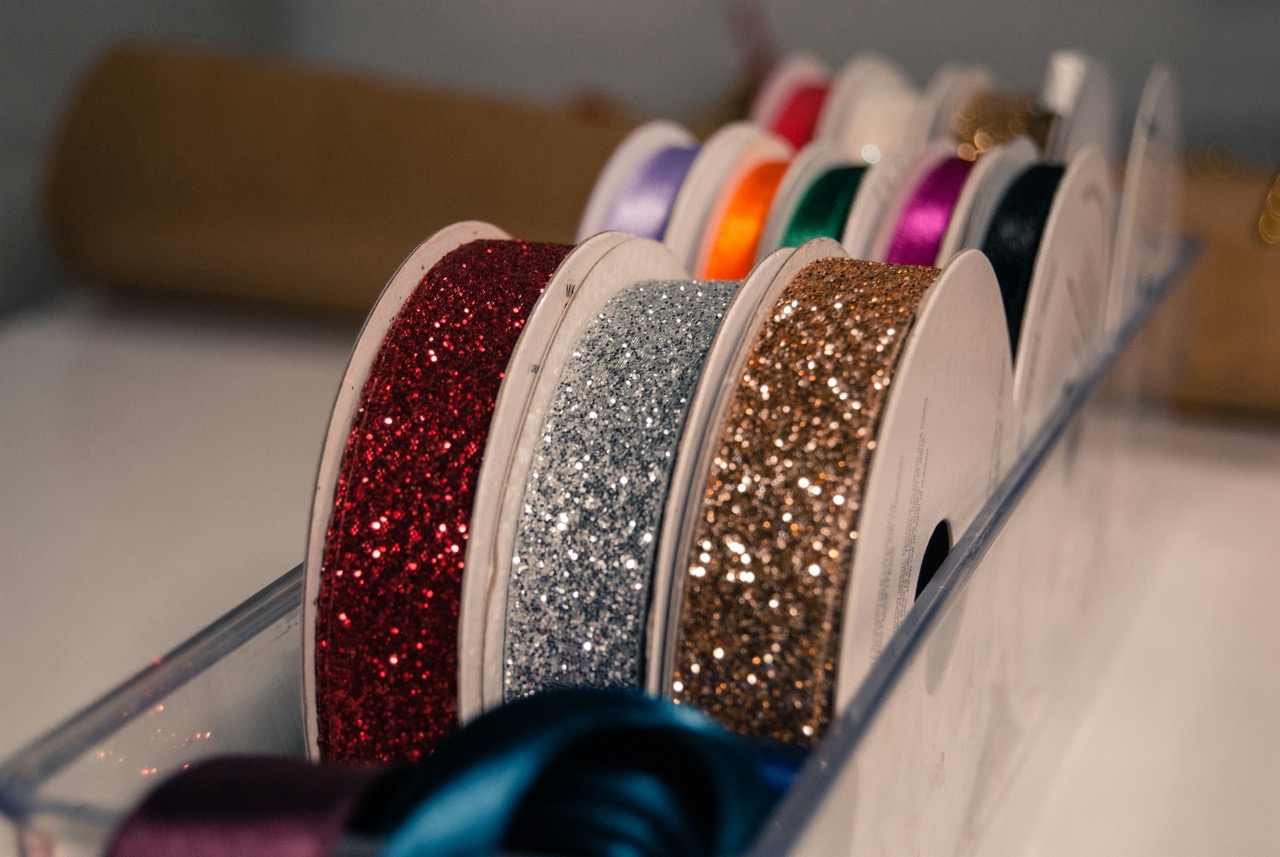
Before you can begin the creative process, you need to gather the essential materials for your ribbon-embellished scarf project. Here’s a basic list: a scarf (of your choice), a variety of ribbons, fabric scissors, a sewing needle and thread (or fabric glue), and optional beads or embellishments for added flair. Depending on your chosen techniques, you may also want to have a hot glue gun and fabric stabilizer on hand. Ensuring you have all your materials at the ready will make the crafting process smoother and more enjoyable.
When it comes to scarves, you don’t need to break the bank. You can repurpose old scarves or purchase affordable ones from thrift stores. This not only saves money but also makes your project more sustainable. With all your materials gathered, you’re now ready to move on to choosing the perfect scarf that will serve as your canvas!
Choosing the Perfect Scarf: Fabric and Style Options
Choosing the right scarf is crucial to the success of your ribbon-embellished project. Consider the fabric type; lighter materials like chiffon or silk allow for graceful draping and movement, while heavier fabrics like wool or cotton provide structure. Each fabric will lend a different vibe to your final creation, so think about how you want your scarf to feel and look. Additionally, consider the scarf’s style—rectangular, square, or infinity—as each offers unique possibilities for ribbon placement.
Moreover, the size of the scarf should match your intended use. A larger scarf can be styled in multiple ways, perhaps as a shawl or wrap, while smaller scarves can be worn as headbands or neck ties. The key is to find a balance between functionality and aesthetics. Once you’ve picked the right scarf, the fun truly begins with selecting the ribbons to add personality.
Selecting Ribbons: Colors, Patterns, and Textures Explained
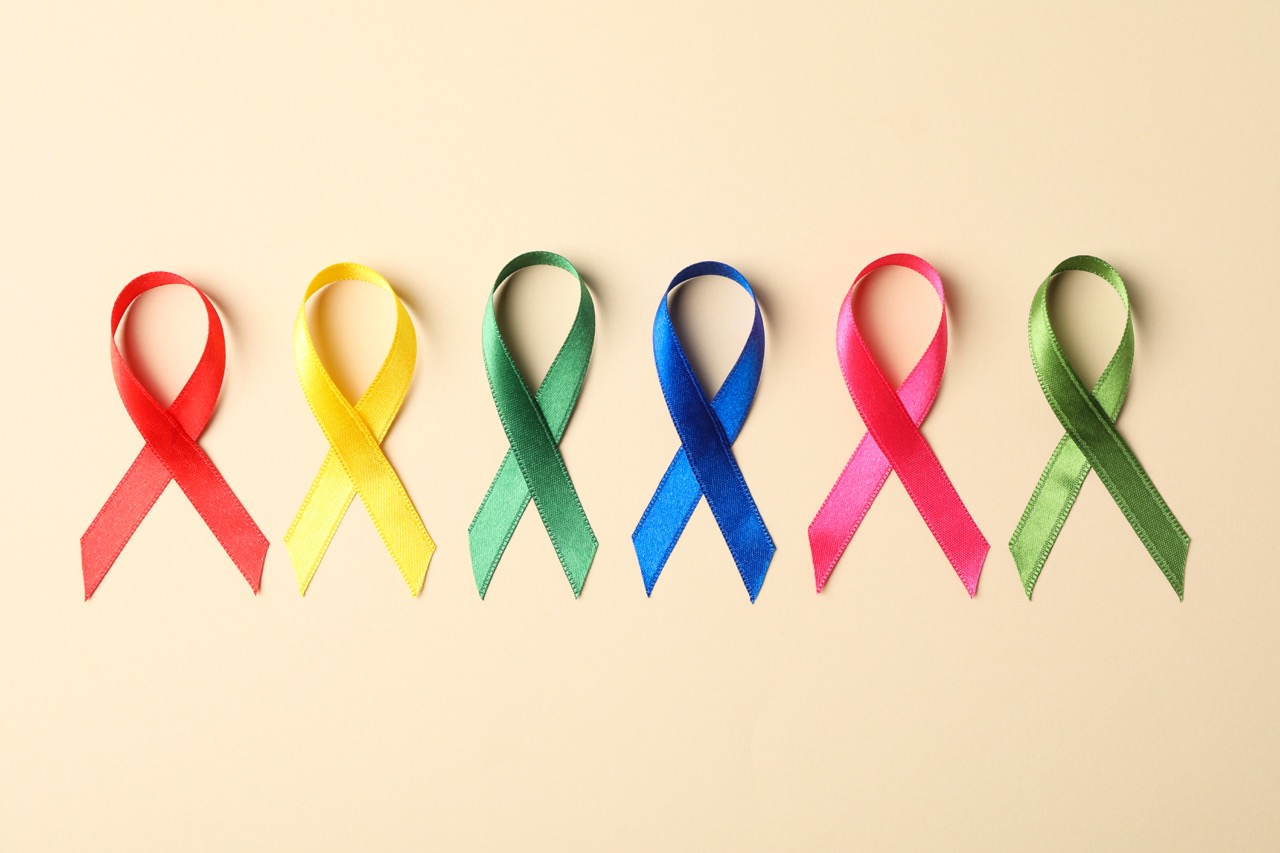
The ribbons you choose will play a significant role in the overall aesthetic of your scarf. Start by considering the color palette; you may opt for a monochromatic scheme or a vibrant mix—whatever suits your style best. Consider seasonal themes; pastels for spring, rich hues for fall, and jewel tones for winter can guide your choices. Additionally, think about how the colors work with the scarf fabric to ensure a harmonious look.
When it comes to patterns, the sky’s the limit! Stripes, polka dots, florals, or geometric designs can add visual interest and fun to your project. Don’t shy away from mixing textures, either; satin, grosgrain, and lace ribbons can create a dynamic interplay of softness and structure. By carefully selecting your ribbons, you’ll set the stage for a scarf that stands out and reflects your personality beautifully.
Techniques for Attaching Ribbons: Sew or Glue?
Once you have your ribbons selected, it’s time to decide on how you’ll attach them to your scarf. The two primary methods are sewing and gluing, each with its own merits. Sewing offers a durable finish and is often the preferred choice for those looking to create a long-lasting accessory. If you’re comfortable with a needle and thread, hand-sewing offers precision and allows for intricate designs. You can create delicate patterns or bold statements depending on your sewing skills.
On the other hand, using fabric glue is a quick and easy alternative, especially for beginners or those pressed for time. A hot glue gun can provide a strong bond, but it’s essential to use it with care to avoid any mess. Whichever method you choose, make sure to secure the ribbons firmly to avoid any peeling or lifting over time. Once your ribbons are in place, you can move on to the exciting part—mastering the art of ribbon tying!
Creating Beautiful Knots: Mastering Ribbon Tying Skills
Tying ribbons can be an art form in itself, with various knot styles and techniques that can enhance your scarf’s overall design. From simple bows to intricate knots, learning a few tying methods will allow you to add depth and character to your piece. Practice basic knots first, such as the classic shoelace or a double bow, before moving on to more complex styles like the bow tie or the fancier butterfly knot.
Experiment with different sizes and placements of knots to see what complements your scarf best. A large, floppy bow can create a striking focal point, while smaller knots can add subtle accents along the edges. The beauty of this craft is that it allows for personal expression, so feel free to get creative and make each knot uniquely yours!
Incorporating Beads: Adding Sparkle to Your Scarves
To take your ribbon-embellished scarf to the next level, consider adding beads or other embellishments for a touch of sparkle. Beads can enhance your design, adding a glamorous element that catches the light beautifully. You can sew beads directly onto the ribbons or incorporate them into your knots for added interest. When selecting beads, think about colors and styles that will complement your ribbons and scarf fabric.
Incorporating beads can also boost the visual texture of your scarf. Mix different types of beads—such as wooden, glass, or acrylic—for a more dynamic look. Just be mindful of the weight of the beads in relation to the scarf fabric; lighter beads work best for delicate materials, while heavier options may suit sturdier scarves. With beads added, your scarf will not only be a fashion statement but also a dazzling accessory.
Layering Ribbons: Tips for a Dynamic, Textured Look
Layering ribbons is an excellent way to create a rich, textured appearance on your scarf. By stacking different ribbons alongside each other—either in the same color family or contrasting hues—you can add depth and dimension to your creation. Start by selecting a base ribbon that will serve as the foundation, and then build upon it with additional ribbons, varying their widths and textures for added interest.
When layering, pay attention to how the ribbons interact with each other. Overlapping them slightly can create a seamless transition, while spacing them apart can make each ribbon stand out. Don’t hesitate to experiment! It’s all about finding a combination that resonates with your style and vision. With layered ribbons, your scarf will transform into a multi-faceted accessory that captivates the eye.
Designing Patterns: Tips for Creative Ribbon Placement
As you begin to attach your ribbons, consider the overall design pattern you want to achieve. Random placements can work for a more whimsical look, while strategic arrangements can create a more polished appearance. Sketching out your design before you start can help you visualize the layout and refine your ideas. This planning stage will make the actual crafting process smoother and more cohesive.
Try incorporating asymmetrical designs, or experiment with geometric shapes for a modern twist. You can also create a floral or nature-inspired motif by arranging ribbons in a way that mimics organic patterns. Whatever you choose, remember that the goal is to let your creativity shine. Your unique design will make your scarf a one-of-a-kind piece that reflects your personal style.
Finishing Touches: Securing and Protecting Your Work
Once you’ve completed your ribbon placements, it’s time for the finishing touches to ensure your scarf is not only beautiful but also durable. If you’ve sewn the ribbons, double-check your stitches to make sure they are secure. For glued ribbons, give them ample time to dry before handling the scarf extensively. Consider using fabric sealant on the ribbon edges to prevent fraying and prolong the life of your creation.
You might also want to trim any excess ribbon lengths and tidy up the edges for a clean finish. If you’ve used beads or embellishments, ensure they are tightly secured and won’t catch on other fabrics. A little extra care at this stage can make all the difference in maintaining the beauty and functionality of your scarf. With these final touches, you’ll be ready to showcase your handcrafted masterpiece!
Care Instructions: How to Maintain Your New Scarves
To ensure the longevity of your ribbon-embellished scarf, proper care is essential. Begin by checking the care instructions for the scarf fabric, as different materials have varying washing and maintenance requirements. In general, hand washing with mild detergent is recommended for delicate fabrics, while sturdier ones may be machine washable. Always air dry your scarf to prevent damage from heat.
When it comes to the ribbons, take extra care to avoid excessive friction or pulling, which can loosen the attachments or damage the fabric. Store your scarves flat or rolled, avoiding hanging them to prevent distortion. Regularly check for any signs of wear and tear, and address them promptly to keep your accessory looking its best. By following these care instructions, you can enjoy your beautiful scarves for years to come!
Share Your Creations: Showcasing Your Ribbon Art Online
After investing your time and creativity into making a ribbon-embellished scarf, why not share your artistic accomplishment? Online social platforms offer a fantastic opportunity to showcase your work, connect with fellow crafters, and inspire others. Posting images of your finished scarf, along with a description of your design process, can welcome feedback and appreciation from friends and fellow artisans alike.
Consider joining crafting communities or forums where you can share tips, tricks, and inspiration with others who share your passion. Engaging with other crafters can also provide new ideas for future projects, as well as valuable resources for sourcing materials. By sharing your creations online, you not only celebrate your artistry but also contribute to a vibrant community of creativity and innovation.
Creating ribbon-embellished scarves is not only a delightful craft but also a wonderful way to express your personal style. From gathering materials to adding the finishing touches, each step of the process allows you to explore your creativity and produce something truly unique. Whether you’re enhancing a casual outfit or adding a touch of elegance to evening wear, your beautifully adorned scarves will surely attract attention and admiration.
So why wait? Dive into the world of ribbon art, experiment with colors and textures, and see what stunning creations you can conjure. Remember, the journey of crafting is just as important as the destination, so enjoy the process and let your creativity flourish!