Candle making is an age-old craft that marries creativity with functionality, allowing enthusiasts to fill their spaces with both light and fragrance. Among the myriad of candle designs, ribbon candles stand out for their decorative beauty and customizable flair. By combining the soft glow of candlelight with the elegance of ribbon embellishments, you can create stunning pieces that are perfect for any occasion. Whether you are an experienced candle maker or a curious beginner, this guide will take you through the intricate process of creating your very own ribbon candles.
With the right tools and materials, anyone can indulge in this fulfilling hobby. This article will lead you through each essential step, from preparing the wax to wrapping your candles with stylish ribbons. We’ll cover safety tips and troubleshooting advice, ensuring that your candle-making experience is both enjoyable and successful. So, gather your supplies, unleash your inner artisan, and let’s dive into the enchanting world of ribbon candle making!
Unleashing Creativity: The Art of Ribbon Candle Making
Creating ribbon candles is not just a craft; it’s an expression of your artistic vision. The interplay of candlelight and ribbon creates a unique ambiance that can enhance any space. You can choose to keep it simple with monochromatic designs or venture into vibrant patterns that reflect your personality. The possibilities are endless, making each candle a potential masterpiece.
Moreover, ribbon candles are versatile gifts that can be personalized for any occasion. Whether it’s a birthday, wedding, or holiday party, a handcrafted ribbon candle can convey heartfelt sentiments in a way that store-bought options simply cannot. As you embark on this creative journey, you’ll not only hone your crafting skills but also find joy in bringing warmth and beauty into the lives of those around you.
Essential Tools: What You Need to Get Started
Before diving into the candle-making process, it’s crucial to gather the essential tools that will facilitate your creative endeavors. At the very least, you will need a double boiler or a wax melter for melting your wax, a thermometer to monitor the temperature, and a pouring pitcher. Additionally, you should have a heat-resistant container or mold where your candles will take shape.
Don’t forget the importance of a good workspace! A clean, flat surface covered with newspaper or an old tablecloth will protect against spills. Safety gear, such as gloves and goggles, is also recommended to shield your skin and eyes from hot wax. With these tools and preparations in place, you’ll be ready to embark on your ribbon candle-making adventure.
Choosing the Right Materials for Your Ribbon Candles
The choice of materials is vital when it comes to making ribbon candles that not only look beautiful but also burn effectively. First, select the wax type; paraffin, soy, beeswax, and palm are all popular options. Soy wax, for instance, is a favorite for eco-conscious crafters, as it’s renewable and burns cleanly, while beeswax is renowned for its natural honey scent and long burn time.
In addition to wax, your choice of wick can significantly affect the quality of your candle. Cotton wicks are commonly used for their efficiency, while wooden wicks offer a modern twist, creating a cozy crackling sound when lit. Lastly, don’t overlook the ribbons themselves! Choose materials that complement your wax color and intended design, ensuring they can withstand the heat without fraying or discoloring.
Step-by-Step Guide: Melting Wax Like a Pro
Melting wax is the first step in crafting your ribbon candles, and mastering this technique is pivotal for a successful project. Begin by measuring the amount of wax you will need based on the size of your container or mold. Cut the wax into small pieces to ensure even melting. Set up your double boiler or wax melter, adding water to the bottom pot and placing the wax in the top pot, allowing it to melt slowly over low to medium heat.
Keep a close eye on the temperature, aiming for between 170°F and 180°F (77°C to 82°C). Use a thermometer to check the wax, and avoid letting it exceed 185°F (85°C), as this can produce smoke and affect the quality. Once melted, give the wax a gentle stir to ensure uniformity. Now you’re ready to pour it into your chosen mold or container, setting the stage for your beautiful ribbon candle.
Crafting the Perfect Wick: Tips and Tricks
The wick is a crucial component of any candle, as it fuels the flame that brings your creation to life. To choose the right wick, consider the diameter of your candle; larger candles generally require thicker wicks for a consistent burn. A good rule of thumb is to consult wick sizing charts available from suppliers, which can guide you in selecting the appropriate wick for your specific wax type and candle size.
To secure the wick in place, attach its base to the bottom of your container using a bit of melted wax or a wick sticker. For added stability, you may use a wick holder or a pencil laid across the top of the container, ensuring the wick remains centered as the wax sets. Proper wick placement will create a steady flame and prevent uneven burning, allowing you to enjoy your ribbon candles to their fullest potential.
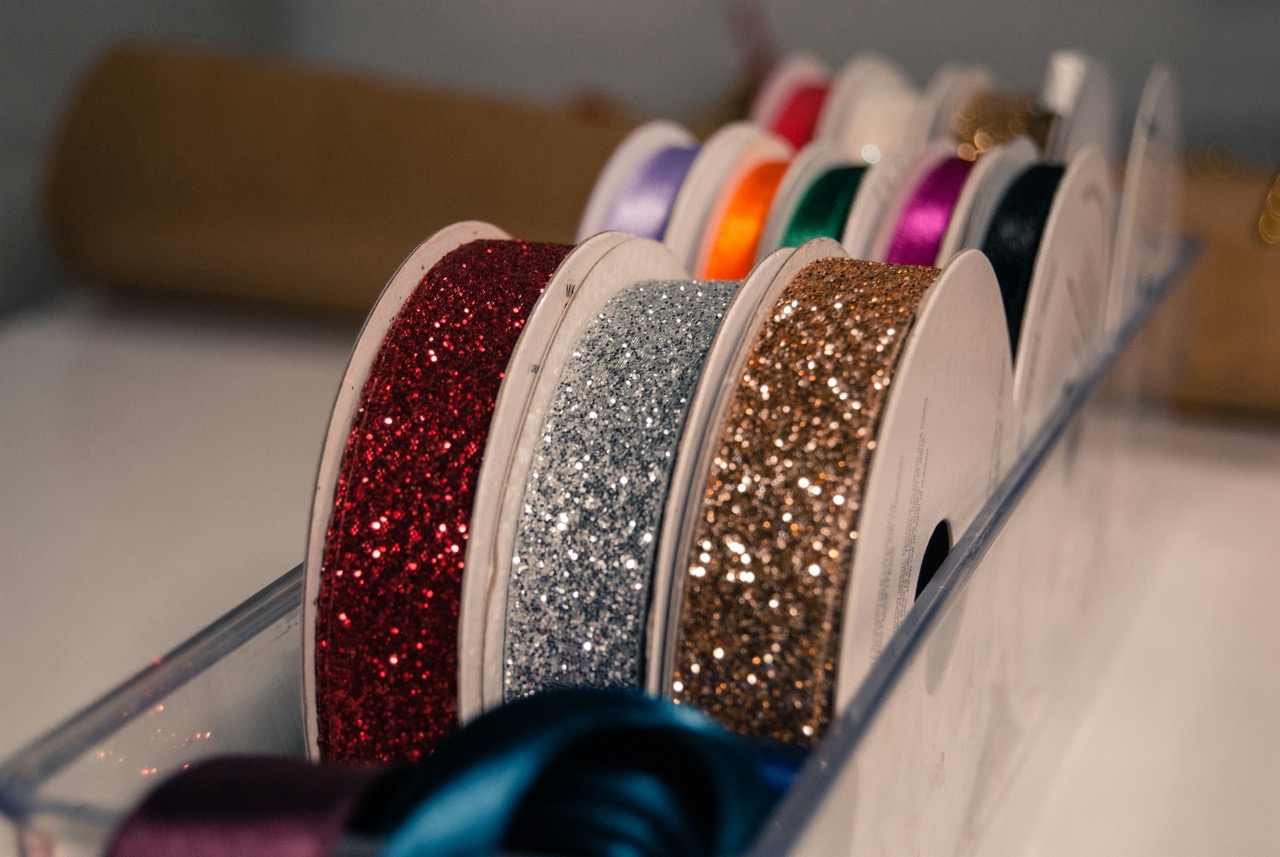
Designing Your Ribbon: Patterns, Colors, and Styles
Once your candle wax has cooled and hardened, it’s time to focus on the design element of your ribbon candles. Ribbons come in an array of colors, textures, and patterns, providing ample opportunity for creativity. You can use solid colors for a classic look or mix and match patterns like polka dots, stripes, or floral designs to create a more playful aesthetic.
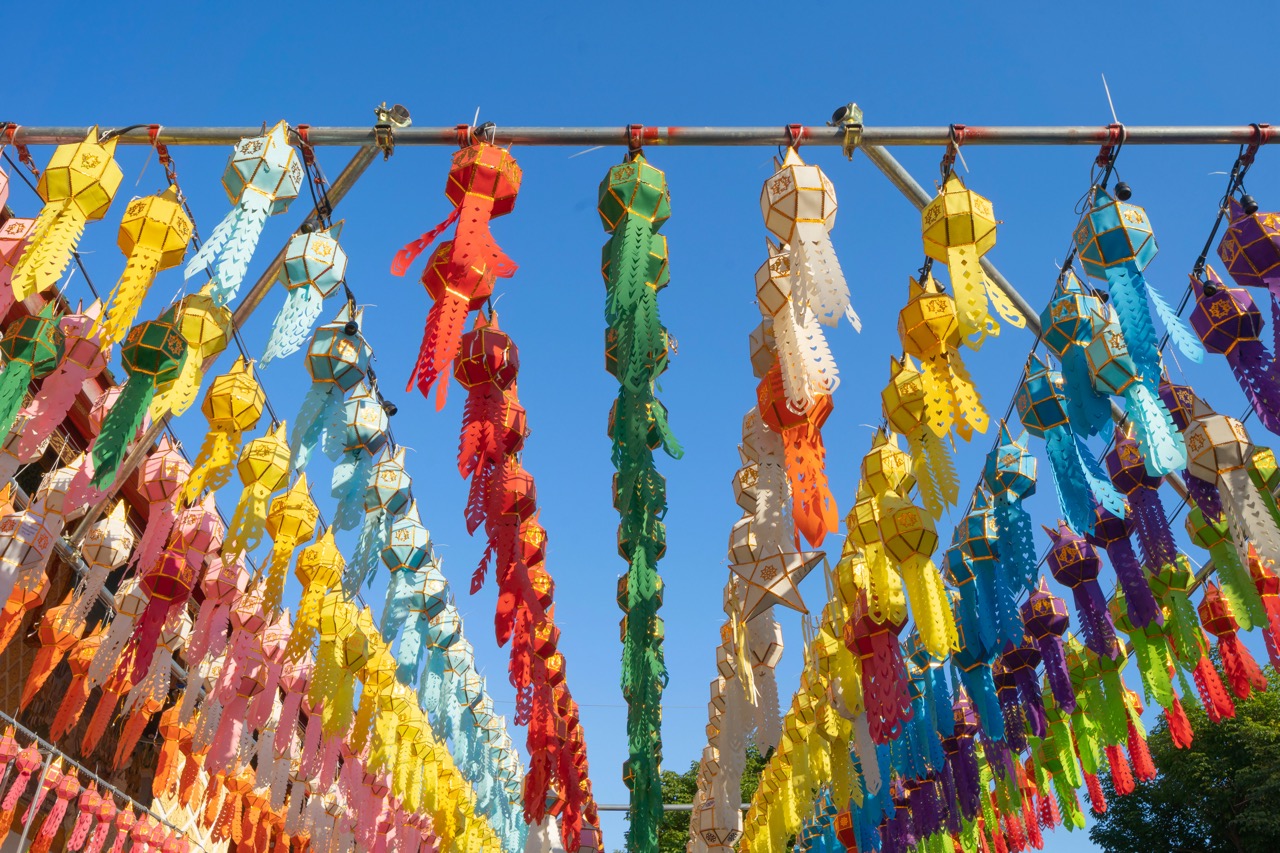
When designing your ribbon layout, consider the occasion for which the candle is intended. For example, light pastels may suit a baby shower, while bold hues and metallics could be perfect for a festive celebration. Additionally, layering ribbons or using different widths can add depth and interest to your design. Let your imagination run wild as you envision the final look of your masterpiece.
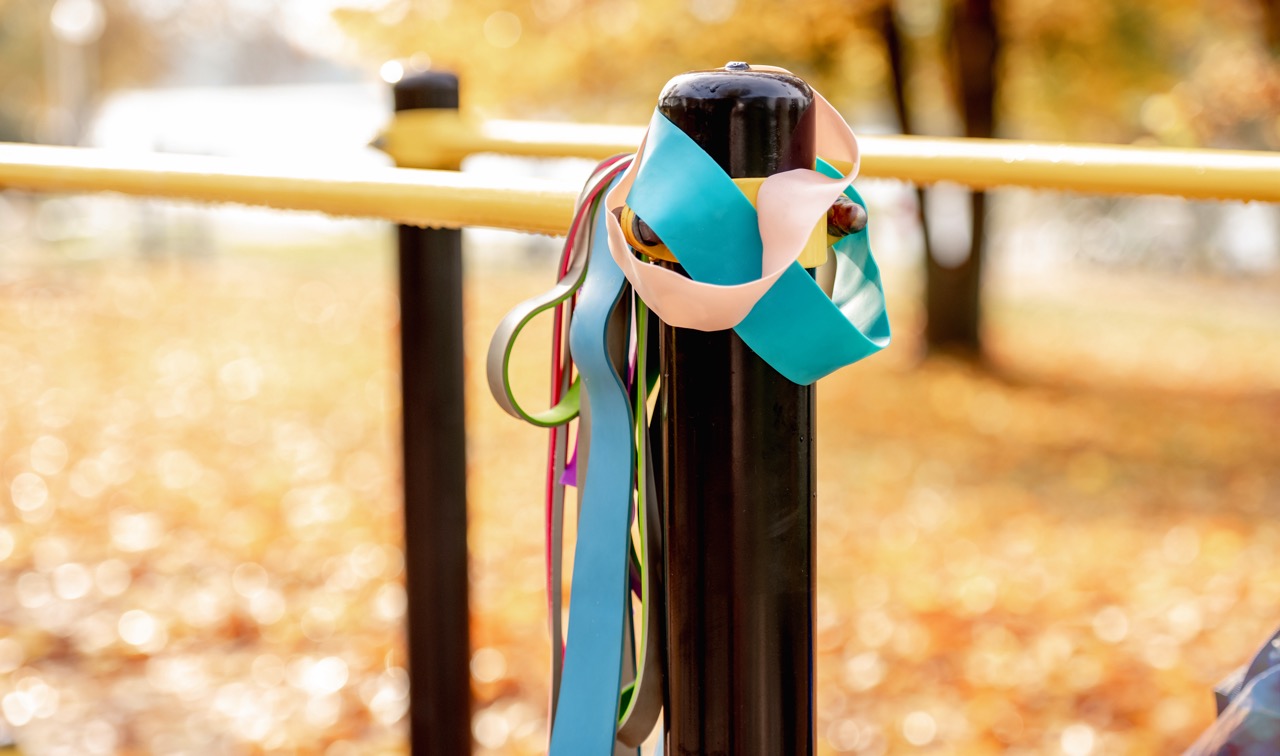
Wrapping Techniques: How to Apply Ribbon Elegantly
Applying ribbon to your candle should be both an art and a science. Start by cutting a piece of ribbon long enough to wrap around the candle with some overlap for a secure finish. You can choose to tie the ribbon into a simple knot, a bow, or even use decorative techniques such as weaving or layering. The method you select will depend on your design vision and the type of ribbon used.
As you wrap, be mindful of the ribbon’s placement, ensuring it doesn’t touch the wick. This will help maintain a clean burn and prevent any potential fire hazards. Additionally, consider incorporating embellishments like beads or small charms to enhance the overall look. With patience and creativity, you can elevate your ribbon candles to a new level of elegance.
Adding Fragrance: Scenting Your Ribbon Candles
Scent is one of the most delightful aspects of candle making, transforming your ribbon candles into aromatic experiences. When selecting fragrances, consider using candle-safe essential oils or fragrance oils specifically designed for candles to achieve the best results. Start by adding a small amount of fragrance to your melted wax, typically around 6–10% of the total weight of the wax, and stir well to distribute the scent evenly.
When choosing scents, think about the mood you want to create. Light, fresh fragrances like citrus or floral can evoke feelings of calm and relaxation, while warm, spicy scents like cinnamon or vanilla can bring a cozy ambiance to your space. Experimenting with different fragrance combinations can also lead to unique and personalized scents that reflect your style and preferences.
Safety First: Best Practices While Candle Making
While candle making is a rewarding craft, it’s essential to prioritize safety throughout the process. Always work in a well-ventilated area, especially when melting wax and adding fragrances, to avoid inhaling fumes. Keep a fire extinguisher nearby, and never leave melting wax unattended, as it can ignite if overheated. Wearing protective gear like gloves and goggles will also help safeguard against potential burns or spills.
Be cautious about your workspace as well. Cover surfaces with newspapers or old cloths to catch any wax spills, and keep flammable materials at a safe distance from your work area. Following these safety practices will ensure you can enjoy the candle-making process with peace of mind, allowing your creativity to shine without worry.
Curing and Finishing: Achieving the Perfect Candle
After pouring your wax, it’s essential to allow your ribbon candles to cure properly. Curing refers to the process of letting the wax settle and harden fully, which can take anywhere from 24 to 72 hours, depending on the wax type and candle size. This step is crucial, as it impacts the candle’s burn quality and scent throw.
Once cured, you can finish your candles by trimming the wick to about ¼ inch above the wax surface. This ensures a controlled burn and prevents soot buildup. If desired, you can also polish the candle surface with a soft cloth to enhance its appearance. Your ribbon candles are now ready to be displayed or gifted, showcasing the beauty of your hard work.
Display and Gift Ideas: Showcasing Your Creations
Now that you’ve created stunning ribbon candles, it’s time to consider how to display them or share them as thoughtful gifts. Simple glass holders or decorative ceramic dishes can elevate their appearance, while grouping several candles of varying heights can create a beautiful centerpiece. Additionally, consider incorporating natural elements like stones or flowers around your candles for a rustic charm.
When it comes to gifting, presentation matters. Wrapping your ribbon candles in clear cellophane and tying them with a complementary ribbon can add a special touch. You might also include a personalized note or tag explaining the scent notes or the story behind the candle’s creation. Thoughtful packaging will make your ribbon candles even more memorable for the recipient.
Troubleshooting Common Issues in Candle Making
Even the most experienced candle makers encounter challenges along the way. One common issue is uneven burning, which can result from an incorrect wick size or placement. If you notice that your candle is tunneling or burning down the center, consider adjusting the wick size or checking that it’s centered before pouring wax. Sometimes, simply trimming the wick to the appropriate length can rectify the problem as well.
Another frequent challenge is frosting or surface imperfections, particularly with soy wax. This can happen due to temperature fluctuations during cooling. To minimize frosting, try to maintain a consistent temperature while cooling and consider adding stearin or other additives to improve the texture. Remember, every mistake is a learning opportunity, so embrace the process and enjoy refining your candle-making skills.
Creating ribbon candles is a delightful fusion of artistry and functionality, allowing you to express your individual style while bringing warmth and light into your home. By following the steps outlined in this guide, you can craft beautiful, fragrant candles that not only enhance your environment but also make memorable gifts for loved ones. Remember, the journey of candle making is as rewarding as the end result, so take your time, explore your creativity, and most importantly, enjoy the process. Happy crafting!