Creating ribbon tassels is a delightful way to unleash your creativity. Whether you are a seasoned crafter or just starting your journey into the world of DIY, ribbon tassels offer a versatile and charming project that can elevate your crafting game. These little bundles of joy can be used in various applications, from decorating your home to personalizing gifts. By mastering a few simple techniques, you’ll be able to craft beautiful ribbon tassels that showcase your unique style. Let’s get started on this colorful adventure!
Unleashing Creativity: The Art of Ribbon Tassels
Ribbon tassels are not just simple crafts; they are an artistic expression of your personality and creativity. They can be made in various sizes, colors, and themes, making them suitable for any occasion or aesthetic. The beauty of tassels lies in their versatility; you can use them to adorn bookmarks, gift bags, curtain ties, or even as statement pieces in home decor. Each tassel you create becomes a canvas to showcase your taste, whether you prefer a rustic charm or a modern flair.
As you embark on this craft, let your imagination run wild! Consider the mood you want to convey—lively and bright or soft and elegant. You can even combine different ribbons and materials to create a customized look. The process of making ribbon tassels is not only enjoyable but also offers a sense of accomplishment as you transform simple materials into something beautiful and functional.
Moreover, crafting ribbon tassels can be a meditative experience. Engaging with your hands and focusing on the task at hand can be a wonderful escape from the stresses of everyday life. So gather your materials, put on some music, and allow the creative process to flow. Each cut, fold, and knot brings you closer to a delightful piece that you can call your own.
Gather Your Materials: What You’ll Need to Start
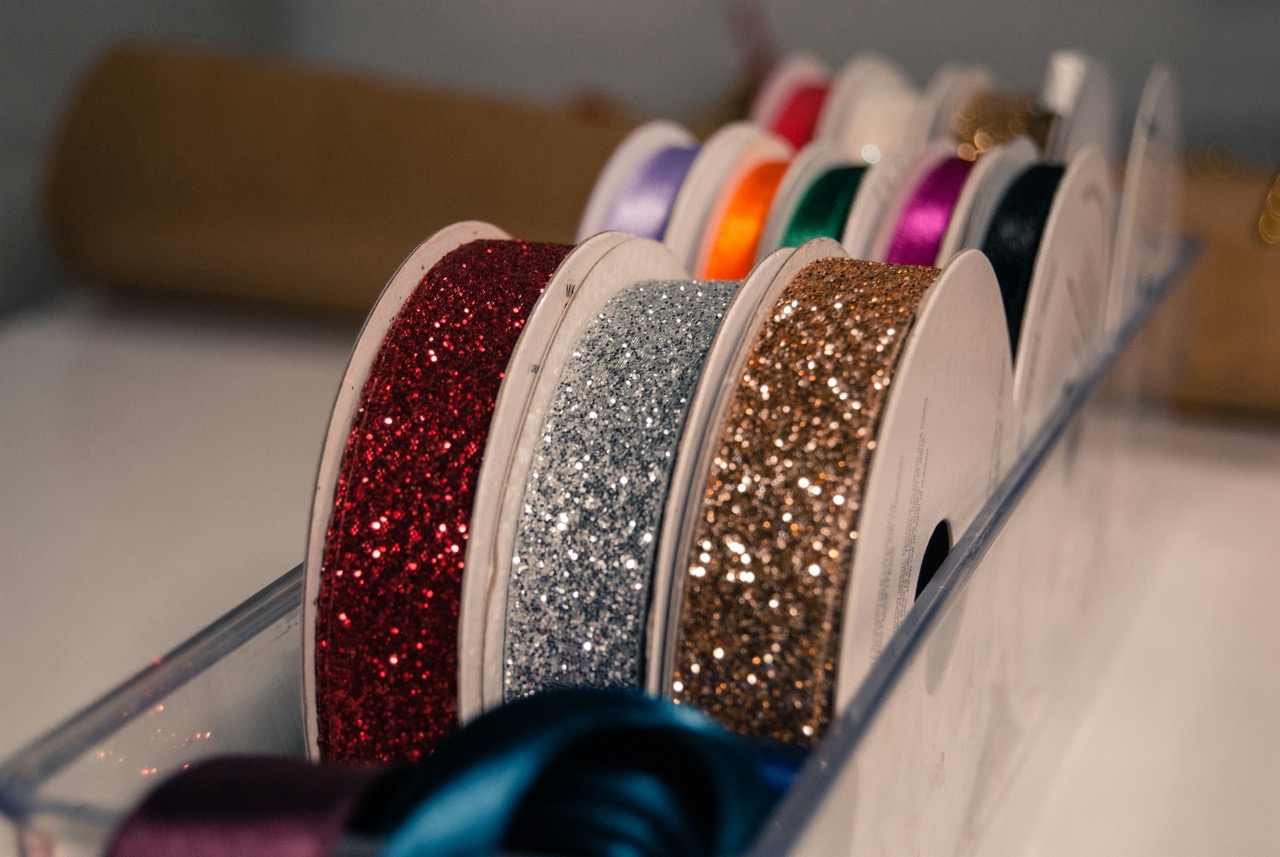
Before diving into the exciting world of ribbon tassels, it’s essential to gather all the materials you’ll need to make the process smooth and enjoyable. Start with a selection of ribbons in various colors and textures. Ribbons can be made from satin, cotton, or even burlap, each providing a different look and feel. You’ll also need scissors, a ruler, a pencil or fabric marker for measurements, and a sturdy thread or twine for tying your tassels.
In addition to these basics, consider having embellishments on hand. Beads, sequins, or decorative strings can add a personal touch to your tassels and take them to the next level. Don’t forget a flat surface to work on, as well as clips or a small container to keep your materials organized. Having everything within reach will help you maintain focus and make the entire process more enjoyable.
Lastly, it’s helpful to have a reference or inspiration board nearby. Whether you choose to compile images from magazines or browse Pinterest for tassel ideas, this will provide you with guidance and spark your creativity as you create your unique designs. With your materials at the ready, you’re all set to embark on your tassel-making journey!
Choosing the Perfect Ribbon: Color and Texture Matters
When it comes to choosing the perfect ribbon for your tassels, color and texture are critical factors that can dramatically influence the final look. Think about the color palette that resonates with you or fits the intended purpose of your tassels. Do you envision vibrant hues that pop or muted tones that exude calmness? You can also play with contrasting colors to create an eye-catching design, or choose complementary shades for a more cohesive look.
Texture is equally important; the feel of the ribbon adds depth to your tassels. A soft satin ribbon can create a luxurious appearance, while a rustic jute or burlap ribbon can evoke a more down-to-earth vibe. Experimenting with different textures will lead to fascinating combinations. Mixing materials can also yield unique results—think a satin ribbon paired with a twisted twine for an eclectic blend.
Furthermore, consider the width of the ribbons you select. Wider ribbons can create fuller, more dramatic tassels, while narrower ribbons may lend a delicate touch. Don’t hesitate to combine multiple widths for a playful, layered effect. Ultimately, the choice of ribbon should reflect your personal style and the vision you have for your tassels, making the crafting experience more meaningful and enjoyable.
Cutting the Ribbon: Precision for Beautiful Tassels
Once you’ve selected your ribbons, the next step is to cut them to the desired lengths. Precision is vital in this step, as uneven or jagged cuts can detract from the overall look of your tassels. Using a ruler, measure and mark the lengths on the ribbon with a pencil or fabric marker before cutting. A good standard length for tassels is around 12 inches, but this can be adjusted based on your preference.
When cutting, use sharp scissors to achieve clean edges. Dull scissors can lead to frayed ends, which can compromise the polished appearance of your tassels. If you’re working with multiple ribbons in different colors or textures, it’s a good idea to cut them all at once for consistency, allowing you to create a cohesive look in your final product.
As you cut, take a moment to arrange the ribbons in the order you’d like them to appear in your finished tassel. This small step will help you visualize the end result, ensuring that your colors and textures blend harmoniously together. With all your ribbons cut and ready, you’re well on your way to crafting stunning tassels!
Mastering the Fold: Techniques for Uniformity
Folding the ribbons is a crucial step in creating uniform tassels that look professional and polished. To start, gather your cut ribbons into a neat pile, ensuring that they are aligned at the top. For a standard tassel, fold the ribbons in half, holding the center point securely. This will create a loop at the top, which will serve as the anchor for your tassel.
For precision, you may want to use a clipboard or a flat surface to keep your ribbons in place while you fold. If you’re adding multiple layers, consider folding each layer separately before combining them. This technique allows you to maintain the right proportions and creates a beautifully layered appearance in your final tassel.
Additionally, practice makes perfect. As you create more tassels, you’ll develop a feel for the folding process and how to achieve the desired look. Experiment with different fold techniques to see what resonates with you—some crafters prefer a tighter fold for a more structured tassel, while others may like a looser fold for a relaxed vibe. With practice, you’ll find your rhythm and achieve uniformity with ease.
Tying It All Together: Secure Your Ribbon Bundles
To secure your ribbon bundles and form your tassel, you’ll need a strong thread or twine. Begin by selecting a length of thread that is approximately three times the width of your finished tassel. This will allow you enough material to tie a secure knot while also leaving some length for the hanging loop.
Place your folded ribbons upright, and carefully slide a piece of thread beneath the bundle at the top, just above the loop. Bring the ends of the thread together, making sure they are evenly aligned, and pull to tighten. A double knot is typically the best option for ensuring that your ribbons stay in place. Make sure the knot is snug but not too tight, as this could distort the shape of your tassel.
After securing the knot, trim any excess thread, leaving a small tail for added security. If you wish, you can also create a loop at the top of the tassel by continuing to tie the thread. This loop will allow you to hang your tassel wherever you desire. With your ribbons securely tied together, you’re one step closer to completing your beautiful tassel.
Adding Flair: Incorporating Beads and Embellishments
Once your tassel is securely tied, it’s time to add flair and personality. Incorporating beads, charms, or other embellishments can elevate your tassels and make them truly unique. Start by choosing embellishments that complement your ribbon colors and overall design. Small wooden beads, metallic accents, or even sequins can add a delightful touch that catches the eye.
To attach the embellishments, you can thread them onto the same piece of string you used to tie your ribbons or create a separate piece of thread for added creativity. If you opt for a more intricate design, consider making a beaded strand that hangs below the tassel. This added dimension can enhance the visual appeal and make your tassel stand out even more.
Remember that the beauty of crafting lies in personal expression, so don’t hesitate to experiment with different placements and combinations of embellishments. Mix and match sizes, shapes, and colors until you achieve the desired look. By adding your own unique flair, your tassels will not only be functional but also a reflection of your creative spirit.
Creating Unique Shapes: Exploring Different Designs
The world of tassels is vast, and the shapes you can create are limited only by your imagination. While traditional tassels are typically long and flowing, consider exploring different designs that cater to your specific needs or preferences. For instance, you can create shorter tassels for bookmarks or combine multiple tassels of varying lengths for a playful garland effect.
To create unique shapes, experiment with the folding technique. Instead of a simple fold, try looping the ribbons in different configurations or layering them in a way that creates a spiral effect. For a modern twist, you could even cut the ribbons into different lengths, resulting in a trendy asymmetrical design.
Additionally, don’t shy away from creating tassels in unconventional shapes. For example, you can craft pom-pom tassels by cutting the ends of the ribbons into strands or creating heart-shaped tassels for special occasions. Let your creativity soar as you play with different forms, making every tassel a unique masterpiece that showcases your individual flair.
Finishing Touches: How to Trim for Perfect Style
Once you’ve created your tassel and added embellishments, it’s time for the finishing touches. Trimming the ends of your tassel can significantly impact its appearance, so take your time with this step. Start by holding your tassel upside down, letting the loose ends hang freely. Using sharp scissors, carefully trim the ends to create a uniform length that feels right for your design.
You can go for a classic straight cut for a polished look, or try a layered trim by cutting the ends at various lengths to achieve a more textured appearance. If you’re feeling adventurous, you can even create a curved shape by trimming the ends into a slight arc. The key is to ensure that your cuts are clean and even to maintain the overall aesthetics of your tassel.
After trimming, give your tassel a gentle shake to fluff it up and allow the ribbons to fall naturally. A little bit of fluffing can go a long way in enhancing the final look. With your tassel trimmed and styled to perfection, it’s ready to be showcased in all its glory!
Tassel Applications: Where and How to Use Them
The beauty of ribbon tassels lies in their versatility; they can be used in countless ways to add charm and personality to your crafting projects. One popular application is as a decorative accent for gift wrapping. Attaching a tassel to a gift bag or box can transform a simple present into a stunning work of art that shows the recipient just how much you care.
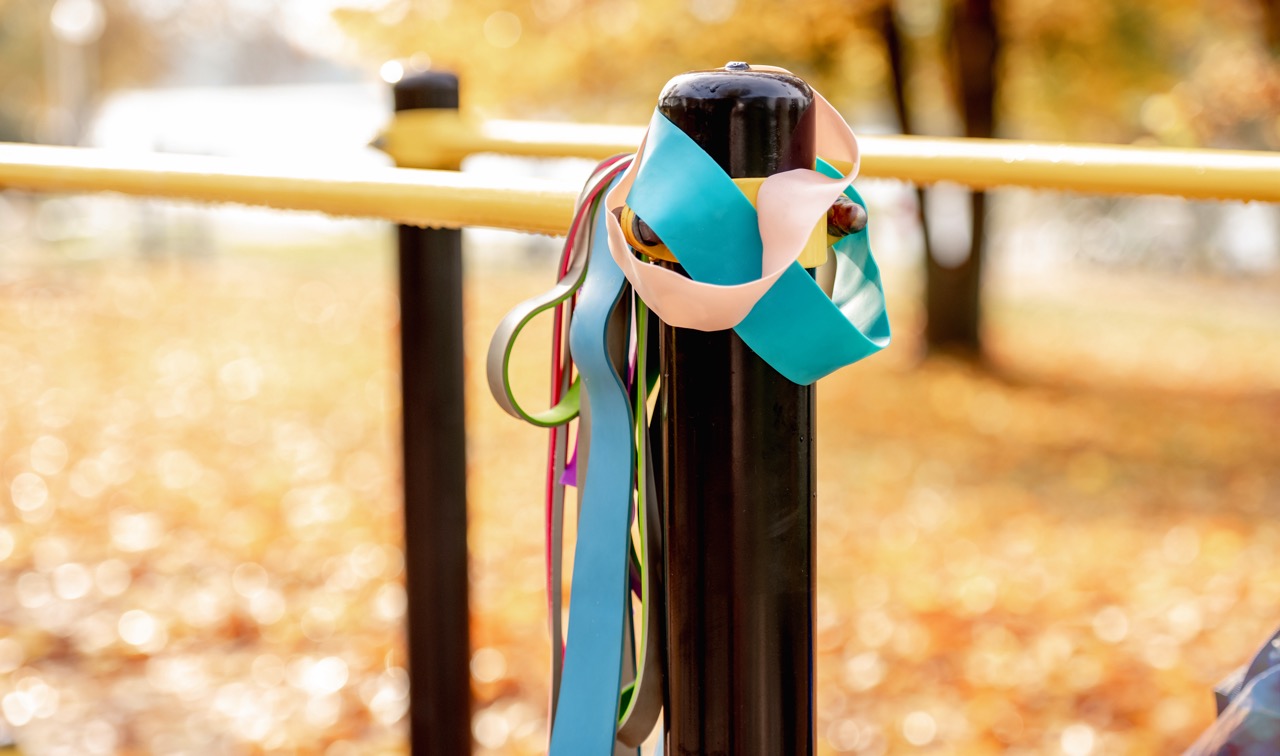
Tassels also make delightful additions to home decor. Consider using them as curtain tie-backs, hanging them from shelves, or attaching them to vases for added flair. They can also be strung together to create a colorful garland for parties, weddings, or seasonal celebrations. The possibilities are endless, and your creativity will guide you in discovering new ways to incorporate these delightful creations into your life.
Lastly, ribbon tassels can be fantastic for personalizing accessories. Whether you choose to add them to keychains, bookmarks, or even handbags, tassels provide a lovely touch that reflects your style. Consider incorporating your favorite colors, patterns, and textures to make these items uniquely yours. With such a wide array of applications, your tassels can seamlessly blend into various aspects of your daily life, serving as a constant reminder of your creativity.
Troubleshooting Common Mistakes: Tips for Success
As with any craft, you may encounter some obstacles during the tassel-making process. One common issue is uneven cuts, which can easily be fixed by simply trimming the ends after the tassel is assembled. Take your time while cutting and measuring to ensure that the initial lengths are as uniform as possible, but remember that imperfections can add character to your creation.
Another challenge is securing the ribbon bundles too tightly or too loosely. If your tassel looks misshapen, it’s worth retying the knot. A snug knot will keep the tassels from falling apart, but be careful not to pull too hard, as this can warp the shape. If you find that your ribbons are slipping, consider adding additional thread or twine for extra security.
Lastly, don’t be discouraged if your first few tassels don’t turn out as expected. Crafting is a journey of learning and experimentation, and every project offers valuable insights. Embrace the process and make adjustments as you go. With practice, your tassel-making skills will improve, and soon you’ll be creating stunning tassels that reflect your unique style.
Show Off Your Creations: Sharing Your Ribbon Tassels
After you’ve poured your heart into creating beautiful ribbon tassels, it’s time to show them off! Sharing your creations with friends, family, or the crafting community can be an incredibly rewarding experience. Consider hosting a small gathering or crafting party, where you can showcase your tassels and even teach others how to create their own.
Social media platforms like Instagram, Pinterest, or Facebook groups dedicated to crafting are fantastic places to share your work. Post pictures of your finished tassels, detailing the techniques you used and any special touches you incorporated. Engaging with fellow crafters can lead to valuable feedback, inspiration, and even new friendships.
Additionally, don’t hesitate to explore local craft fairs or markets where you can display and sell your tassels. Connecting with others who appreciate handmade crafts can be a fulfilling way to share your passion and creativity. By showcasing your ribbon tassels, you’re not only celebrating your efforts but also inspiring others to embark on their own crafting journeys.
Creating ribbon tassels is a delightful and rewarding experience that allows you to express your creativity in countless ways. From gathering materials to adding personal touches, each step of the process is an opportunity to explore new techniques and designs. As you continue to craft and share your creations, you’ll find a community of fellow crafters eager to support and inspire your journey. So grab your ribbons, let your imagination soar, and enjoy bringing your colorful tassels to life!