Crafting can be a delightful escape from the hustle and bustle of everyday life, allowing us to express our creativity in unique ways. One simple yet stylish project that appeals to all ages is the DIY ribbon headband. These versatile accessories can be customized to suit every personality, occasion, and age group. Whether you’re a seasoned crafter or a beginner looking for a fun weekend project, creating ribbon headbands is a fantastic way to explore your artistic side while producing something practical and trendy.
In this article, we will guide you through the entire process of making your own ribbon headbands. From selecting the right materials to personalizing your designs, we will cover everything you need to know to create beautiful headbands that everyone will love. So gather your supplies and get ready to unleash your creativity!
Unleashing Creativity: DIY Ribbon Headbands for Everyone
The beauty of DIY ribbon headbands lies in their accessibility to crafters of all skill levels. Whether you’re a child learning the basics of crafting or an adult looking for a relaxing hobby, ribbon headbands provide the perfect platform for creativity. Each headband can be a reflection of the maker’s personality, making every project unique and special. The thrill of transforming simple materials into a fashionable accessory is not only satisfying, but it also fosters a sense of achievement.
Additionally, headbands can serve multiple purposes beyond mere fashion statements. They can be used to hold back hair during workouts, complement an outfit for a special occasion, or even act as a thoughtful gift. Given their versatility, ribbon headbands can be made for a variety of situations, making them a fantastic project for everyone in the family.
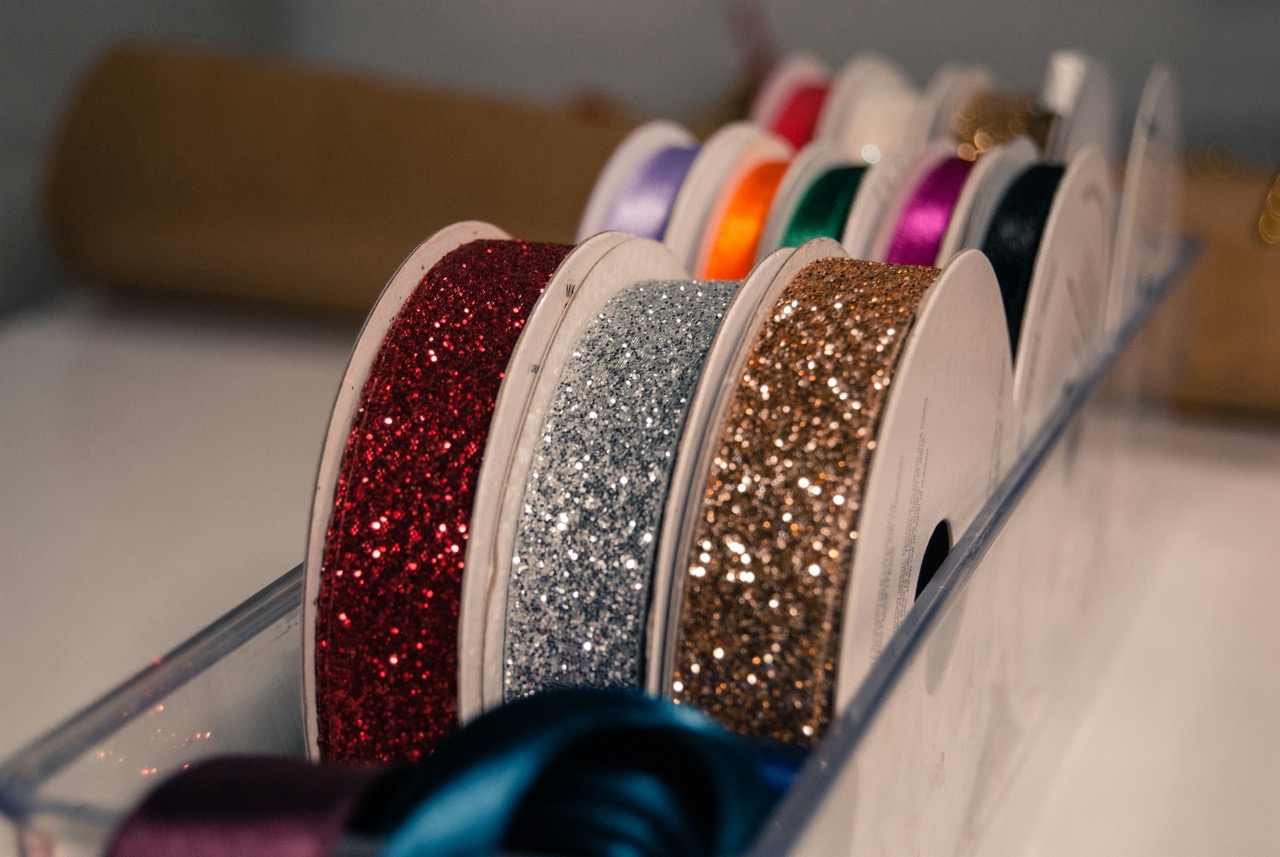
Materials You’ll Need: A Quick Guide to Get Started
Before diving into the world of DIY ribbon headbands, it’s essential to gather the necessary materials. Basic supplies include ribbons of various colors and widths, a pair of scissors, a hot glue gun, and a headband base (which can be made of plastic or fabric). Additionally, you’ll want to have measuring tape on hand to ensure accuracy when cutting your ribbons. If you’re feeling particularly adventurous, consider incorporating embellishments like beads, flowers, or sequins to add a unique touch to your designs.
For a more elaborate setup, you may also want to invest in needle and thread for additional securing techniques, as well as decorative items such as fabric paint or stencils to personalize your headbands. Having a well-stocked craft area will inspire you to experiment and create headbands that truly stand out.
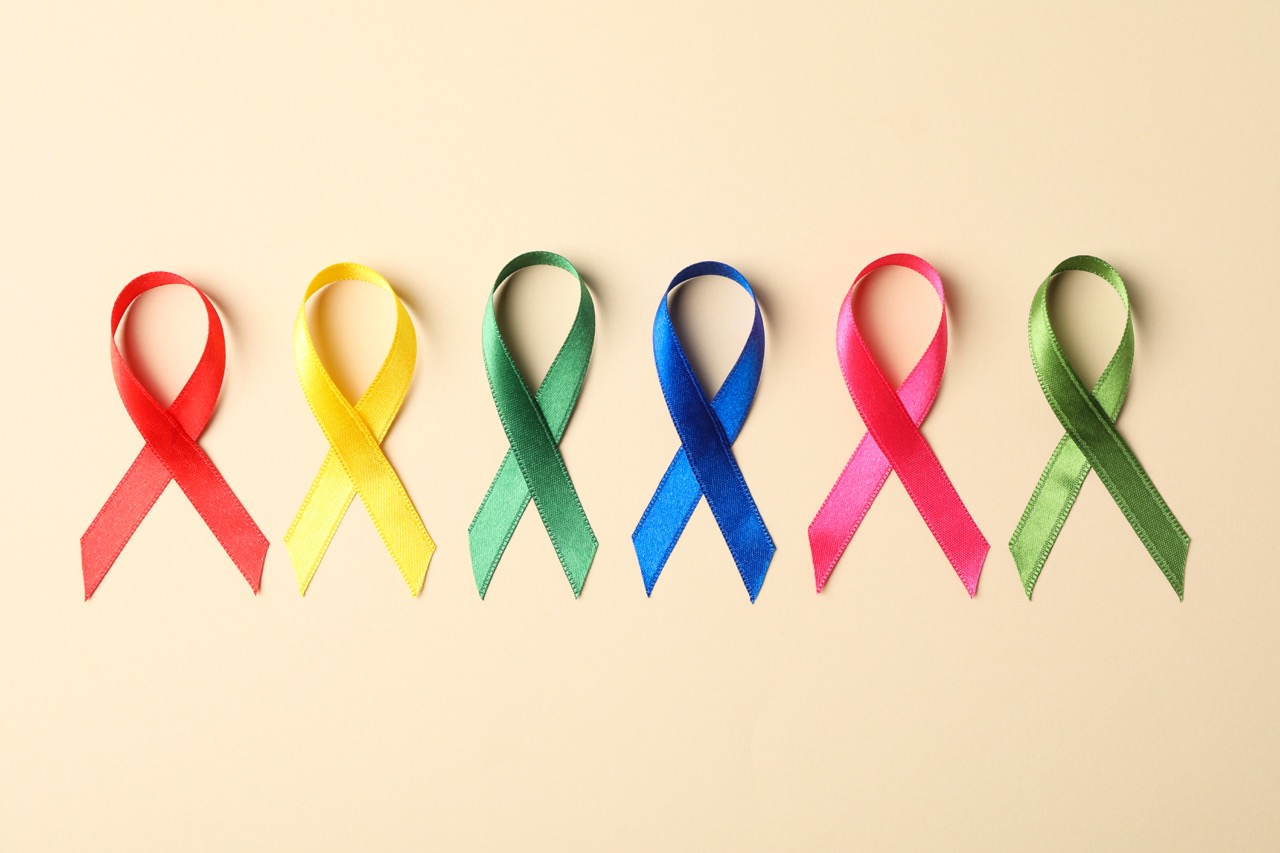
Choosing the Right Ribbon: Patterns and Textures Explored
The ribbon you choose will significantly impact the overall look and feel of your headband. Ribbons come in a wide variety of materials, patterns, and textures, allowing you to select the perfect one for your project. Satin ribbons exude elegance, while grosgrain ribbons offer a more casual appearance. Additionally, consider playful patterns like polka dots, stripes, or florals to add visual interest to your headband.
When selecting your ribbons, it’s essential to think about the occasion and personal style of the wearer. A vibrant, patterned ribbon may be perfect for a child’s birthday party, while a subtle, solid color may be more suitable for an adult attending a formal gathering. Understanding how patterns and textures interact will ensure that your headbands not only look good but also resonate with the intended audience.
Measuring and Cutting: Precision for Perfect Headbands
Precision is key when creating DIY ribbon headbands. Begin by measuring the length of ribbon you’ll need based on the size of the headband base and the desired style. A general rule of thumb is to cut a piece of ribbon approximately twice the length of the headband, allowing for overlaps and tying. Using a measuring tape ensures that each piece is uniform, especially if you plan to create multiple headbands.
Once you’ve measured your ribbons, use sharp scissors to make clean cuts. Dull scissors can fray the edges of the ribbon, affecting the overall appearance of your headband. To prevent fraying, you can seal the edges of the ribbon with a lighter or fabric glue, ensuring a polished look for your finished creation.
Essential Techniques: Tying and Securing Your Ribbon
Now that your ribbons are cut to size, it’s time to assemble your headband. Begin by placing the ribbon at one end of the headband base. Wrap the ribbon around the headband, making sure to keep it taut but not overly tight to avoid discomfort. When you reach the other end, secure the ribbon in place using your hot glue gun.
For added security, consider knotting the ribbon at the ends or using a small piece of clear tape underneath to hold it in place while the glue dries. If you’re feeling adventurous, you can explore different tying techniques, such as bows or twisted knots, to create diverse looks. Mastering these techniques will help you achieve a professional finish on your DIY headbands.
Personalization Ideas: Adding Flair to Your Headbands
Personalizing your ribbon headbands can elevate them from simple accessories to unique fashion statements. One way to add flair is by incorporating different colored ribbons to create a layered effect. You can also mix and match textures for a more dynamic look. Don’t shy away from adding initials, names, or meaningful symbols with fabric paint or iron-on patches, making each headband a true reflection of the wearer’s identity.
Another fun option is to make seasonal or themed headbands by choosing specific colors and embellishments. For example, autumn-themed headbands could feature warm-colored ribbons adorned with small leaves or acorns, while holiday headbands could incorporate festive patterns and ornaments. The possibilities are endless when it comes to personalizing your creations, allowing each headband to tell a unique story.
Age-Appropriate Styles: Designs for Kids to Adults
When crafting ribbon headbands, consider the different styles that cater to various age groups. For children, opt for bright colors, playful patterns, and whimsical designs, such as animal shapes or cartoon characters, to capture their imagination. These headbands can serve as fun accessories for playdates or parties, making them feel special and stylish.
For adults, more sophisticated designs may be preferable. Consider using muted colors, elegant patterns, and chic embellishments like pearls or lace. These headbands can complement various outfits, whether for casual outings or formal events. By tailoring your designs to different age groups, you ensure that everyone can enjoy the fun of DIY ribbon headbands.
Seasonal Themes: Crafting Headbands for Every Occasion
Crafting headbands with seasonal themes is a fantastic way to keep your projects fresh and relevant. For instance, in the spring, you could create floral-themed headbands using pastel-colored ribbons, perfect for Easter celebrations or garden parties. As summer approaches, vibrant colors and beach-inspired designs can bring a fun, carefree vibe to any outfit.
As fall arrives, think about crafting headbands with warm, earthy tones and seasonal motifs like pumpkins or leaves. In winter, embrace festive colors and holiday-themed embellishments. Creating headbands that reflect the season allows for a unique way to celebrate throughout the year while showcasing your crafting skills.
Embellishments Galore: Adding Sparkle and Style
Embellishments can take your ribbon headbands from simple to spectacular. Consider adding items like rhinestones, sequins, or beads to provide that extra sparkle and glamour. These embellishments can be glued on strategically to create patterns or designs that draw attention and make your headbands truly one-of-a-kind.
Additionally, fabric flowers, feathers, or even small charms can add unique dimensions to your headbands. The key is to balance embellishments so that they enhance the overall design without overwhelming it. Experimenting with different combinations can lead to exciting new looks that reflect your personal style or the preferences of the intended wearer.
Troubleshooting Tips: Common Issues and Solutions
As with any crafting project, you may encounter challenges along the way. One common issue is ribbon fraying, which can detract from the polished appearance of your headband. To avoid this, consider sealing the edges with fabric glue or using a lighter to carefully singe the ends. If the ribbon slips or loosens, ensure you’re applying enough glue and holding it in place until it dries completely.
Another potential issue is achieving a uniform look when working with multiple headbands. Keeping your measurements consistent and using the same technique for each piece will help maintain uniformity. If you find that a design isn’t turning out as expected, don’t hesitate to deconstruct and try again. Crafting is all about trial and error, and each attempt is an opportunity to learn and improve.
Showcasing Your Creations: Sharing and Wearing with Pride
Once you’ve crafted your beautiful headbands, it’s time to showcase your creations! Wearing them proudly is the perfect way to display your handiwork, and they can even spark conversations about your DIY journey. Whether you’re wearing a headband to a casual gathering or gifting one to a friend, it’s gratifying to see your creations appreciated by others.
Social media platforms are also a great way to share your crafting adventures. Posting photos of your finished headbands can inspire others to join in the fun and create their own. Consider creating a dedicated hashtag to connect with fellow crafters and showcase a gallery of your designs. The pride that comes from sharing your work can be immensely rewarding, fostering a sense of community among DIY enthusiasts.
Crafting DIY ribbon headbands is more than just a fun project; it’s an opportunity for self-expression, creativity, and bonding with others. By following the steps outlined in this guide, you can create beautiful, personalized accessories that cater to all ages and occasions. Whether you’re making headbands for yourself, friends, or family, each creation represents a piece of art that carries a personal touch.
So gather your materials, unleash your imagination, and embark on this exciting crafting journey. The joy of creating and the satisfaction of completing a project are waiting for you. Happy crafting!