Are you ready to elevate your hair game with some delightful DIY creations? Ribbon hair accessories are not just stylish but also offer a fun way to express your personality and creativity. Whether you’re looking to add a pop of color to your locks or craft special gifts for friends and family, making your own ribbon hair accessories can be a fulfilling and enjoyable project. In this article, we will explore various DIY ideas that will inspire you to unleash your inner artisan. Let’s dive into the world of ribbons and let your imagination run wild!
Unleash Your Creativity with DIY Ribbon Hair Accessories
Creating your own ribbon hair accessories allows for endless possibilities. From whimsical hair bows to chic hair clips, the charm of DIY is that you can tailor each piece to your own unique style. Not only do these accessories provide an opportunity for self-expression, but they also allow you to take control of your fashion choices by incorporating your favorite colors, patterns, and textures. As you embark on this journey, think of each ribbon piece as a canvas waiting for your artistic touch.
Moreover, the therapeutic nature of crafting can be incredibly rewarding. Engaging in DIY projects can help reduce stress and foster a sense of accomplishment. You’ll find joy in the process of creating something beautiful from scratch. Plus, there’s a great sense of pride that comes from wearing or gifting an accessory that you made yourself. So gather your materials, set up a creative workspace, and prepare to discover how enjoyable the world of DIY ribbon hair accessories can be!
Finally, one of the best aspects of DIY projects is the ability to customize your creations for any occasion. Whether it’s a casual outing, a formal event, or a festive celebration, you can adjust your designs to fit the mood perfectly. This versatility makes DIY ribbon hair accessories not only a fun pastime but also a practical addition to your wardrobe. Let’s explore the essential tools and materials you’ll need to get started!
Essential Tools and Materials for Your Hair Accessories
Before diving into your DIY ribbon hair accessory projects, it’s essential to gather the right tools and materials. A basic toolkit will set the foundation for your creative endeavors. You’ll need a pair of sharp scissors for precise cutting, a hot glue gun for secure bonding, and a needle and thread for any sewing elements you wish to incorporate. Each of these tools plays a significant role in ensuring your accessories turn out just right.
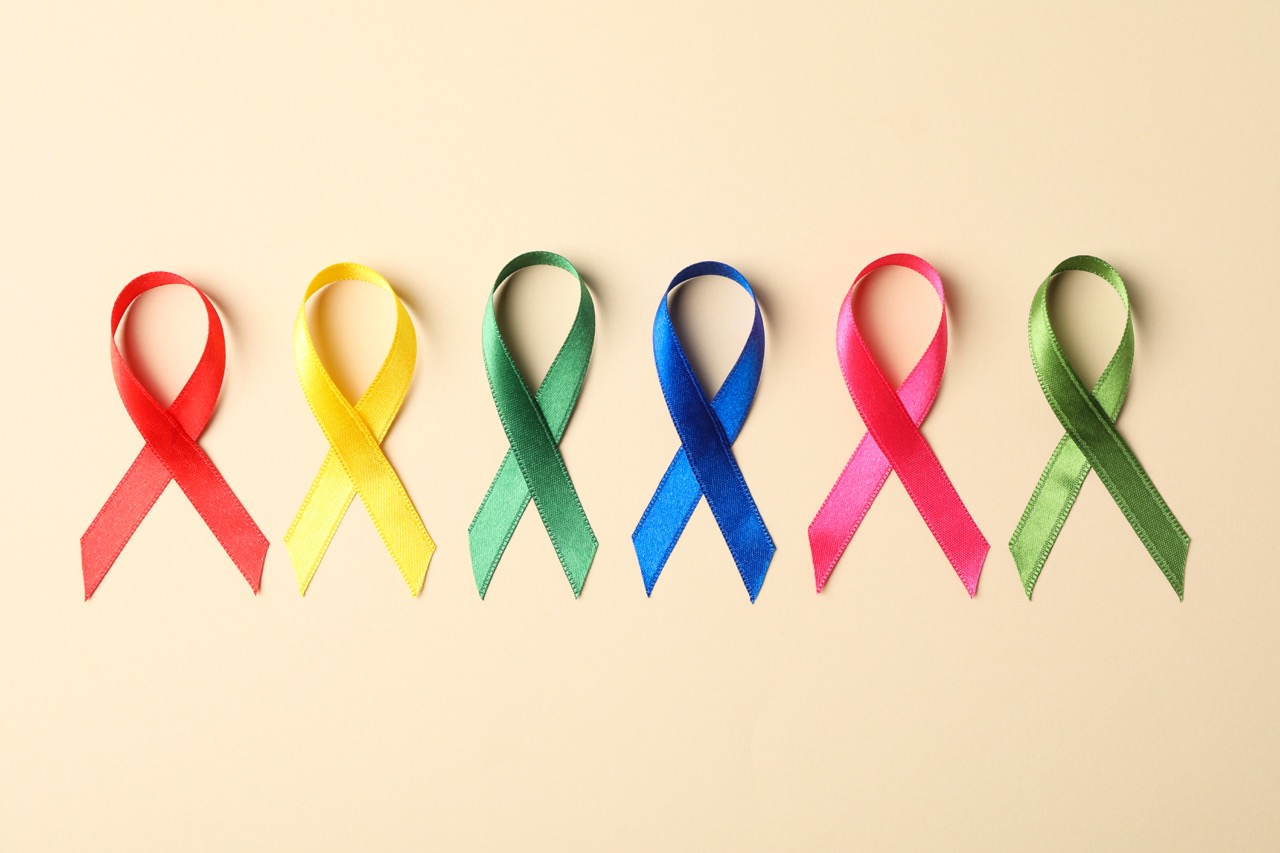
In addition to tools, selecting the right materials is crucial. You’ll want to gather various ribbons in different widths, lengths, and textures. Satin, grosgrain, and organza ribbons are popular choices that add a touch of elegance and flair to your designs. Additionally, consider using hair clips, hairbands, and other embellishments such as beads, sequins, or faux flowers to enhance your creations further. Make a checklist of all the items you’ll need before starting to ensure a smooth and enjoyable crafting experience.
Lastly, don’t forget to include a workspace that inspires you! Set up a clean, organized area where you can spread out your materials and let your creativity flow. Whether it’s a cozy corner of your home or a dedicated craft room, having a designated space will help keep your projects contained and allow you to focus on the task at hand. Now that you’re equipped with the right tools and materials, let’s explore how to choose the perfect ribbons for your DIY projects.
Choosing the Perfect Ribbons for Your DIY Projects
Selecting the right ribbons is a pivotal step in creating stunning hair accessories. Consider the occasion and your personal style when choosing your ribbons. For everyday wear, opt for cheerful colors and playful patterns that reflect your personality. Stripes, polka dots, and florals can inject a sense of fun into your hair accessories, making them the perfect complement to your outfits.
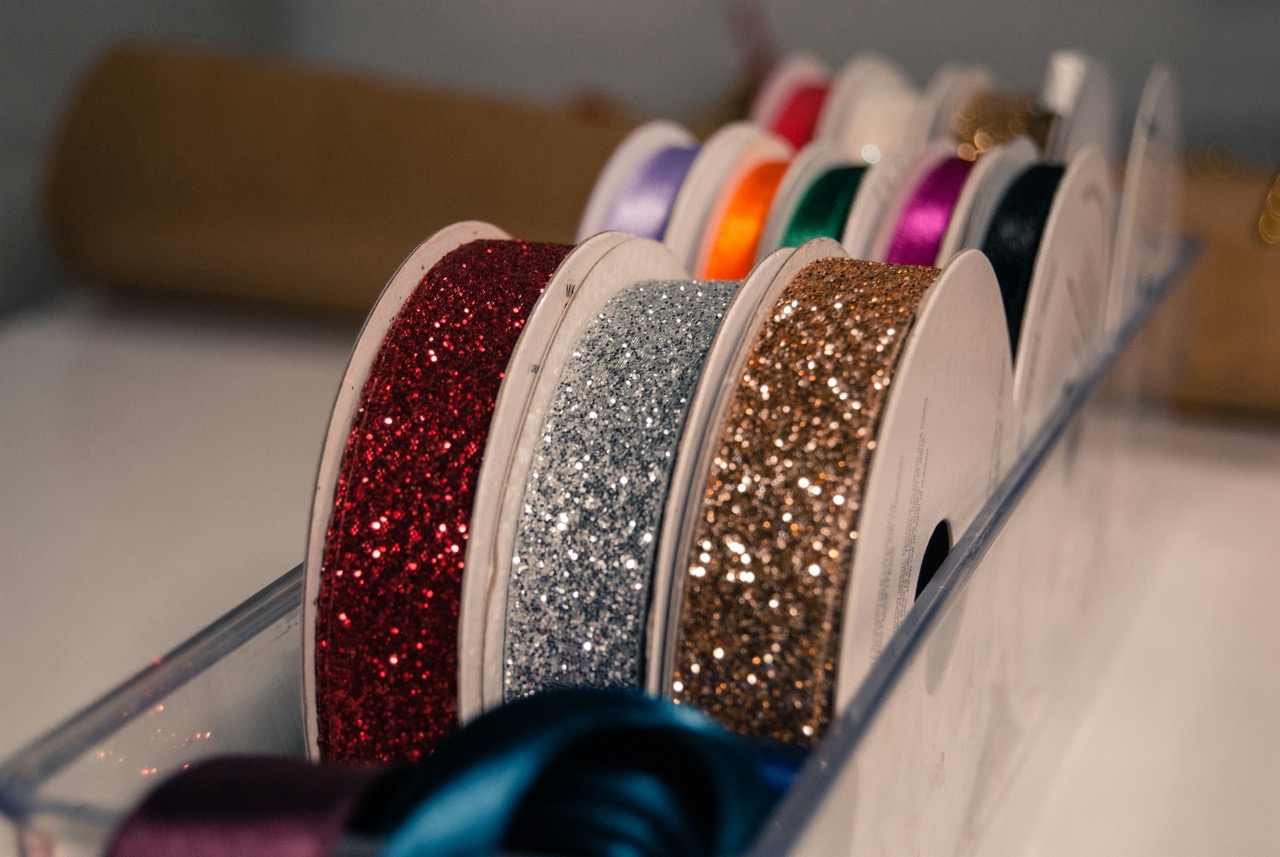
When it comes to special occasions, you might want to explore more luxurious materials and colors. Satin ribbons in rich jewel tones or metallic finishes can elevate your DIY accessories, giving them a sophisticated touch. For weddings, bridal showers, or formal events, consider using ribbons adorned with lace or sparkly embellishments. These details can transform a simple hair accessory into a statement piece that will turn heads.
Additionally, don’t be afraid to mix and match ribbons! Combining different textures and patterns can create a unique and dynamic look. Experiment with various widths and layers to achieve a multi-dimensional effect. By being bold and adventurous with your ribbon choices, you’ll make accessories that truly stand out. Now that you know how to choose the perfect ribbons, let’s move on to the step-by-step guide for making fabulous ribbon hair bows!
Step-by-Step Guide to Making Ribbon Hair Bows
Creating beautiful ribbon hair bows is a straightforward and enjoyable process! To begin, cut a length of ribbon about 24 inches long for a medium-sized bow. Fold the ribbon in half to find the center point, then create loops on either side by making two additional folds. Pinch the center where the loops meet to hold the shape. This is the foundation of your bow!
Next, secure the center of the bow by wrapping a smaller piece of ribbon around it. Use hot glue or a few stitches to hold it in place, ensuring that the bow maintains its form. Once the center is secured, trim the ends of the ribbon to your desired length and shape. You can cut them at an angle for a sleek look or create a “V” shape for a fun twist.
Lastly, attach your finished bow to a hair clip or headband using hot glue. Make sure it’s firmly secured to withstand wear. Voila! You’ve just created a stunning ribbon hair bow that you can wear or gift to someone special. Now that you have your basic bow down, let’s explore creative ways to add flair and embellish your ribbon designs!
Adding Flair: How to Embellish Your Ribbon Designs
Embellishing your ribbon hair accessories can take your designs from simple to stunning! There are countless ways to add flair, so let’s explore some creative techniques. One option is to incorporate beads or sequins into your bows or clips. Simply sew or glue them onto the ribbon to create eye-catching sparkles that catch the light beautifully. This added bling can make a charming difference, especially for special occasions.
Another fun idea is to layer different types of ribbons for a more intricate look. For instance, try combining organza and satin ribbons in complementary colors to create a multi-textured bow. You can play around with the lengths and widths of each ribbon layer to create a dynamic visual effect. Layering also allows you to mix and match patterns, adding depth and character to your accessory.
Lastly, consider adding fabric flowers, feathers, or other decorative elements to your ribbon designs. These embellishments can add a unique touch and bring your hair accessories to life. Hot glue or sew them onto your bows for a personalized flair. With these tips, your DIY ribbon hair accessories will reflect your creativity and style. Now, let’s explore some fun ideas for ribbon hair clips that you can try at home!
Fun Ideas for Ribbon Hair Clips to Try at Home
Creating ribbon hair clips is a delightful way to explore your creativity while adding practical accessories to your collection. One idea is to make simple flower clips using ribbon cut into petal shapes. Layer several petals together, securing them at the center with a button or bead. Attach the flower to a hair clip, and you’ll have a charming accessory that’s perfect for spring and summer!
Another fun project involves creating themed clips for holidays or special occasions. For example, use red and green ribbons to make festive clips for Christmas or pastel colors for Easter. You can even create Halloween-inspired clips with black and orange ribbons shaped into pumpkins or bats! These themed clips not only add a festive touch to your hair but also make great conversation starters.
If you’re looking for something more intricate, try making a ribbon sculpture clip. Use a wired ribbon to form shapes like bows, stars, or hearts. These eye-catching sculptures can be attached to a hair clip or headband for a whimsical touch. The flexibility of wired ribbon makes it easy to mold into various designs, allowing your imagination to run wild. With these fun ideas, you’ll be well on your way to crafting a collection of unique ribbon hair clips!
Transforming Old Hairbands with Stylish Ribbons
Don’t let old hairbands go to waste! Transforming them with stylish ribbons can breathe new life into your accessories. Start by selecting a hairband that’s still in good condition but may be lacking in style. Choose a ribbon that complements your wardrobe, and cut a length long enough to wrap around the hairband completely.
Begin by gluing one end of the ribbon to the inside of the hairband. Then, carefully wrap the ribbon around the band, ensuring it’s tight and evenly placed. When you reach the end, secure it with glue or stitch it in place. This simple transformation can elevate a plain hairband into a chic accessory that you’ll be proud to wear.
You can also experiment with different wrapping techniques, such as creating a twisted pattern with multiple ribbons or adding embellishments as you wrap. This DIY project is not only an excellent way to recycle old hairbands, but it also offers a creative outlet for your ribbon skills. Now that you’ve learned how to revamp older accessories, let’s move on to seasonal inspiration for ribbons!
Seasonal Inspiration: Ribbons for Every Occasion
Ribbons can be an exciting way to celebrate the changing seasons. Each season brings its own colors and themes, providing ample opportunity to create unique hair accessories. For spring, think pastels and floral patterns. Create hair bows adorned with flowers or pastel layers to embrace the blooming beauty of the season.
As summer approaches, vibrant colors and tropical prints become the stars of the show. Consider making hair accessories with bright, bold ribbons featuring fun patterns like palm leaves or fruity motifs. These cheerful pieces will surely complement your summer outfits and add a playful touch to your look.
When autumn arrives, switch to warm colors like deep oranges, reds, and browns. Use ribbons with leaf patterns or textures that evoke the season, such as burlap or velvet. As winter approaches, think of rich jewel tones, sparkly ribbons, and festive designs to create holiday-themed accessories. By adapting your ribbon choices to the seasons, you’ll always have fresh, fashionable hair accessories to showcase throughout the year!
Personalize Your Accessories with Unique Color Combos
Personalization is key to making your DIY ribbon hair accessories truly your own. One of the most enjoyable aspects of crafting is experimenting with color combinations that resonate with your style. Start by considering your wardrobe: what colors do you wear most often? Choose ribbons that complement or contrast nicely with your favorite outfits to create accessories that harmonize with your overall look.
Don’t hesitate to mix patterns either! Combining polka dots with stripes or floral prints can add a playful and trendy touch to your hair accessories. Just be mindful of balancing the colors to ensure they don’t clash. For example, if you use a busy pattern for one ribbon, pair it with a solid color for the best results. This technique allows your unique style to shine through while still making a statement.
Additionally, consider customizing your accessories with monograms or initials. You can create small fabric patches or use decorative letters to personalize your ribbons. Attach these patches to your bows or clips for an added touch of uniqueness. By exploring various color combinations and personal touches, your DIY ribbon hair accessories will reflect your individual flair beautifully!
Tips for Maintaining and Caring for Ribbon Accessories
To ensure that your DIY ribbon hair accessories last a long time, proper care is essential. Start by storing them in a cool, dry place away from direct sunlight. Exposure to sunlight can fade the vibrant colors of your ribbons, while humidity can cause them to lose shape. Consider using a dedicated accessory box or drawer to keep your hair accessories organized and protected.
Additionally, be mindful of how you handle your ribbon accessories. Avoid pulling or tugging on them excessively, as this can lead to wear and tear. When wearing ribbon hair bows or clips, treat them gently and remove them carefully when you’re done for the day. If your accessories become wrinkled, gently steam them or use a low-heat iron with a cloth barrier to smooth them out.
Lastly, if you notice any dirt or stains on your ribbons, clean them carefully using a damp cloth and mild soap. Avoid soaking the ribbons in water, as this can cause them to lose their shape. By following these maintenance tips, your DIY ribbon hair accessories will remain beautiful and ready to wear for years to come. Now, let’s explore how to share the joy of your creations by gifting them to others!
Share the Joy: DIY Ribbon Hair Accessories as Gifts
Handmade gifts carry a special sentiment, and DIY ribbon hair accessories make for thoughtful presents that show you care. Whether it’s for a birthday, holiday, or just because, crafting a personalized hair accessory for someone special is a beautiful way to express your affection. Consider the recipient’s style and preferences as you create an accessory tailored just for them.
When gifting your creations, presentation matters! Consider wrapping the hair accessory in a decorative box or bag, complete with a personal note. You can also include a few additional accessories, such as hairbands or clips, to create a delightful gift set. This thoughtful touch shows the recipient that you put extra effort into their gift, making it even more meaningful.
Furthermore, don’t forget to share your creations with friends and family, encouraging them to explore their creativity! You can host a DIY ribbon hair accessory party, where everyone can craft together and share ideas. By spreading the joy of crafting, you inspire others to unleash their creativity and enjoy the therapeutic benefits of making something special. Let’s wrap things up by exploring how to connect with fellow DIY enthusiasts online!
Join the Fun: Connect with Fellow DIY Enthusiasts Online
In today’s digital world, connecting with fellow DIY enthusiasts has never been easier! Numerous online communities exist where crafters share their projects, tips, and inspiration. Platforms like Instagram, Pinterest, and crafting forums serve as fantastic resources for discovering new techniques and ideas for DIY ribbon hair accessories.
Joining social media groups or forums focused on crafting can open doors to valuable connections with like-minded individuals. These communities often host challenges, tutorials, and share their projects, providing motivation and inspiration for your own creations. Don’t hesitate to share your work, as you may inspire others while receiving constructive feedback to hone your skills.
Additionally, consider starting your own blog or social media page dedicated to your DIY endeavors. Documenting your projects can create a community of followers who share your passion for crafting. The connections you build can lead to collaborations, workshops, and friendships that enhance your crafting experience. Embrace the joy of connecting with fellow DIY enthusiasts, and let the creativity flow!
Creating DIY ribbon hair accessories is a rewarding creative venture that allows you to express your unique style while having fun. Whether you’re crafting beautiful bows, transforming old hairbands, or personalizing gifts for loved ones, the possibilities are endless. With the right tools, materials, and inspiration, you can create stunning accessories that brighten your hair and your day! So gather your ribbons, embrace your creativity, and enjoy the journey of making beautiful and personalized hair accessories. Happy crafting!