Creating a ribbon-covered photo frame is a delightful way to express your creativity while adding a personal touch to your home décor. This charming craft allows you to showcase your favorite memories in style, transforming a simple frame into a vibrant piece of art. Whether you’re looking to brighten up a dull room or searching for a thoughtful handmade gift, a ribbon-covered frame can be tailored to fit any occasion or aesthetic. Let’s dive into the various steps involved in this creative process.
Crafting your own ribbon-covered photo frame not only sparks your imagination but also offers an opportunity to relax and unwind. The repetitive motions of wrapping and gluing can be meditative, providing a satisfying end result that reflects your personal style. With just a few basic materials and a bit of creativity, you can craft a beautiful frame that celebrates your cherished moments.
Unleashing Creativity: The Art of Ribbon-Covered Frames
The art of creating ribbon-covered frames is a fun fusion of crafts and design, allowing you to play with colors, textures, and patterns. There’s no limit to how creative you can get; you might choose to incorporate different widths of ribbons or experiment with layering techniques. The beauty lies in the unique combinations you can create, reflecting your personal taste and the theme of the photos you wish to display.
Additionally, this project encourages you to think outside the box when it comes to materials. Beyond just ribbons, consider integrating other elements like lace, twine, or even fabric scraps to further enhance your frame’s aesthetic. Embracing a mixed-media approach can elevate your project and result in a one-of-a-kind masterpiece that serves as a perfect backdrop for your favorite moments.
Gathering Your Materials: What You’ll Need to Start
Before diving into your project, it’s essential to gather all the necessary materials. The basics include a photo frame, various ribbons, scissors, a hot glue gun or craft glue, and optional embellishments like beads or flowers. Having everything organized will streamline your crafting process and ensure you have everything you need at hand.
In addition to the core materials, consider including protective measures like a work mat or old newspapers to catch any glue spills. A ruler might also come in handy if you wish to measure and cut your ribbons to a specific length. The more prepared you are, the more enjoyable the crafting experience will be!
Selecting the Perfect Photo Frame for Your Project
Choosing the right photo frame is crucial to the overall success of your ribbon-covered project. Frames come in various sizes, shapes, and materials, so take the time to select a frame that resonates with your vision. Wooden frames offer a rustic charm, while sleek metal frames can provide a modern touch.
Consider the size of your photo and where you intend to display the frame. Smaller frames work well for tabletops or shelves, while larger frames can become statement pieces on walls. Ultimately, the frame you choose will serve as the canvas for your creative expression, so select one that inspires you!
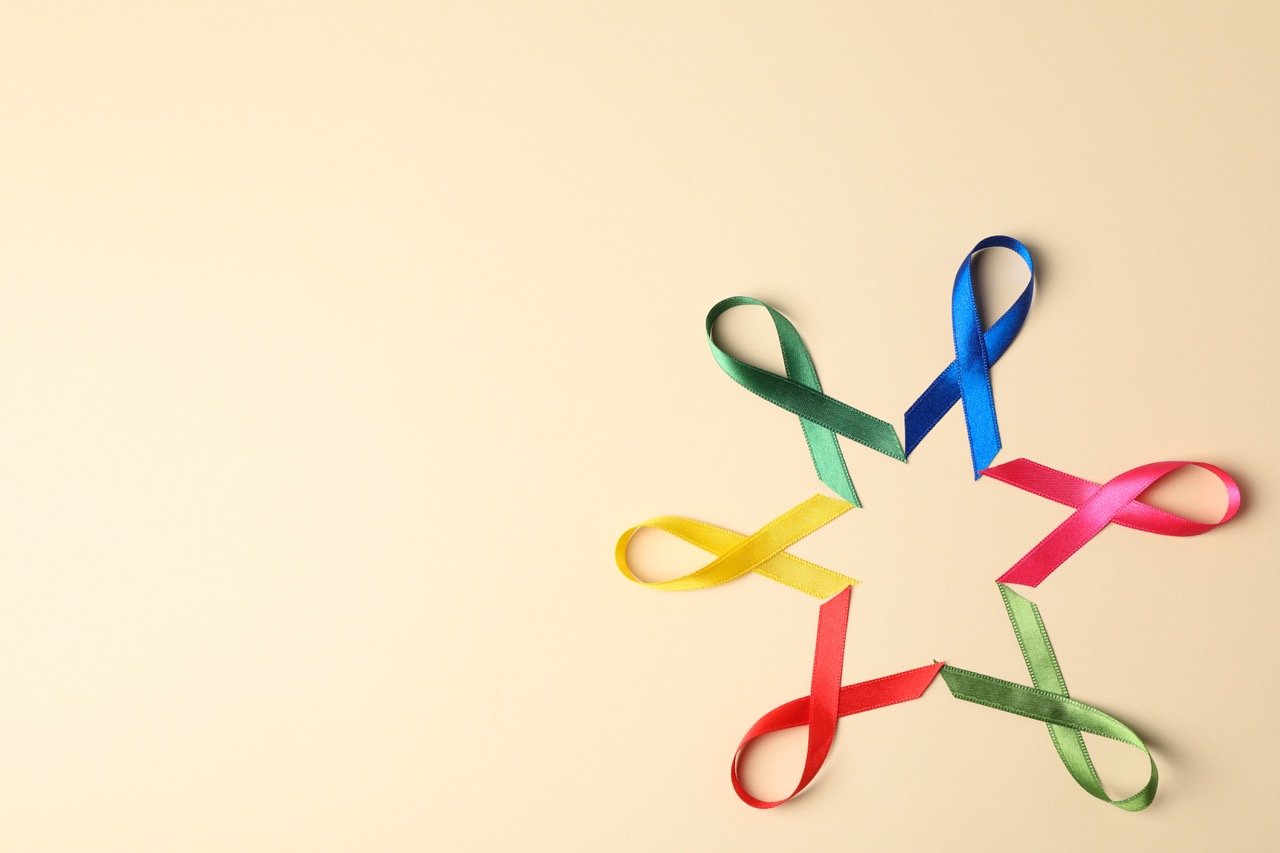
Choosing Ribbons: Colors, Patterns, and Textures to Explore
Ribbons are the heart of this project, and selecting the right ones can make all the difference. Think about the color scheme you wish to incorporate based on the photo you’ll display and the overall aesthetic of your space. You might choose to stick to a monochromatic palette for a minimalist look or opt for bold, contrasting colors to create a vibrant effect.
Don’t shy away from exploring different patterns and textures as well. Satin ribbons lend a touch of elegance, while burlap or jute ribbons can add a rustic feel. Mixing and matching various textures can offer depth to your frame and create visual interest. This is your chance to express your personality, so have fun with it!
Preparing the Frame: Cleaning and Priming Basics
Before you start decorating your frame, it’s essential to prepare it properly. Dust and dirt can interfere with the adhesion of the ribbons, so be sure to clean the frame thoroughly. Wipe it down with a damp cloth and let it dry completely to ensure a smooth and clean surface for your project.
If your frame has a glossy finish, consider applying a primer or a matte paint layer to help the ribbons adhere better. This step is particularly important for frames made of materials like plastic or glass. A well-prepared surface will ensure your ribbons stay in place and your finished frame has a polished look.
Measuring and Cutting Ribbons: Tips for Precision
To achieve a polished look, measuring and cutting your ribbons accurately is key. Start by determining how much ribbon you’ll need for each section of your frame. This will depend on the frame’s dimensions, so take out your ruler and measure carefully to avoid waste.
When cutting your ribbons, use sharp scissors for clean edges. Consider cutting them at an angle to prevent fraying, which can happen with certain materials. If you’re layering ribbons, keep track of the length of each piece to ensure consistent coverage and a cohesive look across your frame.
Gluing Techniques: Ensuring a Secure and Neat Finish
When it comes to attaching your ribbons, the right gluing technique is fundamental for achieving a neat finish. A hot glue gun is often the best choice for its quick-drying properties and strong hold. Start by applying a small bead of glue to the frame and carefully press the ribbon into place, holding it for a few moments to ensure adherence.
Be mindful of your glue placement to avoid excess blobs that can detract from your frame’s appearance. If you’re using craft glue, apply it evenly and allow ample drying time before moving on to the next section. The key to a secure and neat finish lies in patience and attention to detail.
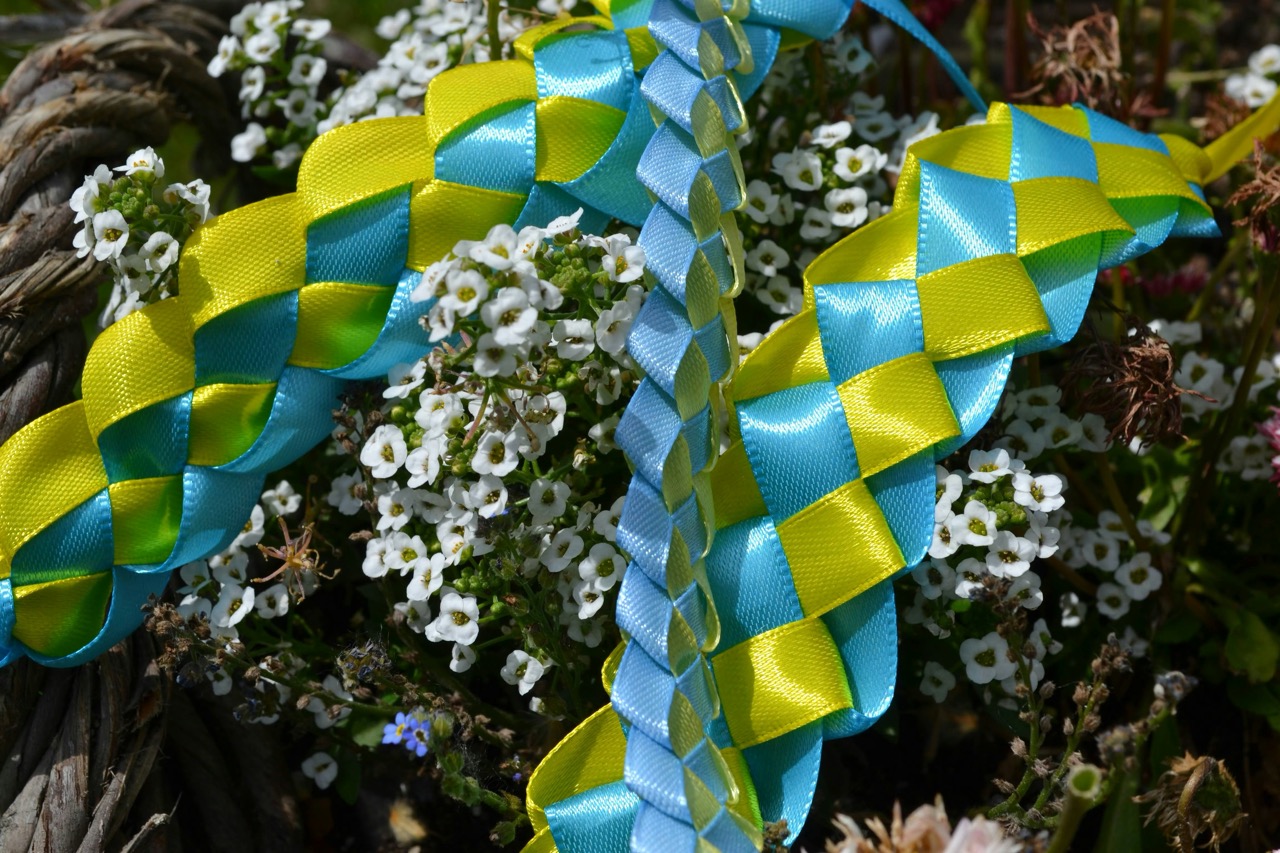
Adding Depth: Layering Ribbons for a Unique Look
Layering ribbons can elevate your design from simple to spectacular. Experiment with different widths and textures by placing wider ribbons at the base and layering thinner ones on top. This technique adds depth and dimension, making your frame visually captivating.
To create an interesting pattern, consider alternating colors or even incorporating solid ribbons with printed ones. Layering is also an excellent way to use up leftover ribbon scraps, allowing for creative combinations that reflect your style. The possibilities are endless, so don’t hesitate to explore different arrangements!
Personalization: Embellishments to Enhance Your Frame
To truly make your ribbon-covered frame your own, consider adding personal touches through embellishments. Incorporating elements like buttons, beads, or decorative flowers can add charm and character to your design. You might also choose to include a name or date to commemorate a special memory.
When adding embellishments, think about the overall balance of your frame. Ensure that the additional elements complement the ribbons without overwhelming them. Personalization allows you to craft a frame that tells a story, making it even more meaningful as a display for your treasured photographs.
Displaying Your Masterpiece: Ideas for Placement
Once your ribbon-covered frame is complete, it’s time to showcase your masterpiece! Consider the best placement for your frame based on the size and design. It could be a charming addition to a gallery wall, or perhaps you prefer to display it on a mantel or shelf where it can catch the eye.
Pay attention to the surrounding décor when placing your frame. You want to create a cohesive look that enhances both your frame and the overall aesthetic of the room. Experiment with different arrangements until you find the perfect spot that allows your creation to shine!
Gifting with Heart: Ribbon Frames for Special Occasions
Ribbon-covered photo frames make for thoughtful, personalized gifts that can be treasured for years to come. Whether it’s a birthday, anniversary, or holiday gift, a handmade frame filled with a cherished photo can evoke heartfelt emotions. Tailor the colors and patterns of the ribbon to suit the recipient’s taste or the occasion.
Accompany the frame with a heartfelt note or a special memory related to the photo to enhance the sentimental value. A ribbon-covered frame is not just a gift; it’s a heartfelt gesture that shows you care and have put thought into creating something special for your loved ones.
Maintaining Your Creation: Care Tips for Longevity
To ensure your ribbon-covered photo frame remains a beautiful addition to your home for years to come, proper care is essential. Regularly dust the frame with a soft cloth to keep it looking fresh and vibrant. Avoid placing it in direct sunlight for prolonged periods, as this can cause the colors to fade.
If any ribbons become loose or start to fray, don’t hesitate to repair them with a little extra glue. Keeping an eye on the condition of your frame and attending to minor issues promptly can help maintain its beauty and integrity, allowing you to enjoy your masterpiece for many years.
Creating a ribbon-covered photo frame is not just a fun craft but also a heartfelt way to celebrate your cherished memories. From selecting the perfect frame to personalizing it with embellishments, each step allows you to express creativity while crafting something unique. By following these detailed guidelines, you can embark on a rewarding journey of making beautiful, meaningful decor that can brighten up your space or serve as a thoughtful gift. So gather your materials, unleash your creativity, and let your imagination guide you in crafting a stunning ribbon-covered photo frame!