In the quest for affordable home decor, ribbon wall hangings have emerged as a delightful and budget-friendly option. These vibrant, textured creations allow you to unleash your creativity and transform any blank wall into a striking focal point. With a wide array of ribbons available, from silky satin to rustic jute, the options are virtually limitless. Whether you’re aiming for a minimalist look or a bold statement piece, creating ribbon wall hangings can be an enjoyable project that adds a personal touch to your space without breaking the bank.
This article will guide you through the essentials of crafting stunning ribbon wall art on a budget. From selecting the right materials to displaying your art, you will find practical tips and inspiring ideas to help you create unique pieces that reflect your personal style. Let’s dive into the colorful world of ribbon art!
Unleashing Creativity: Affordable Ribbon Wall Art Ideas
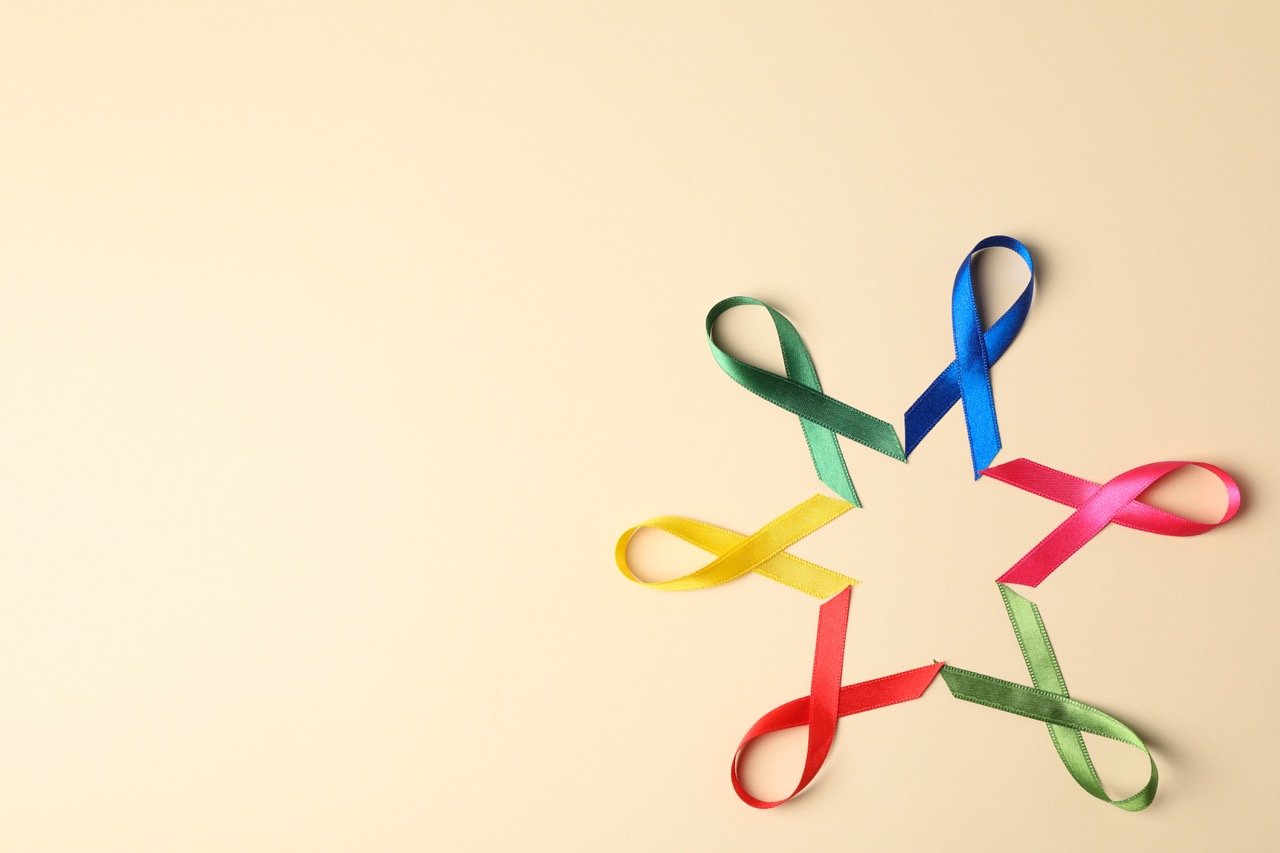
Creating ribbon wall hangings offers an excellent outlet for your artistic expression while being easy on the wallet. Start by brainstorming ideas that resonate with your decor style—think geometric patterns or whimsical shapes. You can create simple knot designs or more complex layered arrangements depending on your skill level and the look you want to achieve. Don’t hesitate to experiment with different lengths and widths of ribbon to create visual interest.
Consider thematic designs that incorporate seasonal elements or personal passions. For instance, a beach-themed hanging could feature shades of blue and sandy beige, while an abstract piece could utilize contrasting colors for a dramatic effect. The key is to let your imagination run wild while keeping your budget in check. By using everyday materials and a little creativity, your wall art can become a stunning centerpiece in any room.
Essential Tools and Materials for Ribbon Wall Hangings
Before diving into your ribbon wall art project, gather all the essential tools and materials. You will need a sturdy base, such as a wooden dowel, a canvas frame, or even a large piece of cardboard. Additionally, scissors, a hot glue gun, and adhesive glue dots are crucial for cutting and securing your ribbons. A ruler and pencil may also come in handy for measuring and marking your design layout.
In terms of materials, ribbons are obviously the star of the show. While many will think of fabric ribbons, don’t overlook alternatives like twine, lace, or even paper strips. These materials can add different textures and layers to your piece. By keeping your toolkit simple and affordable, you can focus more on the artistic process and less on the expense.
Choosing the Right Ribbons: Colors and Patterns That Pop
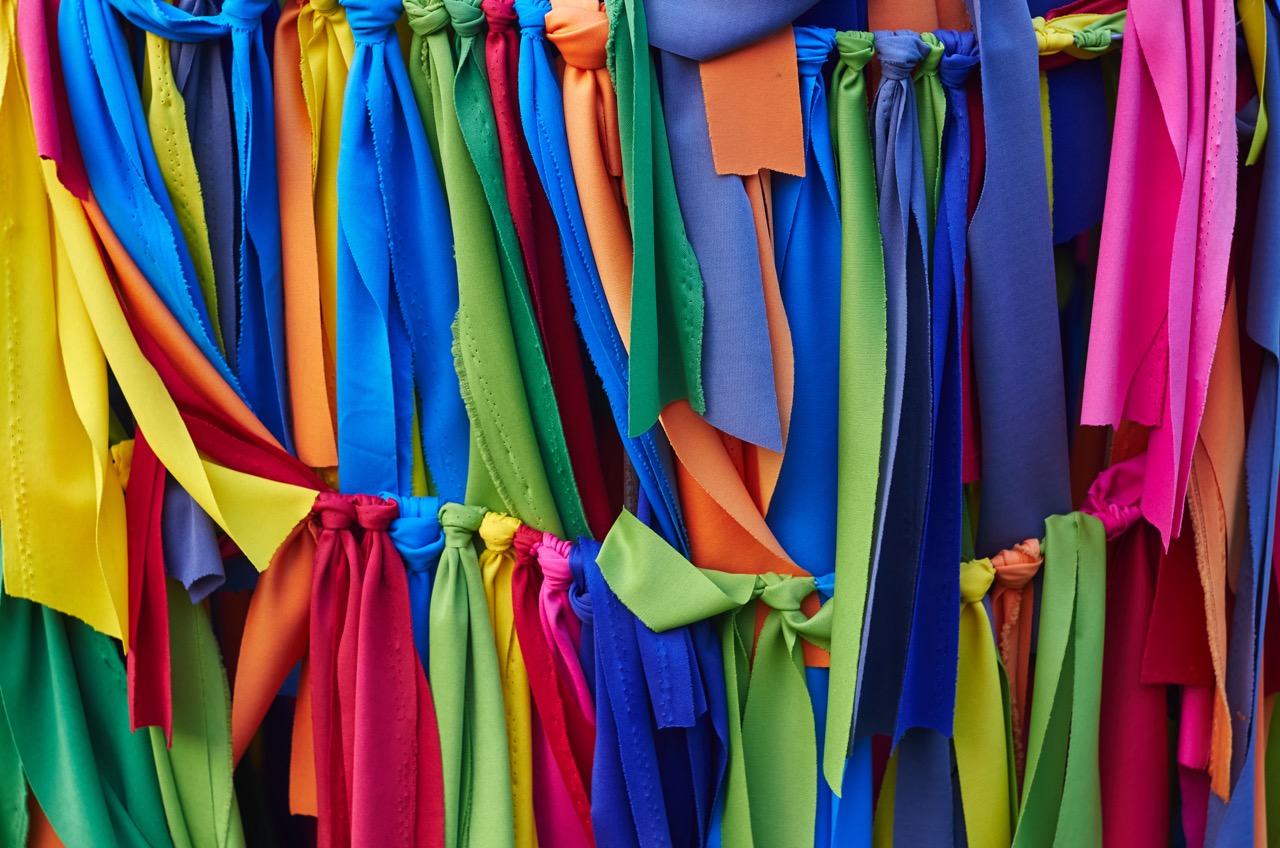
When it comes to selecting ribbons, the color palette is vital for creating eye-catching wall art. Consider the existing color scheme of your room to ensure your artwork complements your decor. For a cohesive look, select ribbons in varying shades of a single color or opt for a complementary color scheme to create contrast. Using different ribbon widths can also add depth and dimension to your final piece.
Patterns play an essential role in ribbon selection as well. Stripes, polka dots, and floral prints can provide visual interest and help convey a certain theme or mood. Mixing and matching various patterns can yield stunning results, but aim for a balance to avoid overwhelming the viewer. Ultimately, choose ribbons that resonate with your personal aesthetic while also enhancing your overall design.
Budget-Friendly Sources for Quality Ribbons and Supplies
Finding budget-friendly sources for ribbons and art supplies is crucial for keeping costs low. Local craft stores often have sales or discount sections, making them a great place to find quality materials at a fraction of the price. Additionally, consider checking out dollar stores, thrift shops, and garage sales for unexpected treasures. You may discover rolls of ribbon or other materials that are perfect for your project.
Online platforms such as Etsy, Amazon, or specialized craft websites can also provide a wide selection of ribbons at competitive prices. Look for bulk purchasing options or clearance sales to maximize your savings. By being resourceful and exploring different avenues, you can gather an impressive array of materials without emptying your wallet.
Step-by-Step Guide to Designing Your Ribbon Wall Art
To ensure a successful ribbon wall hanging, begin with a clear design plan. Sketch your layout on paper, deciding how you would like to arrange your ribbons. Consider using templates or guides for various shapes, such as hearts, flowers, or abstract designs. This will help you visualize your project and maintain a consistent look while working.
Once your design is mapped out, gather your materials and follow your layout closely. Start by cutting the ribbons to the appropriate lengths and laying them out on your base before adhering them permanently. This allows for adjustments and makes it easier to achieve the desired look. Stay organized and patient as you assemble your piece, and remember that imperfections can add to its unique charm.
Techniques for Attaching Ribbons Securely and Neatly
When it comes to attaching ribbons, ensuring they are secured neatly is essential for a polished final product. Hot glue is a reliable adhesive for ribbon art, as it dries quickly and holds firmly. Apply a small amount of glue to the ribbon and press it onto your base. To achieve a clean look, avoid excessive glue that may seep out from the edges. A steady hand and a bit of patience go a long way in making sure your ribbons maintain their intended shape.
For a more temporary solution or if you want to experiment with your design, consider using adhesive glue dots or double-sided tape. These methods allow for easy repositioning and are less likely to damage your base material. Whichever technique you choose, take your time when securing each ribbon to avoid a haphazard appearance.
Incorporating Mixed Media: Enhancing Your Ribbon Art
To elevate your ribbon wall hangings, consider incorporating mixed media elements. Materials such as beads, buttons, or natural embellishments can add depth and texture to your artwork. By layering different materials, you create a multidimensional piece that draws attention and invites exploration. Think about using wood slices, dried flowers, or even metallic accents to enhance your design.
Additionally, you can experiment with non-ribbon materials like fabric scraps, lace, or even paper to create a more eclectic look. These can be woven or glued into your ribbon composition, enriching the visual appeal. Mixed media not only expands your creative possibilities but also provides an opportunity to repurpose materials you may already have at home.
Styling Tips: Arranging Ribbons for Maximum Impact
Arranging your ribbons thoughtfully is critical for achieving maximum impact. Start by establishing a focal point within your design—this could be a particularly striking ribbon or an intricate arrangement. From there, build outwards, ensuring that the surrounding ribbons complement and enhance your focal point. Consider varying the lengths and widths of your ribbons to create a sense of movement and flow throughout the piece.
Use layering techniques to achieve visual depth. Overlapping ribbons not only adds interest but can create a sense of cohesion. If you’re using a variety of colors and patterns, be mindful of their placement to maintain balance. Finally, step back and assess your arrangement from different angles, making adjustments as needed to ensure your artwork captures attention from every viewpoint.
Personalizing Your Creation: Adding Unique Touches
Personalizing your ribbon wall hangings can transform them from generic decor into meaningful pieces of art. Consider adding initials, quotes, or meaningful symbols using additional materials like felt or fabric paint. Stencils can help ensure a clean and precise application, allowing you to incorporate text or designs that hold special significance.
Additionally, think about integrating personal mementos such as photos or small trinkets that reflect your personality or tell a story. These unique touches can make your art more engaging and relatable, inviting viewers to connect with it on a deeper level. Ultimately, personalization ensures that your ribbon wall hanging becomes a cherished piece that resonates with you and your home.
Displaying Your Masterpiece: Best Practices and Tips
Once your ribbon wall hanging is complete, the next step is finding the perfect spot to display it. Consider the size and proportions of your piece in relation to the wall space you have available. A large ribbon art piece can serve as a stunning centerpiece for a living room or entryway, while smaller pieces may be ideal for creating a gallery wall.
When hanging your artwork, use proper hardware to ensure it remains securely fastened. Picture hangers or command strips can provide strong support without damaging your walls. Finally, remember to arrange your pieces at eye level for optimal viewing. A well-displayed piece can enhance your space significantly and become a conversation starter for guests.
Maintenance and Care for Your Ribbon Wall Hangings
To keep your ribbon wall hangings looking fresh and vibrant, regular maintenance is essential. Dusting gently with a soft cloth can prevent dirt and debris from accumulating. Ensure you avoid excessive moisture or humidity, as this can lead to fraying or discoloration of your ribbons. If your piece is exposed to sunlight, consider rotating it periodically to minimize fading.
In the event of any damage, be proactive about repairs. A little hot glue can go a long way in reattaching loose ribbons or fixing frayed edges. By taking good care of your ribbon art, you can ensure it remains a beautiful and cherished part of your home decor for years to come.
Inspiring Examples: Real-Life Ribbon Art on a Budget
To spark your creativity, take a look at some inspiring examples of ribbon wall hangings crafted on a budget. Many artists share their projects online, showcasing how simple materials and thoughtful designs can create stunning results. From minimalist ribbon banners to elaborate bohemian-style wall hangings, these examples highlight the versatility of ribbon art.
Seek out communities on social media platforms where enthusiasts share their work and tutorials. Participating in these communities not only provides inspiration but also fosters connections with fellow creatives. By exploring real-life examples, you may discover new techniques and ideas that motivate you to begin your own ribbon art journey.
Creating ribbon wall hangings on a budget is not only an economical choice but also a fulfilling creative endeavor. By following these guidelines, you can craft stunning pieces of art that reflect your unique style and enhance your living space. Remember, the process is just as important as the final product; enjoy experimenting with colors, textures, and designs as you embark on this artistic adventure. With a few simple materials and a dash of creativity, your walls can come alive with beautiful ribbon art that speaks to your personality and taste. Happy crafting!