Crafting has become a beloved pastime for many, offering a way to express creativity and individuality. One delightful project that merges fun with functionality is the creation of DIY ribbon keychains. These charming accessories not only help keep your keys organized but also allow you to showcase your unique style. Whether you’re a seasoned crafter or just starting out, making ribbon keychains can be a rewarding experience that brings a personal touch to an everyday item.
In this article, we will explore the ins and outs of creating your own ribbon keychains. From gathering the necessary supplies to adding thoughtful embellishments, each step will guide you through the process of making something special. By the end, you’ll have the tools and inspiration needed to craft beautiful keychains that reflect your personality and make perfect gifts for your loved ones.
Discover the Joy of Crafting DIY Ribbon Keychains
Creating DIY ribbon keychains is a fantastic way to channel your creativity into something both beautiful and practical. The joy of crafting lies in the process itself, where each step allows you to express your artistic flair. With a few simple materials and a little time, you can transform plain ribbons into vibrant keychains that brighten up your day every time you reach for your keys. This activity not only provides a sense of accomplishment but also serves as a stress-reliever, making it a perfect hobby for anyone looking to unwind.
Moreover, crafting your own keychains can be an excellent bonding activity with friends or family. You can invite others to join you, share ideas, and even create matching keychains that symbolize your connection. The collaborative spirit enhances the experience, turning a simple craft into a memorable occasion. So gather your loved ones, prepare your supplies, and dive into the world of DIY ribbon keychains!
Gather Your Supplies: What You’ll Need to Get Started
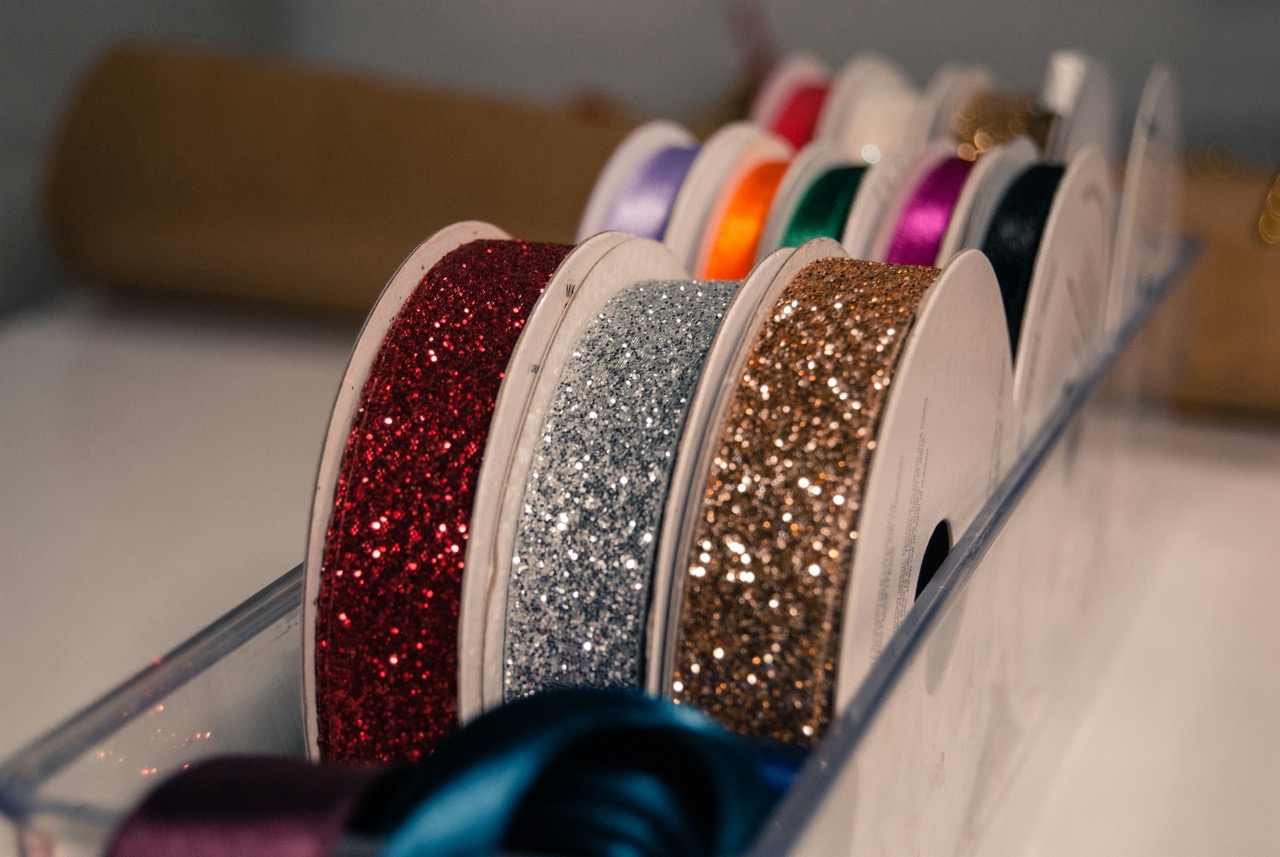
Before you start crafting, it’s essential to gather all necessary supplies to ensure a smooth process. At a minimum, you will need various ribbons (preferably in multiple colors and textures), keyring hardware, scissors, and a lighter or fray check to seal the ribbon ends. Additionally, you might want to have a hot glue gun on hand for attaching any embellishments securely. These fundamental tools will set the foundation for your keychain crafting journey.
Don’t forget to customize your toolkit according to your preferences! You can add other decorative elements such as charms, beads, or fabric scraps. The beauty of DIY projects lies in the freedom to choose what resonates with you best. By preparing your crafting space with an assortment of materials, you will ignite your imagination and fuel your creativity as you embark on making your unique keychains.
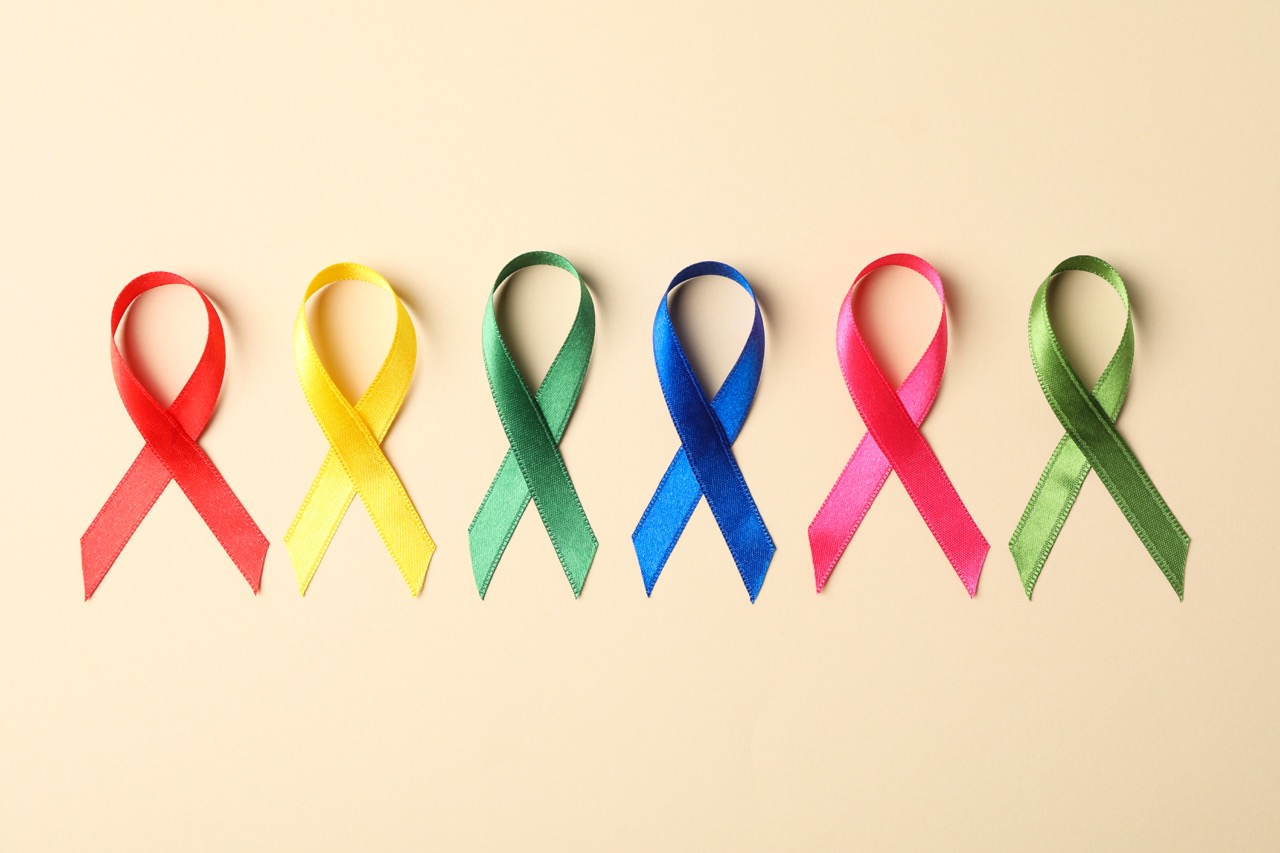
Choosing the Right Ribbons: Colors and Textures Matter
When selecting ribbons for your keychains, consider how colors and textures can influence the overall look and feel of your creation. Bright, vibrant colors can instill a sense of joy, while softer, pastel shades may evoke calmness and serenity. Think about the personality of the person who will use the keychain when making your selections. A bold ribbon may suit a fun-loving friend, while a more subdued option might appeal to someone with a classic taste.
Textures also play a critical role in enhancing the visual appeal of your keychains. Satin ribbons offer a smooth, polished look, while burlap or jute can provide a rustic charm. Combining different textures can create a tactile experience and add depth to your design. Experimenting with various colors and materials will allow you to create a keychain that is not just functional but also a delightful piece of art.
Step-by-Step Guide: Creating Your Own Keychain
Now that you have your supplies and ribbons selected, it’s time to start crafting! Start by cutting your ribbons into equal lengths, typically around 10-12 inches, depending on how long you want your keychain to be. Once you have a selection of ribbons cut, gather them together and fold them in half. This will create a loop at the top, which you will secure to the keyring.
Next, take the loose ends of the ribbons and thread them through the keyring, then pull them through the loop you just created. This will create a secure knot that holds the ribbons in place. Adjust the lengths as needed for an even appearance, and don’t forget to seal the ends of your ribbons with a lighter or fray check to prevent fraying. With just a few simple steps, you’ll have a charming keychain ready for personal embellishment!
Adding Personal Touches: Charms and Beads to Consider
To elevate your DIY ribbon keychain from simple to spectacular, consider adding personal touches through charms and beads. Charms come in a multitude of shapes and sizes, allowing you to choose those that resonate with your interests or the interests of the recipient. Whether it’s a tiny heart, a star, or a favorite animal, charms can add a significant meaning to your keychain and serve as conversation starters.
Beads are another excellent way to introduce color and personality to your design. Experiment with various sizes, styles, and textures to create a visually appealing combination. You may choose to string beads onto the ribbons before securing them to the keychain or attach them directly to the ribbons with thread or wire. Adding these decorative elements not only personalizes your keychain but also showcases your creativity and craftsmanship.
Innovative Techniques: Braiding and Twisting Ribbons
While a simple knot is a great starting point, experimenting with innovative techniques such as braiding and twisting can add an interesting flair to your keychains. Braiding involves taking three or more ribbons and weaving them together to create a braided rope effect. This not only provides a sturdy structure but also enhances the visual complexity of the keychain. It’s an excellent way to use multiple colors in a cohesive design.
Twisting ribbons together can also yield beautiful results. By twisting two ribbons together, you can create a spiral effect that adds dimension and interest to your keychain. These techniques not only enhance the aesthetic appeal but also allow you to express different styles and ideas. Don’t be afraid to experiment; the possibilities are endless when it comes to ribbon manipulation!
Customizing with Initials: Monograms Made Simple
Adding a personal monogram to your keychain can create a heartfelt connection to the piece. Customizing your keychain with initials can be achieved using various methods, such as embroidery, iron-on patches, or even small wooden letters. If you’re tech-savvy, consider using a cutting machine to create precise letter shapes from vinyl that can be adhered to the ribbons.
Monograms not only offer a personal touch but also make your keychain instantly recognizable. This is particularly helpful if you’re creating multiple keychains for gifts or parties. With your initials prominently displayed, your keychain becomes a unique representation of you or the recipient, making it a cherished accessory that stands out from the crowd.
Keychain Styles: From Classic to Quirky Designs
The world of DIY ribbon keychains is vast, allowing for an array of styles that cater to different tastes and preferences. Classic designs often employ traditional colors and straightforward knotting techniques, making them timeless and elegant. These keychains can blend seamlessly into professional or casual settings, making them versatile accessories for everyday use.
On the other hand, quirky designs allow for boundless creativity. You can mix and match vibrant colors, unconventional shapes, and playful charms to express your personality. Whether it’s a keychain resembling your favorite food or one adorned with fun characters, embracing a quirky style can make your keychain a delightful conversation piece. The beauty of DIY projects is that you can choose to mix styles or even create a signature style that’s distinctly yours!
Gift Ideas: DIY Keychains for Friends and Family
Creating DIY ribbon keychains as gifts can be a heartfelt way to show your appreciation for loved ones. Personalizing each keychain to reflect the recipient’s interests, favorite colors, or initials adds an extra layer of thoughtfulness. You could create matching sets for friends, allowing them to carry a piece of your bond wherever they go. Not only are these keychains practical, but they also serve as mementos that can remind them of cherished memories with you.
Another great approach is to craft themed keychains for special occasions. For example, you could create holiday-themed keychains for Christmas or summer-themed ones for birthdays. Incorporating seasonal colors and motifs can make your gifts even more meaningful. With DIY keychains, you’re not just giving a simple accessory; you’re offering a thoughtful creation that conveys your time and effort, making it a gift to be treasured.
Caring for Your Creations: Maintenance Tips to Follow
To ensure your DIY ribbon keychains maintain their beauty over time, some basic care practices are essential. Start by keeping them away from excessive moisture, as wet conditions can cause the ribbons to fray or lose their shape. A soft cloth can be used to clean your keychains gently, ensuring any dirt or dust is removed without causing damage.
It’s also advisable to periodically check the hardware, ensuring that the keyring remains securely attached and that there are no loose ends on the ribbons. If you notice any fraying, consider trimming or sealing the ends to prolong the life of your creation. By taking these simple maintenance steps, you can enjoy your beautiful ribbon keychains for years to come.
Showcasing Your Work: Displaying Your Keychain Collection
Once you’ve created a collection of stunning DIY ribbon keychains, you may want to showcase your handiwork! Consider using a decorative bowl or a stylish wall-mounted hook to display them when not in use. This not only keeps your keychains organized but also turns them into a charming decorative piece that adds flair to your home.
For those who want to take it a step further, creating a dedicated keychain display can be a fun project. Use a small corkboard, pegboard, or a frame with clips to arrange and display your keychains. This not only provides easy access but also allows you to swap keychains seasonally or based on your mood, showcasing your creativity in a dynamic way.
Inspiration Gallery: Unique Designs to Spark Your Creativity
Lastly, let your imagination run wild by exploring an inspiration gallery filled with unique ribbon keychain designs. Browse online platforms like Pinterest or Instagram to discover various styles, color combinations, and techniques that other crafters have utilized. You might find a design that resonates with you or sparks an entirely new idea!
Consider creating a mood board filled with images of designs that inspire you. This visual representation can serve as a reference point during your crafting sessions, helping you stay focused while encouraging creativity. Remember that inspiration can come from anywhere, so keep your eyes open for design ideas in nature, fashion, and even art. Your ribbon keychains can evolve into beautiful expressions of your creativity with just a little encouragement!
Crafting DIY ribbon keychains is an enjoyable and fulfilling experience that allows you to express your creativity while making practical accessories. From selecting the right materials to personalizing your creations, each step offers an opportunity to make something truly unique. Whether you choose to keep your keychains for yourself or gift them to loved ones, the care and thought you put into each design will undoubtedly resonate with others.
As you embark on your crafting journey, remember to embrace creativity and have fun. Each keychain you create is not just a functional item but a representation of your artistic expression. So gather your supplies, experiment with different techniques, and let the joy of crafting inspire you to create beautiful, personalized ribbon keychains that will make everyday life a little brighter!