Tying the perfect ribbon bow is more than just a decorative touch; it’s an expression of creativity and style that can elevate any gift or event. Whether you’re wrapping a present, adorning a floral arrangement, or adding a finishing touch to a craft project, mastering the art of bow-making can enhance your projects beautifully. In this guide, we will walk you through each step of the process, from selecting the right ribbon to showcasing your bow like a pro. Let’s dive into the delightful world of bows and unleash your inner artist!
1. Unraveling the Art of the Perfect Ribbon Bow
The art of tying the perfect ribbon bow is a skill that combines creativity and technique. It involves a little practice but the results can be stunning. A beautifully tied bow can transform an ordinary item into an extraordinary one. Think of it as the cherry on top of your gift-wrapping sundae; it adds that special touch that can delight the recipient. The beauty lies in the details—how you loop, knot, and fluff your bow can make all the difference.
In addition to the aesthetic appeal, a well-tied bow can also evoke emotions. It can signal celebration, love, or thoughtfulness. The ribbon you choose, the way you tie it, and how you present it contribute to the overall message you wish to convey. We live in a world where the little things matter, and mastering the bow is a simple yet impactful way to show your care and creativity.
As we embark on this journey, remember that practice makes perfect. Don’t be discouraged by initial attempts; every bow you create gets you one step closer to expertise. Let’s explore the essential tools that will set you up for success!
2. Essential Tools: Choose Your Ribbon with Care
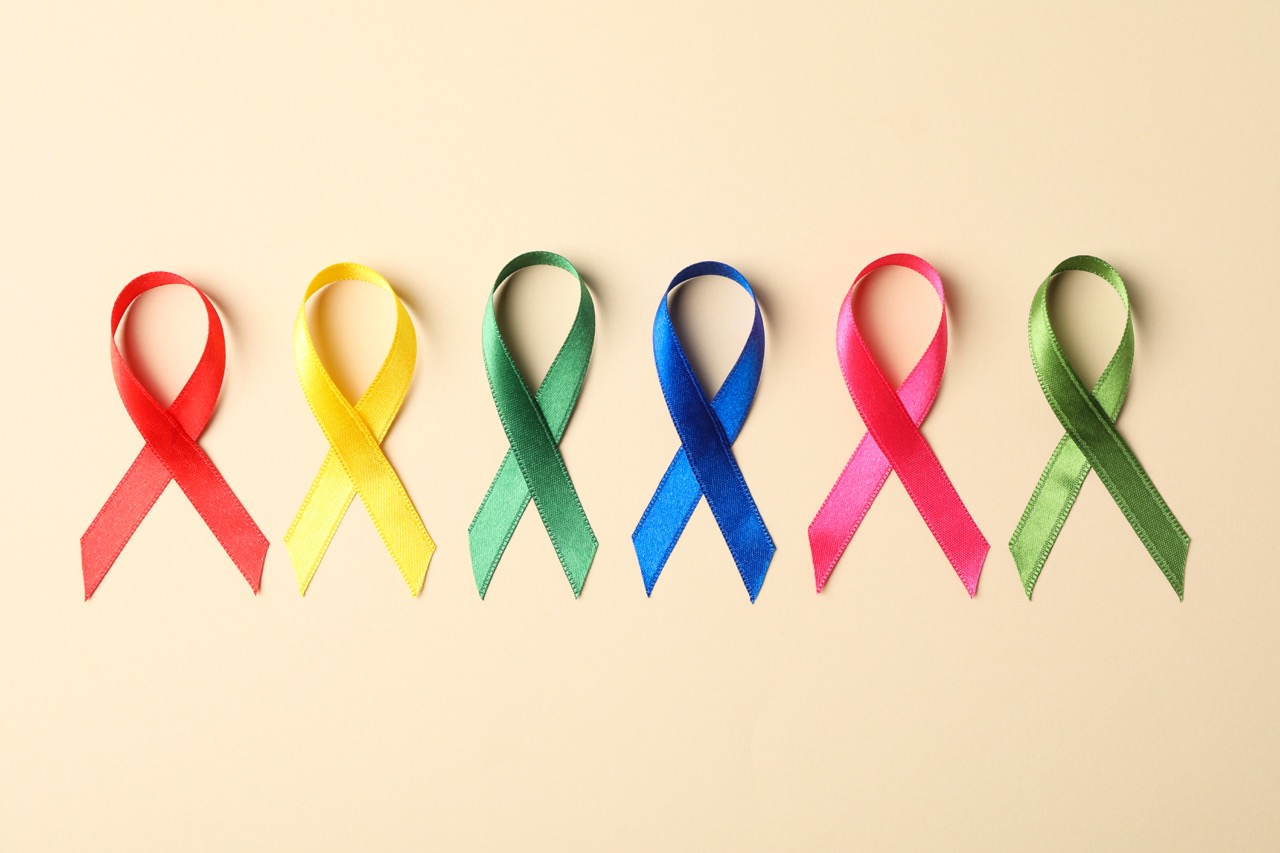
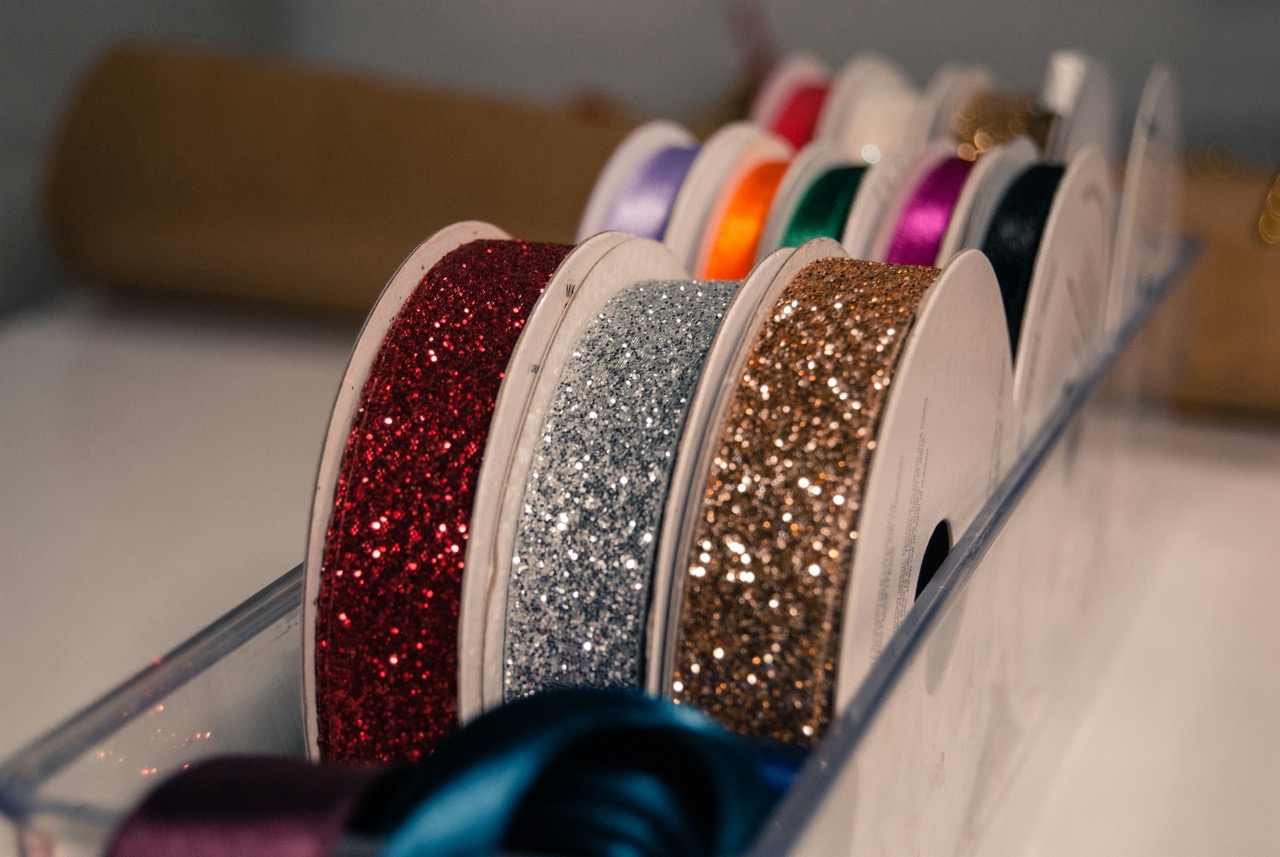
Before diving into the art of bow-making, it’s important to gather the right materials. Choosing the right ribbon is crucial; the ribbon should be of good quality, flexible, and easy to work with. There is a wide variety of ribbons available—satin, grosgrain, organza, and even burlap—each offering a unique texture and look. For beginners, satin or grosgrain ribbons are often the best choices due to their stiffness and ease of manipulation.
Consider the width of the ribbon as well. Wider ribbons create more voluminous bows, while narrower ribbons lend themselves to delicate, intricate designs. Additionally, think about the occasion and the desired aesthetic. A shimmery, metallic ribbon may be perfect for holiday gifts, while a soft, pastel ribbon could be suitable for a baby shower. Choosing the right ribbon is the first step towards achieving bow perfection.
Lastly, don’t forget your other essential tools: scissors and wire or twist ties for securing your bow if needed. A good pair of scissors will ensure clean cuts for a polished look. Having these tools at your fingertips will prepare you for the creation of a stunning bow that is not only beautiful but also durable.
3. Step-by-Step Guide: Mastering Bow Basics
Now that you have your materials ready, let’s dive into the basics of bow making. Start by cutting a length of ribbon—about 24 inches is a good starting point, but adjust according to your preferences. Hold the ribbon horizontally and create a loop, letting the remaining ribbon fall to the side. This initial loop is the foundation of your bow, so don’t be afraid to make it a bit larger if you want a fuller look.
Next, take the longer end of the ribbon and wrap it around the loop you just created. This is where the magic begins! Bring the end of the ribbon back to the front. To secure the ribbon in place, pinch the center between your fingers, creating a bow shape. This step may take some practice, so feel free to adjust until you have a shape that pleases you.
Now, secure your creation with either a twist tie, wire, or by tying a small knot with the remaining ribbon. Once secured, you can trim the ends of the ribbon to your desired length. Congratulations! You’ve just tied your first bow. As you practice, you’ll find your style and preference will develop, allowing for even more creativity in your bow-making journey.
4. The Perfect Loop: Pro Tips for Beginners
Creating the perfect loop is essential for achieving a balanced and beautiful bow. The loop is what gives your bow its volume and shape, so it’s important to pay attention to the size and symmetry. As a beginner, a helpful tip is to start with two loops—one on each side of your ribbon. Make sure both loops are equal in size to create a symmetrical look. If they’re not the same, your bow may appear lopsided, which can detract from its overall appeal.
Another pro tip is to use your fingers to pinch the center of the bow tightly. This will help maintain the shape and allow you to control the fullness of the loops. If your ribbon tends to slip, consider using a little dab of hot glue at the center before securing it with a tie or knot. This will give you added stability while you adjust your loops.
Lastly, don’t be afraid to experiment with different styles of loops! As you gain confidence, try creating more elaborate designs such as layered or cascading bows. The key is to keep practicing and refining your technique until you find the perfect loop style that resonates with you.
5. Finding the Right Length: Ribbon Measurements Matter
Understanding ribbon lengths is crucial for creating a bow that complements your project. The length of ribbon you choose will greatly affect the size and fullness of your bow. A good rule of thumb is to use about 1.5 to 2 feet of ribbon for a standard bow, but this can vary based on the size of the gift or item you’re adorning. For larger decorations, you may need to increase the length accordingly.
When measuring your ribbon, consider the type of bow you aim to create. For a simple single-loop bow, shorter lengths will suffice. However, for more intricate bows with multiple loops and tails, you’ll want to err on the side of longer ribbons. This ensures you have enough material to work with, allowing for easy manipulation and securing.
To avoid wasting ribbon, it’s wise to practice measuring with a piece of scrap ribbon first. Once you’ve developed a sense of how much you need for different styles, you can confidently gauge your ribbon lengths for future projects. Remember, the right length not only enhances the aesthetics but also contributes to the overall balance of your bow.
6. Double or Single? Choosing Your Bow Style Wisely
When it comes to tying a bow, the choice between a single and double bow can dramatically affect the look and style of your creation. A single bow is simpler and quicker to make, perfect for beginners or when you’re looking to create a more understated effect. A single loop can still be elegant and charming, especially when crafted with high-quality ribbon. Consider using this style for casual or everyday gifts.
On the other hand, a double bow packs more visual impact and adds an extra layer of dimension to your design. This style involves making two loops on each side, which can create a fuller, more sophisticated look. This is particularly effective for formal occasions such as weddings or anniversaries. The added complexity of a double bow can take a bit more practice but yields stunning results.
To determine which style to use, consider the occasion and the overall aesthetic you wish to achieve. Don’t hesitate to experiment with both single and double bows; after all, creating beautiful bows is all about expressing your creativity! As you explore different styles, you’ll discover what works best for your unique projects.
7. Secure Your Creation: Tying the Knot Like a Pro
Once you’ve crafted your beautiful bow, it’s time to secure it properly. This crucial step ensures that your bow holds its shape and stays intact. There are several methods to achieve a tight knot, but the most common technique involves tying a simple knot at the center of your bow. Make sure to pull the ends snugly but not too tight—this could distort your carefully crafted loops.
For added security, you can use floral wire or a twist tie to keep your bow in place. Simply wrap it around the center of the bow and twist it to secure. This method is especially helpful if you’re using a more delicate ribbon, as it provides extra support without compromising the aesthetic. If you’re working with thicker ribbons, a tight knot may suffice without the need for additional materials.
After securing your bow, give it a gentle tug to ensure everything is tight and in place. You want your bow to stay looking beautiful, whether it’s adorning a gift or a decorative piece. With practice, you’ll master the art of tying knots that will keep your creations looking flawless through any occasion.
8. Fluff It Up: Giving Your Bow That Perfect Shape
Once you’ve secured your bow, the fun really begins! Fluffing your bow is the process of adjusting the loops and tails to create a voluminous and visually appealing shape. Start by gently pulling each loop to separate them—this will give the bow a fuller look. Don’t be afraid to play around with the positioning of the loops until you achieve the perfect shape. The goal is to create an eye-catching display that draws attention.
Another tip for fluffing is to twist the loops slightly. This technique adds texture and dimension, making your bow appear more dynamic. Experiment with the placement of the tails too; letting them fall gracefully or curving them can enhance the overall presentation. Your bow should look balanced from all angles, so take a moment to rotate it and ensure it looks stunning from every perspective.
Lastly, if you find that your loops are not holding their shape, consider using a little spray starch. A light mist can help stiffen the ribbon and maintain its form. With just a few adjustments and a creative touch, your bow will be transformed into a beautiful centerpiece that radiates charm and elegance.
9. Adding Flair: Decorate Your Bow with Style
To truly make your bow stand out, consider adding some creative flair. There are countless ways to personalize and embellish your bow, turning it into a unique work of art. One popular option is to incorporate additional materials such as flowers, beads, or even small ornaments. A delicate flower tucked into the center of your bow can bring a touch of nature and elegance, while beads can add a hint of sparkle.
Another great idea is to layer different types of ribbons. Mixing textures and colors can create a visually stunning effect. For example, layering a sheer organza ribbon over a satin ribbon can produce a beautiful contrast that catches the eye. Don’t be afraid to experiment with various combinations until you find a look that resonates with your style.
Finally, consider the occasion when selecting embellishments. For holidays, you might use seasonal decorations like small ornaments or tinsel. For weddings, delicate lace or pearls can add a romantic touch. Adding flair to your bow not only enhances its beauty but also makes it a memorable part of your project, showcasing your creativity and thoughtfulness.
10. Problem Solving: Common Bow-Making Mistakes
As you begin your bow-making journey, it’s natural to encounter a few hiccups along the way. Don’t worry! Many common mistakes can be easily resolved with a little knowledge and practice. One of the most frequent issues is uneven loops. If your loops aren’t matching in size, simply untie your bow and start again, taking extra care to measure and adjust as you go. Remember, practice makes perfect!
Another common mistake is not securing the bow tightly enough. If your bow falls apart or loses its shape, make sure to apply enough tension when tying the knot or consider using wire for extra support. A well-secured bow will last longer and look more polished, making it a key element in your bow-making process.
Lastly, don’t be afraid to embrace imperfections. Sometimes, a bow that isn’t “perfect” can still be beautiful and charming in its own way. Learn to appreciate the unique touches that come with handmade creations. With each bow you tie, you’ll gain confidence and skill, and soon, mistakes will be a thing of the past. Keep practicing, and remember: creativity flourishes through experimentation!
11. Occasion Inspiration: When to Use Your Bow
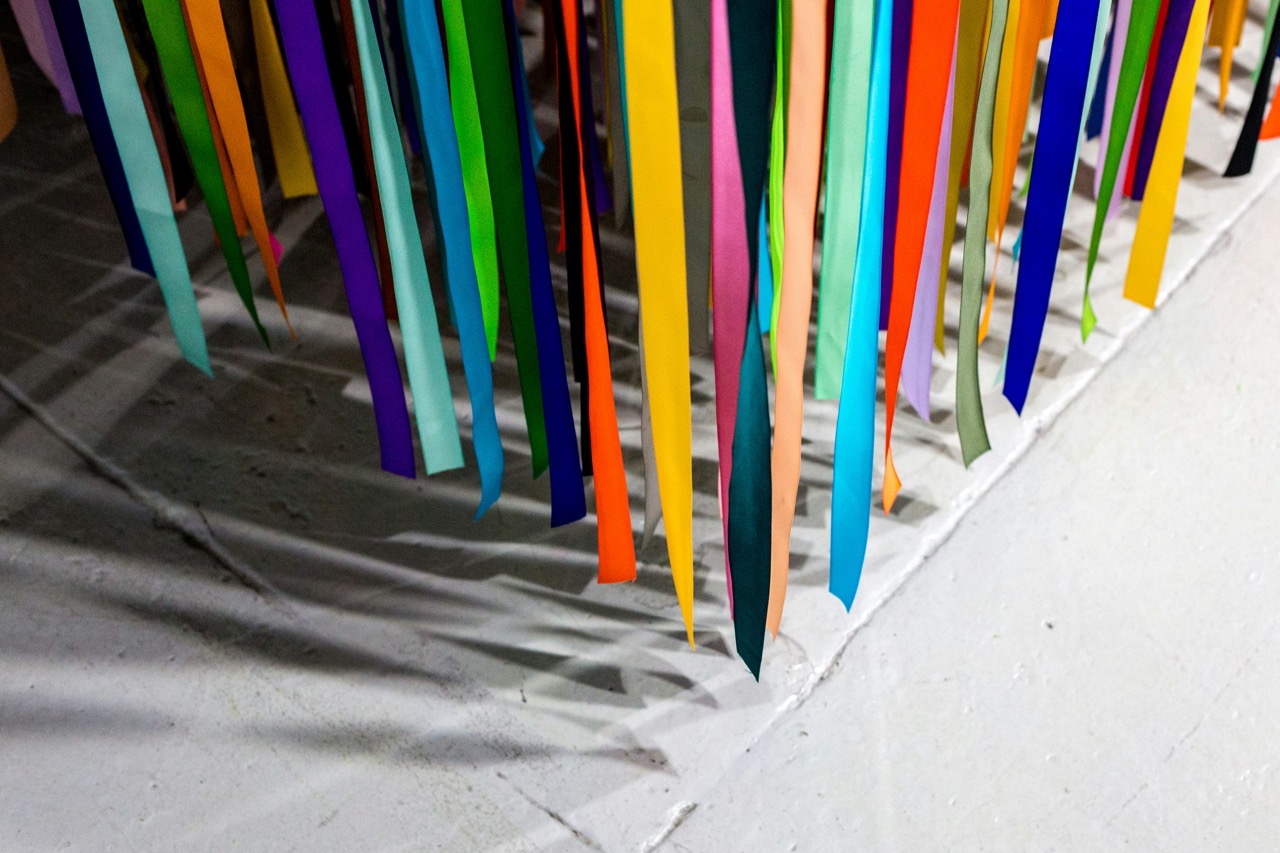
Bows are incredibly versatile and can be used for a myriad of occasions. From festive holidays to personal celebrations, a well-tied bow adds a touch of charm and elegance. For birthdays, consider using vibrant and colorful ribbons that reflect the recipient’s personality. A cheerful bow can transform a simple gift into a delightful surprise that radiates joy.
Wedding season offers another exciting opportunity for bows. Whether it’s for bouquets or table décor, elegant satin or lace ribbons can enhance the overall aesthetic. Consider matching the colors of the bows to the wedding theme for a cohesive look. A beautiful bow can elevate floral arrangements, add sophistication to chair backs, or serve as a charming accent on gift tables.
Don’t forget about everyday use! Adding a bow to a thoughtful gift, a handmade card, or even a decorative item in your home can brighten someone’s day. Think outside the box—bows can be used on jars, baskets, or even as hair accessories. The possibilities are endless, and your creativity can shine through in any situation.
12. Celebrate Your Success: Show Off Your Bow Creations!
After all the hard work and practice, it’s time to celebrate your bow-making success! Share your creations with friends and family, and don’t hesitate to showcase your bows on social media. Whether it’s a beautifully wrapped gift or a stunning décor piece, let your creativity shine and inspire others. Taking pride in your work not only boosts your confidence but also encourages others to explore their artistic sides.
Consider hosting a small gathering or workshop where you can share your skills with friends. Teaching others how to tie the perfect bow can be a rewarding experience that fosters creativity and connection. Plus, it’s a wonderful way to celebrate your newfound expertise and help others develop their skills as well.
Finally, keep challenging yourself! Explore new styles, techniques, and materials. Bow-making is an art form that evolves with each project you undertake. The more you create, the more confident you’ll become. So go ahead—show off your beautiful bows proudly, and let your creativity continue to flourish!
Tying the perfect ribbon bow is a delightful experience that combines skill, creativity, and a touch of magic. With the right tools, techniques, and a sprinkle of inspiration, you can create stunning bows for any occasion. Embrace the journey, learn from your experiences, and celebrate each masterpiece you create. Remember, the world of bow-making is vast and vibrant, and your unique flair can bring joy to every gift and decoration. Happy bow tying!