Layering ribbons is one of the most delightful and creative ways to enhance your crafting projects, adding depth and character to everything from gift-wrapping to home décor. The versatility of ribbons allows you to unleash your imagination, transforming simple materials into bold statements. Whether you’re a seasoned crafter or a curious beginner, mastering the art of ribbon layering can elevate your artistic endeavors and inspire you to experiment. In this guide, we will explore various aspects of ribbon layering, from choosing the right materials to showcasing your stunning creations.
Unleashing Creativity: The Art of Ribbon Layering
Ribbon layering is not just a technique; it’s an expression of creativity that invites you to play with color, texture, and shape. The beauty of layering ribbons lies in their ability to add dimension and interest to your projects, making them visually captivating. As you begin your journey into ribbon layering, challenge yourself to think outside the box and explore unconventional combinations. Let your imagination run wild as you create unique patterns and shapes that resonate with your personal style.
To get started, gather inspiration from nature, fashion, or even art. Consider how different colors and textures interact and envision how your ribbons can enhance your projects. Whether you opt for soft and delicate layers or bold and vibrant strokes, establishing a clear vision will guide your creativity and help you make confident choices. Remember, there are no strict rules—allow your instincts to lead the way!
Finally, don’t hesitate to experiment! The art of ribbon layering is about discovering what works for you. Try mixing different widths, lengths, and materials, and don’t be afraid to break the traditional norms. Embrace the process, and you’ll find that each layer tells a story, creating a rich tapestry of artistic expression.
Choosing Your Ribbons: Colors and Textures That Pop
When it comes to selecting ribbons for layering, color and texture are paramount. Start by choosing a color palette that aligns with your project’s theme or vibe. Utilizing the color wheel can help you identify complementary shades that work harmoniously together. For instance, pairing bold jewel tones with softer pastels can create a striking yet balanced contrast. Don’t shy away from experimenting with unexpected color combinations that ignite your creative spark.
Texture plays an equally important role in ribbon layering. Consider using a mix of satin, velvet, lace, and grosgrain ribbons to add depth and tactile interest to your creation. Each ribbon type brings its own character to the overall design, making it essential to think about how they will interact with one another. Layering a sheer ribbon over a solid one can create a stunning visual effect, allowing the unique qualities of each ribbon to shine through.
Additionally, pay attention to the width and weight of your ribbons. Wider ribbons can provide a bold backdrop for your design, while thinner ones can be used as delicate accents. By carefully selecting ribbons that pop and complement each other, you’ll be well on your way to crafting a layered masterpiece that commands attention.
Essential Tools: What You Need for Ribbon Mastery
To achieve ribbon layering mastery, having the right tools at your disposal is crucial. Start with high-quality scissors that provide a clean cut, ensuring your ribbons maintain their shape. A hot glue gun is an essential item for securing layers together, while fabric glue can offer a more flexible hold for delicate materials. For those who prefer a less permanent option, double-sided tape can work wonders in keeping your layers in place.
In addition to adhesives, consider having a selection of wire-edged ribbons. These ribbons allow you to shape and mold your layers into various forms, adding structure and dimension to your projects. A ribbon spool holder can also help keep your ribbons organized and tangle-free, making the crafting process smoother and more enjoyable.
Lastly, don’t forget about embellishments! Tools like needle and thread, decorative pins, and even a rotary cutter can elevate your ribbon layering game. With the right tools in hand, you’ll feel empowered to experiment and create without limitations.
The Power of Contrast: Mixing Patterns Like a Pro
One of the most effective ways to achieve a bold ribbon layering statement is through the art of contrast. Mixing patterns can elevate your design, adding richness and vibrancy that catches the eye. Start by selecting a dominant ribbon pattern, such as stripes or polka dots, and pair it with a complementary or contrasting pattern. For example, floral patterns can beautifully interact with geometric shapes, creating a delightful visual tension that is both exciting and cohesive.
When mixing patterns, consider the scale. Large prints should be balanced with smaller prints to avoid overwhelming the viewer. This creates a dynamic layering effect that is pleasing to the eye. Be mindful of color harmonies as well; make sure that while patterns may contrast, the colors remain complementary. This balance will prevent your design from feeling chaotic and instead, create a well-curated look.
As you gain confidence in mixing patterns, don’t hesitate to incorporate unexpected combinations. Pairing a bold plaid with a delicate lace can lead to surprising and stunning results. Remember, the key is to trust your instincts and embrace the beauty of contrast—it’s where the magic happens!
Layering Techniques: Building Dimension with Ribbons
Creating depth with ribbon layering involves applying various techniques that can turn a flat design into a multidimensional work of art. Start by experimenting with the placement of your ribbons. For instance, layering ribbons at different angles can create a dynamic and eye-catching effect. Consider creating a cascading look by layering longer ribbons on the bottom and shorter ones on top, allowing each layer to peek through.
Another technique to build dimension is to vary the height of your layers. Use foam pads or small blocks to elevate certain ribbons, creating a tiered effect. This method works particularly well for decorative wreaths, centerpieces, or gift packaging, where you want to draw the eye across multiple layers. By playing with height and placement, you can create a stunning visual narrative that invites viewers to explore every detail.
Don’t forget about the power of looping. Creating loops with your ribbons can add fullness and a playful element to your design. By pinching and twisting the ribbons into loops, you can create stunning flower-like shapes or whimsical bows. With these layering techniques at your disposal, you’ll be well on your way to crafting beautiful, dimensional ribbon creations that stand out.
Knot Tying 101: Secure Your Layers with Flair
Once you’ve layered your ribbons, securing them in place is crucial for maintaining the integrity of your design. Knot tying may seem simple, but with a few techniques in your toolkit, you can add flair and style to secure your layers. Start with a basic knot by tying your ribbons together, ensuring that they’re tight enough to hold without being too constricting.
For a more decorative approach, consider creating a bow instead of a simple knot. Bows not only secure your ribbons but also add an element of charm and sophistication to your design. You can experiment with different bow styles, from classic to whimsical, to find one that complements your overall theme. Additionally, using wired ribbon allows you to shape the bow and give it a fuller appearance, enhancing the visual interest of your layered ribbons.
Lastly, don’t overlook the beauty of embellishments to secure your layers. Decorative pins or clips can add a unique touch while keeping everything in place. As you master knot tying, remember that this is your opportunity to add character and style—so let your creativity shine!
Adding Embellishments: Elevate Your Ribbon Game
Embellishments are the jewels that make your ribbon creations truly shine. Adding decorative elements, such as beads, sequins, or charms, can bring an extra layer of elegance and flair to your layered ribbons. When selecting embellishments, consider the overall aesthetic of your project and choose items that complement your color palette and ribbon choice.
One popular way to incorporate embellishments is to attach them to the knots or bows you’ve created. A strategically placed charm or a cluster of beads can transform a simple bow into a stunning focal point. You can also experiment with layering additional materials, such as lace or fabric flowers, alongside your ribbons to create a rich, textured look.
Remember to keep balance in mind; less can often be more. Too many embellishments can overpower the beauty of your ribbons. Aim for a harmonious blend that enhances your design without stealing the spotlight. With the right embellishments, you can elevate your ribbon game and create a truly enchanting piece of art.
Styling Your Creation: Placement for Maximum Impact
Once you’ve crafted your layered ribbon masterpiece, the next step is to style it for maximum impact. Placement is crucial in ensuring your creation is showcased at its best. If you’re working on a gift, consider wrapping it around the package in a way that draws attention to the most beautiful layers. A well-placed bow or embellishment can create a focal point, making your gift unforgettable.
For home décor items, positioning is key. Hang a ribbon-wrapped wreath on your front door, or place a layered ribbon centerpiece on your dining table. Experiment with different angles and heights to find the most flattering view. Utilize stands or easels for displaying framed ribbon art, allowing the layers to catch the light and intrigue viewers from all sides.
As you style your creation, don’t shy away from considering the surrounding environment. Choose a backdrop that complements your colors and textures, allowing your ribbons to take center stage. By thoughtfully placing and styling your ribbons, you’ll ensure that your creation has the impact it deserves.
Seasonal Inspirations: Ribbons for Every Occasion
Ribbons can be a delightful way to celebrate various seasons and occasions throughout the year. Embrace the spirit of each season by selecting ribbons that reflect its unique colors and themes. For spring, think pastel colors and floral patterns, while autumn calls for rich hues and textures like burlap or twine. In winter, metallics and deep jewel tones can add a touch of elegance to your holiday decorations.
When crafting for specific occasions, consider using themed ribbons that capture the essence of the event. For birthdays, vibrant colors and fun prints can infuse joy into your gift wrapping or party décor. For weddings, delicate lace and satin ribbons can create a romantic atmosphere that complements the celebration beautifully. By tailoring your ribbon choices to the occasion, you’ll enhance the overall experience for both you and your recipients.
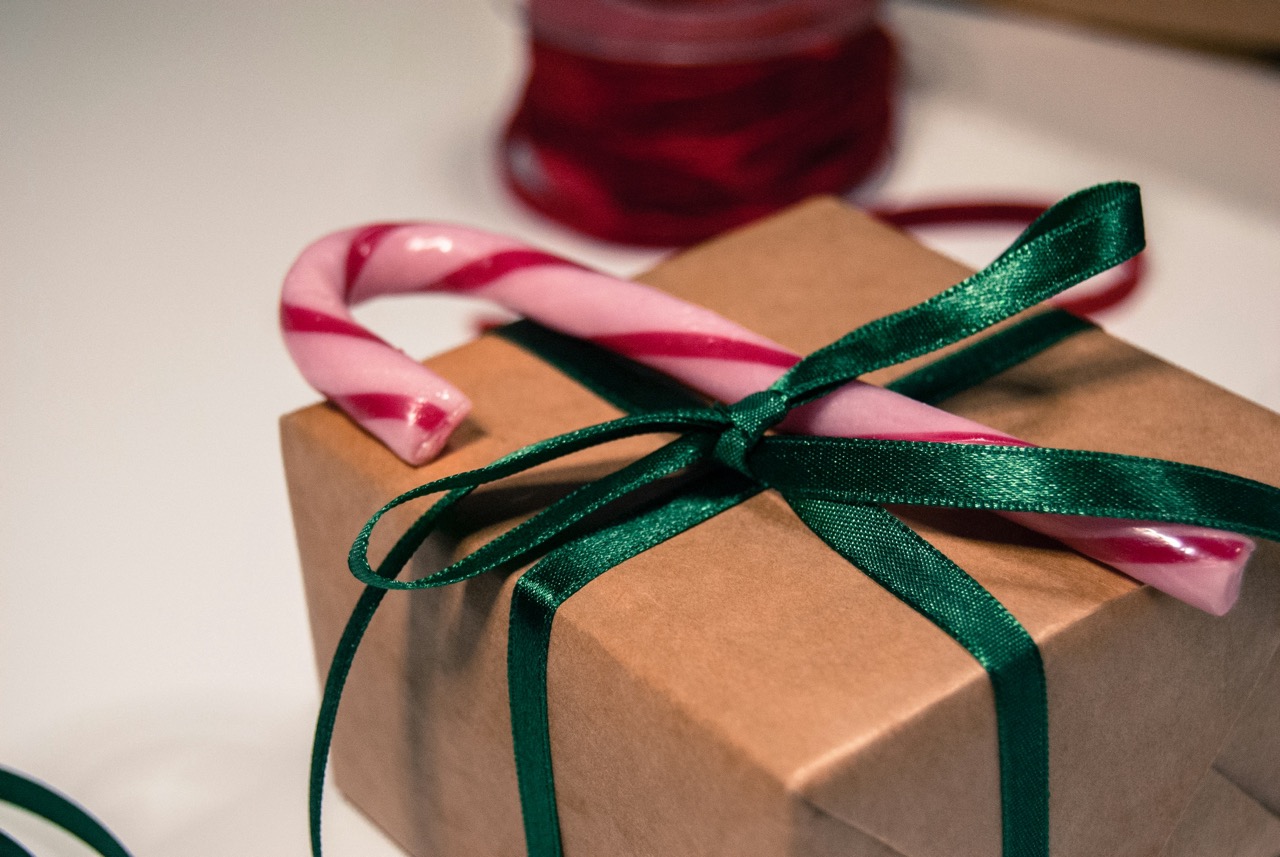
Don’t forget to take inspiration from holidays as well. Ribbons in traditional colors, such as red and green for Christmas or gold and silver for New Year’s, can instantly elevate your festive creations. By embracing seasonal inspirations, you can use ribbons as a dynamic tool to express joy and celebration throughout the year.
Troubleshooting Common Layering Mistakes
As with any creative endeavor, challenges may arise when layering ribbons. One common mistake is overcomplicating the design, resulting in a cluttered appearance. To avoid this, take a step back and simplify. Focus on a few key colors and textures, allowing each ribbon to shine without competing for attention. Remember that sometimes less is more, and a well-thought-out design can be more impactful than an overly complex one.
Another challenge can be achieving the desired stability in your layers. If your ribbons aren’t holding together as you’d like, consider revisiting your adhesive choices. Hot glue can offer a strong bond, but ensure you’re applying it in the right amounts. For lighter materials, fabric glue can provide a more flexible hold. If you find your layers slipping, adding small decorative pins can help secure them in place without detracting from the aesthetic.
Lastly, if you’re struggling with color choices, don’t hesitate to seek out inspiration from nature or existing designs. Create a mood board or gather images that resonate with you, and let them guide your color selection. Remember that every crafting journey comes with its challenges, and each mistake is an opportunity to learn and grow as a creator.
Showcasing Your Masterpiece: Displaying with Pride
After putting in the effort to create your ribbon masterpiece, showcasing it with pride is essential. The right display can enhance the beauty of your work and allow others to appreciate it fully. Consider the context in which you’re displaying your creation; for example, a vibrant ribbon wreath looks stunning on a contrasting door color or wall.
If you’re exhibiting your work in a more permanent space, such as your home or a craft fair, think about using stands or easels that highlight your piece. This approach not only adds to the visual appeal but also allows for better viewing angles. When displaying gifts, consider using decorative boxes or stands that complement your ribbon design, creating an enticing presentation.
Lastly, take the time to photograph your creations. Well-lit images can capture the intricate details of your ribbon layering, allowing you to share your work on social media or within crafting communities. Showcasing your masterpiece is not just about the final product; it’s an opportunity to celebrate your creativity and inspire others on their crafting journey.
Layering ribbons is a beautiful and fulfilling craft that invites creativity and self-expression. By mastering the art of ribbon layering, you’re not only enhancing your projects but also discovering new ways to convey your style and personality. Remember to embrace the process, experiment with colors and textures, and most importantly, enjoy every moment of your crafting journey. With practice, you’ll develop your unique flair for ribbon layering, transforming ordinary materials into extraordinary pieces that leave a lasting impression. Happy crafting!