Creating personalized storage solutions can be both a practical endeavor and a delightful craft project. Ribbon-covered storage boxes combine functionality with creativity, allowing you to express your unique style while keeping your space organized. Whether you’re looking to tidy up your home office, add flair to your craft room, or create beautiful gift boxes, these charming creations can serve multiple purposes. In this guide, we will explore how to make ribbon-covered storage boxes that are not only visually appealing but also functional.
As we delve into the process, you’ll discover how to select the right materials, choose the perfect box, and utilize beautiful ribbons that reflect your personality. You’ll also learn the techniques required to prepare, cover, and customize your boxes, making them not just organizers but also decorative pieces that elevate your space. Let’s embark on this creative journey together!
1. Discover the Joy of Personalized Ribbon-Covered Boxes
Personalized ribbon-covered boxes are a perfect blend of aesthetics and utility. They allow you to transform plain storage boxes into eye-catching decor that complements your interior design. The process of making these boxes offers a satisfying opportunity to personalize your storage solutions, allowing for endless creativity. Whether you handcraft gifts or seek stylish storage for your belongings, these boxes serve as a canvas for your imagination.
Moreover, crafting these boxes can be therapeutic, providing a gratifying experience as you see your ideas come to life. Each ribbon-covered box tells a story, reflecting your taste and personality. This project is not just about creating storage; it’s about crafting memories and experiences as you immerse yourself in the artistic process.
2. Gather Your Supplies: Essential Materials You’ll Need
Before diving into the crafting process, it’s crucial to gather all necessary supplies to ensure a smooth experience. Essential materials include storage boxes, adhesive, scissors, measuring tape, and of course, an assortment of beautiful ribbons. Choosing strong adhesive is key, as it will hold the ribbons securely in place, providing durability to your creations.
In addition to the basics, consider adding decorative elements such as embellishments, trims, or even labels. These can enhance the overall appearance of your box and add an extra layer of personalization. By having all your supplies ready, you can focus entirely on the creative aspect of your project without interruptions.
3. Choosing the Right Box: Sizes and Shapes Explored
The first step in crafting your ribbon-covered storage box is to choose the right box. Consider the size and shape that will best serve your needs. Square boxes are versatile and can fit neatly on shelves, while rectangular boxes are ideal for storing items like documents or craft supplies. You might also consider round boxes for a softer look or unique shapes that can become statement pieces in your decor.
Think about where you plan to place the box and how much space you have available. Selecting boxes with lids will help keep contents organized and dust-free, while open boxes can be used for quick access to frequently used items. Ultimately, the right box will enhance both functionality and aesthetics in your space.
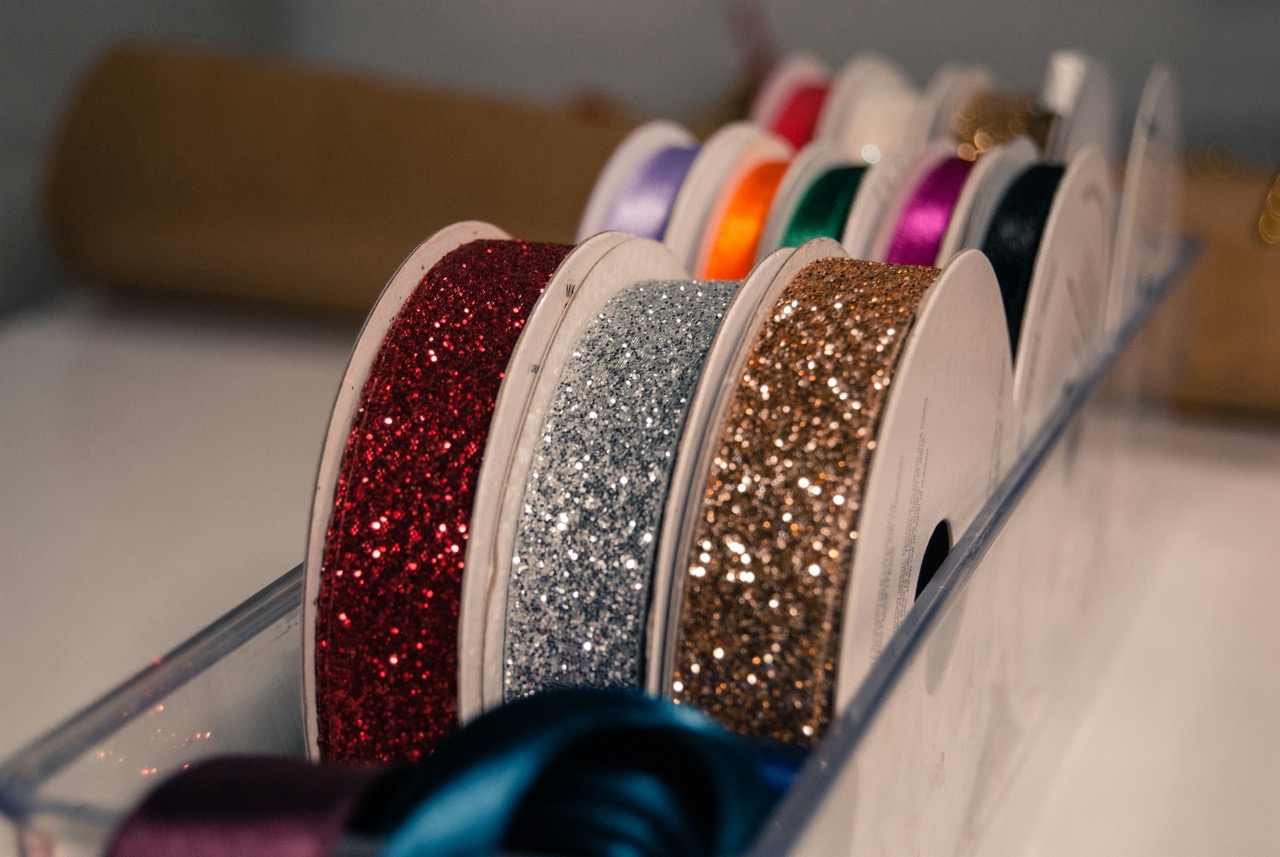
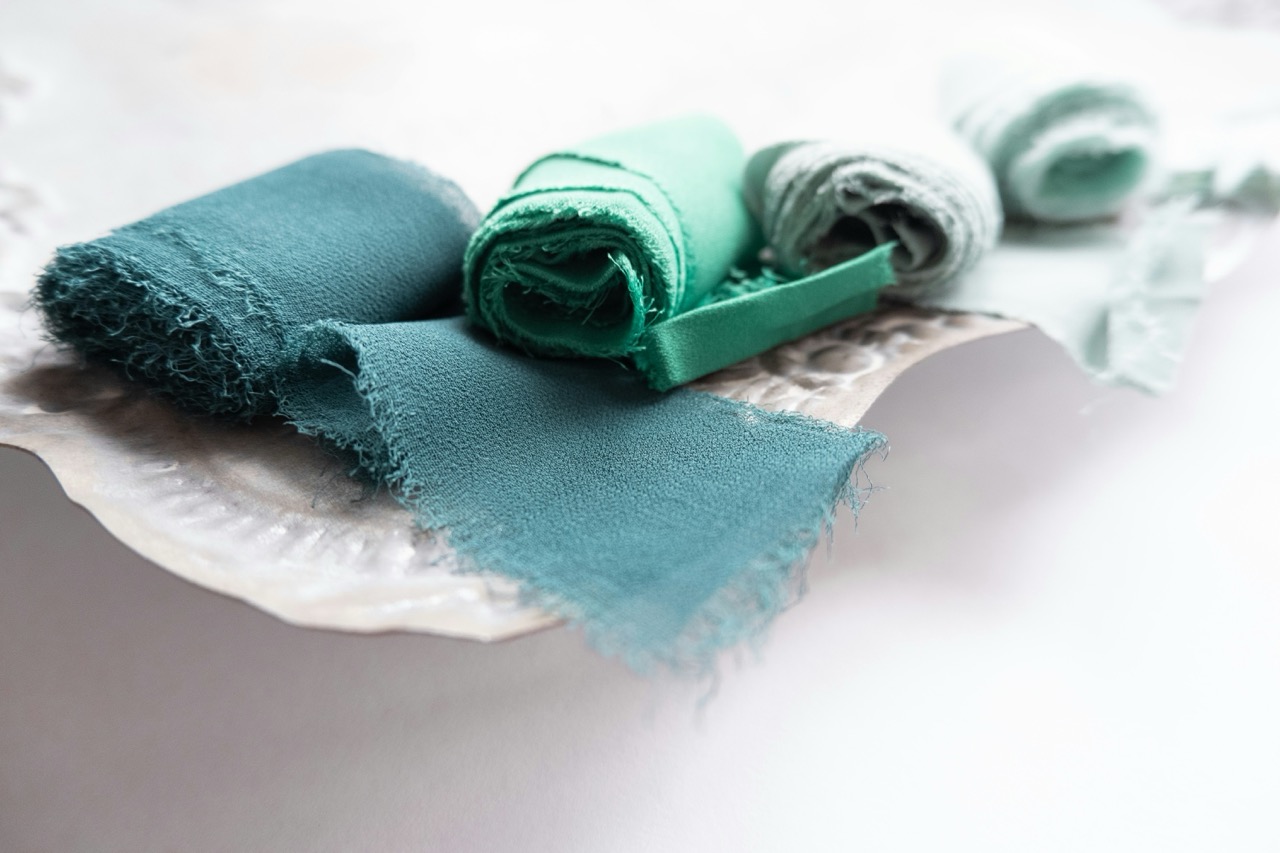
4. Selecting Beautiful Ribbons: Colors and Patterns Matter
The choice of ribbon is critical in determining the final look of your storage box. Ribbons come in a myriad of colors, textures, and patterns, allowing you to pick those that resonate with your style. Consider the color scheme of the room where the box will reside; selecting complementary colors can create a harmonious look, while contrasting colors can make your box a bold statement piece.
Patterns are equally important—floral, geometric, or even textured ribbons can add depth and character to your creation. Don’t hesitate to mix and match different ribbons for a more eclectic style. The right ribbon can elevate your box from a simple storage solution to a stunning decor item that showcases your personal taste.
5. Preparing the Box: Cleaning and Base Coating Tips
Once you’ve selected your box and ribbons, it’s time to prepare your box for covering. Start by cleaning the surface of the box to remove any dust or debris. This step is essential to ensure that the adhesive adheres properly, resulting in a smooth finish. If your box has any logos or markings you wish to cover, consider a base coat of paint that matches your ribbon or complements your decor.
Applying a base coat not only helps in achieving full coverage of any designs but also gives a uniform surface for the ribbons. Use non-toxic, fabric-friendly paint to avoid any unwanted chemical smells. Allow the box to dry completely before moving forward to the next step, as a well-prepared surface is crucial for achieving the best results.
6. Measuring Ribbon Length: Precision for Perfect Coverage
With your box prepped and ready, measuring the ribbon accurately is the next critical step. This ensures that each side of the box is covered evenly and seamlessly. Start by measuring the height and width of the box, then cut the ribbon to the appropriate lengths, accounting for overlaps where ribbons will meet.
Don’t forget to include extra ribbon for securing edges or making bows, if desired. Taking the time to measure carefully will save you from frustration later on, allowing for a polished and professional look. A well-measured ribbon can turn a simple box into a beautifully wrapped gift or a chic storage solution.
7. Applying Adhesive: Techniques for a Smooth Finish
When it comes to adhering the ribbons to your box, technique is key. Start by applying a thin, even layer of adhesive to the box’s surface where the ribbon will be placed. Avoid using too much adhesive, as it can seep through the ribbon and create a messy finish. Instead, focus on applying just enough to secure the ribbon effectively.
As you lay down the ribbons, press firmly but gently to ensure they adhere properly without shifting. If you are using a glue gun, work in small sections to prevent the adhesive from drying out before you can apply the ribbon. This method not only provides a neat finish but also allows you to adjust the ribbons easily, ensuring they are aligned correctly.
8. Wrapping the Box: Step-by-Step Guide to Flawless Results
Now that your adhesive is in place, it’s time to start wrapping the box with ribbon. Begin at one edge and carefully align the ribbon, wrapping it around the box while maintaining tension to ensure a snug fit. Work your way around the box, smoothing the ribbon as you go to prevent wrinkles or bubbles from forming.
When you reach the starting point, trim any excess ribbon, leaving enough length to secure it. Use your adhesive to affix the end of the ribbon neatly, and press down firmly. Repeat this process for each side of the box, taking care to keep the lines straight and the edges tidy for a professional appearance.
9. Finishing Touches: Adding Decorative Accents and Trims
Once your box is fully wrapped in ribbon, it’s time to add the finishing touches that will take your creation to the next level. Consider adding embellishments such as buttons, flowers, or decorative trims along the edges of the ribbon. These accents can provide an interesting visual contrast and elevate the overall design of your storage box.
You can also personalize your boxes further by attaching labels or tags. This not only enhances the aesthetic but also helps in identifying the contents of each box, making organization easier. Let your creativity shine as you add these final details, transforming your box into a unique piece of art.
10. Organizing Inside: Creative Ideas for Storage Solutions
Once your ribbon-covered boxes are complete, it’s time to think about what to put inside them. The beauty of these boxes lies not only in their exterior charm but also in their functionality. Consider using dividers or smaller containers within the boxes to create designated spaces for different items. This approach not only maximizes space but also keeps everything organized and easy to access.
You can store anything from crafting supplies, office essentials, or seasonal decorations to toys, keeping your environment tidy. Mixing sizes and styles of boxes can create an appealing storage display, further enhancing the visual interest in your space. The possibilities are endless when it comes to innovative storage solutions that cater to your lifestyle.
11. Customizing for Occasions: Seasonal and Thematic Designs
One of the most exciting aspects of creating ribbon-covered boxes is the ability to customize them for various occasions. For holidays, consider using seasonal colors and festive ribbons to create themed storage solutions. For instance, red and green ribbons for Christmas or pastels for Easter can add a touch of cheer to your decor.
You can also tailor the designs to fit specific events such as weddings, birthdays, or baby showers. Incorporating personalized touches, such as monograms or event themes, can make your boxes thoughtful and memorable gifts. Embracing seasonal or thematic designs adds a fun element to your crafting, ensuring your creations are always relevant and stylish.
12. Showcasing Your Creations: Displaying With Style
After investing time and creativity into your ribbon-covered storage boxes, you’ll want to showcase your creations proudly. Consider placing them on shelves, in cubbies, or on a decorative table. Mixing sizes and orientations can create an engaging visual display that draws the eye and adds character to your space.
You can also integrate your ribbon-covered boxes into your overall decor by coordinating them with other decorative elements, such as framed photos or plants. This not only elevates the aesthetic of your home but also highlights your crafting talents. Remember, these boxes aren’t just for storage; they are a true reflection of your style and creativity.
Crafting ribbon-covered storage boxes is not just a project; it is an enjoyable and fulfilling experience. From selecting materials to the final touches, each step allows for creativity and personalization. With your new knowledge, you can create beautiful, functional storage solutions that enhance the organization and aesthetic of your space. So gather your supplies, unleash your creativity, and enjoy the process of bringing your personalized ribbon-covered boxes to life!