When it comes to celebrating life’s special moments, nothing sets the mood quite like the enchanting glow of lanterns. DIY ribbon lanterns are an innovative and delightful way to illuminate your festive events, infusing them with a personal touch that store-bought decorations can’t replicate. Whether you’re hosting a birthday bash, wedding reception, or holiday gathering, these lanterns add a warm, whimsical atmosphere that will leave a lasting impression on your guests.
Crafting ribbon lanterns not only allows for creativity but also serves as a great bonding opportunity. The simple act of creating together fosters connection and sparks joy. In this article, we’ll guide you through the process of making ribbon lanterns that reflect your unique style and the spirit of the occasion. From gathering supplies to lighting them safely, we’ll cover everything you need to know to transform your celebrations into a magical experience.
1. Illuminate Your Celebrations with DIY Ribbon Lanterns
Nothing brings an intimate ambiance to your festive events like the glow of DIY ribbon lanterns. These charming decorations not only brighten up the space but also serve as stunning focal points, capturing the essence of the celebration. By using colorful ribbons, you can create lanterns that reflect your event’s theme, whether it’s a romantic wedding, a lively birthday party, or a cozy holiday gathering.
Moreover, the versatility of ribbon lanterns means they can be tailored to fit any style or aesthetic. From rustic charm to elegant sophistication, the possibilities are endless. As you gather your friends and family to craft these lanterns, you’ll find that the shared experience elevates the joy of any occasion, making these handmade creations even more special.
2. Gather Your Supplies: What You’ll Need for Lanterns
Before you embark on your lantern-making adventure, it’s essential to gather all the necessary supplies. For basic ribbon lanterns, you will need ribbons in various colors and patterns, a sturdy base (like glass jars or paper lantern frames), scissors, a hot glue gun, and LED tea lights for safe illumination. A good quality wire or string can also come in handy for hanging your lanterns.
Don’t forget about decorative elements! You might want to incorporate embellishments such as beads, sequins, or even natural elements like dried flowers and leaves. These additions can elevate your lanterns and make them truly unique. Organizing your workspace with all the materials at hand will streamline the crafting process, allowing you to dive right into creativity.
3. Step-by-Step Guide to Crafting Ribbon Lanterns
Creating your own ribbon lanterns is a straightforward yet rewarding process. Start by selecting a base for your lantern – this could be a glass jar, a metal frame, or a paper lantern. If you’re using glass jars, make sure they are clean and dry before decorating. Cut your ribbons into strips of desired lengths; typically, 12-18 inches works well for most projects.
Next, begin gluing the ribbons to your chosen base. Start at the top and work your way down, ensuring the ribbons are evenly spaced. You can mix and match colors and patterns for an eye-catching design. Once you’ve covered the entire base with ribbons, allow the glue to dry completely before inserting your LED tea light. This simple process results in beautiful lanterns that will light up your celebrations.
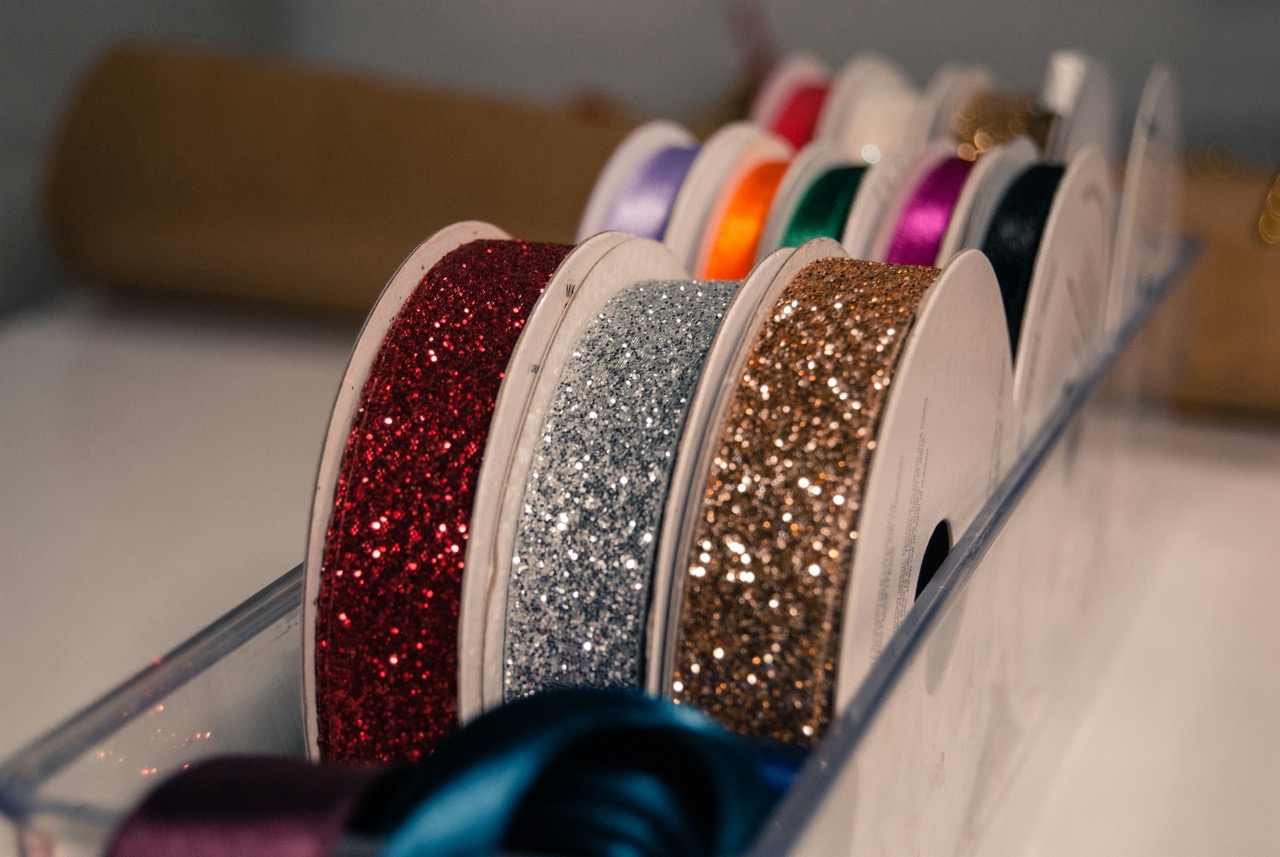
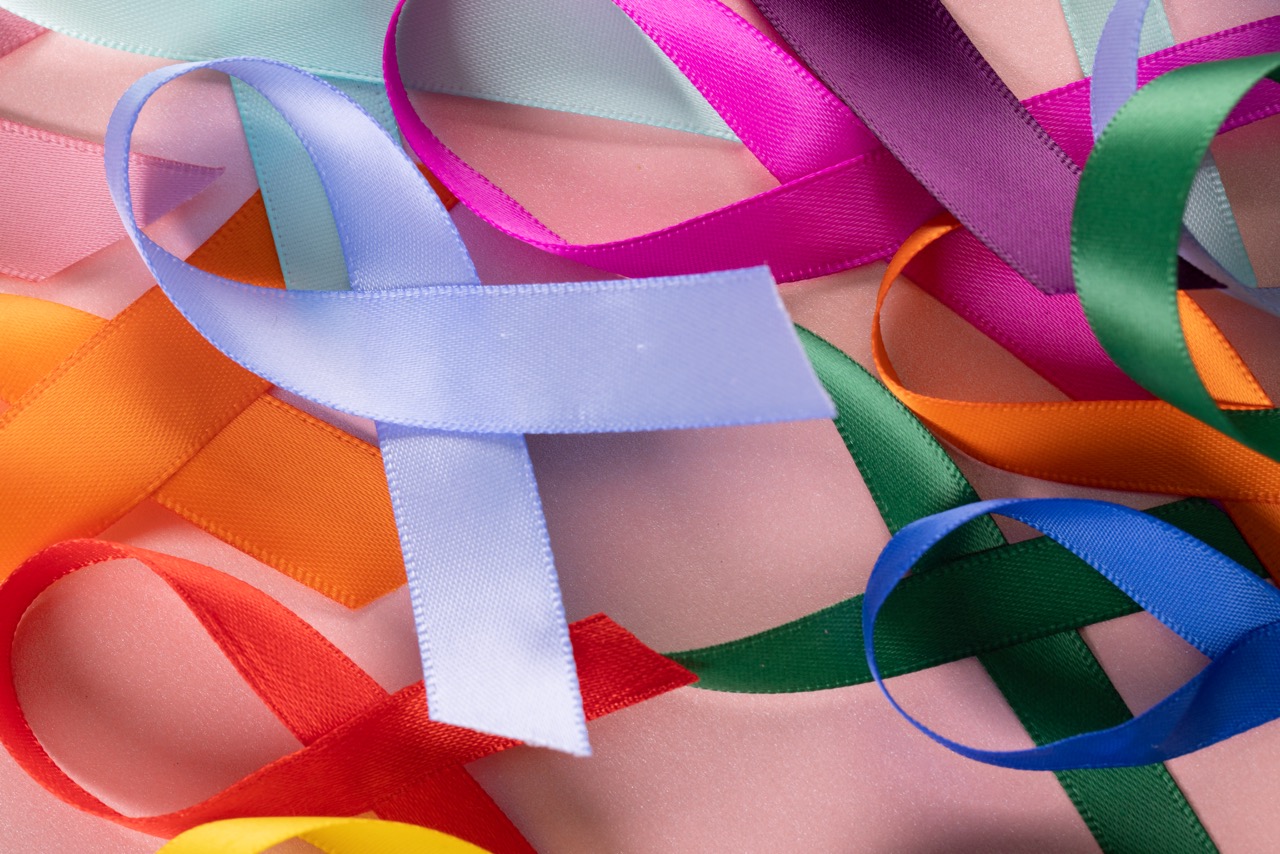
4. Choosing the Perfect Ribbons for Your Lantern Design
The choice of ribbons plays a crucial role in the overall aesthetic of your lanterns. Consider the theme of your event when selecting colors and patterns. For a summer garden party, vibrant floral prints may be ideal, while elegant satin ribbons can elevate a formal gathering. Experiment with textures, such as blending sheer ribbons with thicker, woven ones to add depth and dimension.
Furthermore, you can also mix different widths of ribbons for an eclectic look. Don’t be afraid to venture beyond traditional colors; metallic and glitter ribbons can add a fabulous shine that catches the light beautifully. The key to a striking ribbon lantern design is to choose ribbons that resonate with you and your celebration, creating a charming visual harmony.
5. Creative Techniques for Unique Lantern Patterns
Now that you’ve selected your ribbons, consider employing some creative techniques to make your lanterns stand out. One simple method is to create a pattern by alternating colors or using complementary hues. You might also consider braiding or twisting ribbons together before attaching them to your lantern base, adding a dynamic visual element.
Another exciting technique is to layer ribbons by tying knots or bows at intervals. This approach adds texture and interest, transforming your lanterns into true works of art. For those feeling adventurous, try incorporating stencils or fabric paint to create personalized designs on your lanterns. The result will be one-of-a-kind lanterns that are sure to spark conversation at your event.
6. Adding Personal Touches: Customizing Your Lanterns
Customization is what sets DIY projects apart from commercial options, and ribbon lanterns are no exception. Consider adding personal touches that reflect your style or event theme. For instance, you could attach small tags with quotes, names, or dates significant to the occasion. This not only provides a personal connection but can also serve as a memorable keepsake for guests.
Additionally, consider incorporating mementos such as photos or pressed flowers into the design. You can glue these items onto the base before covering them with ribbons for an added layer of charm. These small details will make your lanterns feel even more special, turning an ordinary decoration into a treasured piece of your celebration.
7. How to Light Up Your Lanterns Safely and Effectively
When it comes to lighting your ribbon lanterns, safety should be your top priority. Traditional candles are a beautiful option but can pose a fire hazard, especially with flammable materials like ribbons. Instead, opt for LED tea lights or fairy lights that provide a warm glow without the risk of flames. These options are not only safer but also allow you to keep your lanterns illuminated throughout the night without worry.
If you’re using LED lights, ensure they are battery-operated and designed for decorative use. Position them strategically inside your lanterns to create an enchanting ambiance. For outdoor events, consider using solar-powered lights as an eco-friendly option. They will charge during the day and emit a soft glow at night, enhancing the magical atmosphere of your celebrations.
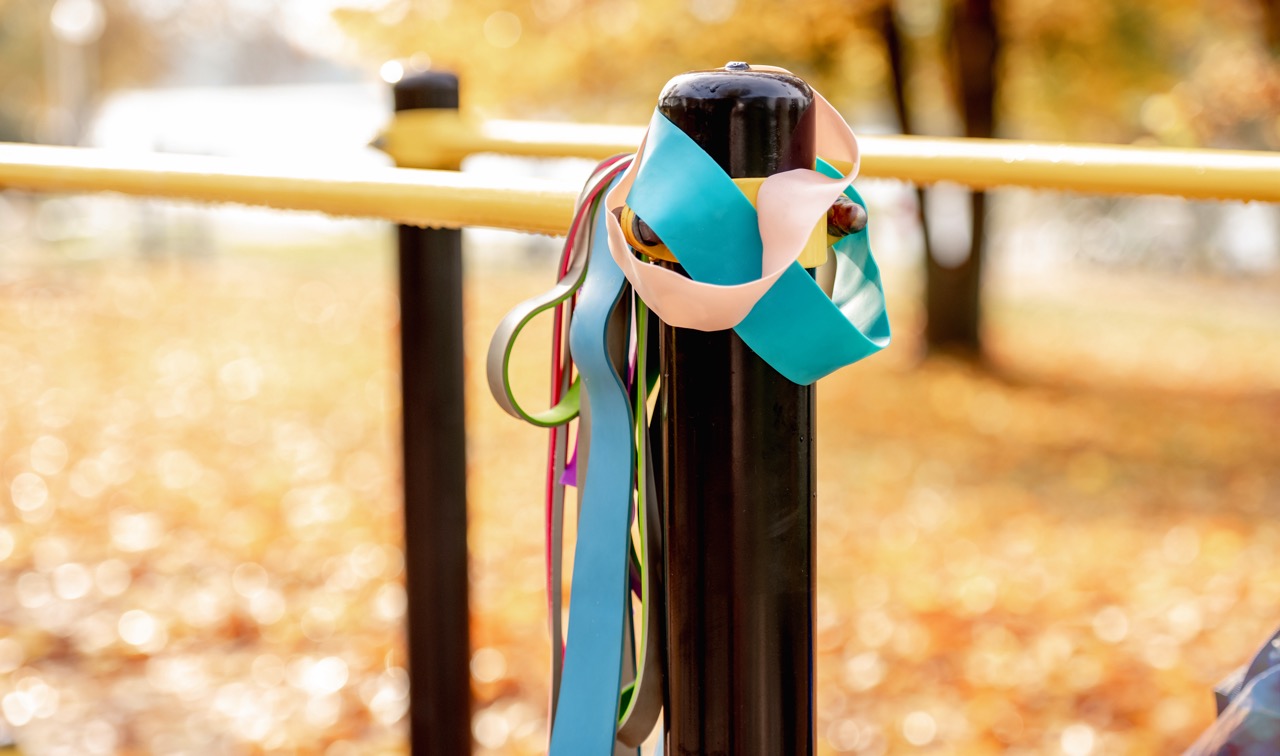
8. Display Ideas: Showcasing Your Beautiful Lanterns
Once your ribbon lanterns are complete and lit, it’s time to think about how to showcase them. A striking display can enhance the overall aesthetic of your event. Consider hanging lanterns from trees or hooks to create a whimsical overhead display. This not only saves table space but also creates an enchanting atmosphere as the lanterns sway gently in the breeze.
Alternatively, you might use lanterns as centerpieces on dining tables. Group them in clusters of varying heights for visual interest, or line them along a pathway to guide guests through your space. For a cozy indoor vibe, place them on windowsills or mantels, allowing their light to shine through and create a warm, inviting glow. The placement of your lanterns can transform your event space into a captivating wonderland.
9. Lantern Variations: Styles for Every Festive Occasion
The beauty of DIY ribbon lanterns lies in their versatility; they can be adapted for any festive occasion. For a romantic wedding, consider using delicate lace ribbons and soft pastel colors to create an elegant feel. For a child’s birthday party, playful patterns and bright colors can evoke a sense of joy and fun.
Seasonal variations are also a wonderful way to keep your lanterns fresh. For autumn, you might use rich jewel tones and incorporate leaves or acorns into your design. In winter, think about using white and silver ribbons to create a frosty effect. No matter the occasion, there’s a ribbon lantern style that will perfectly complement your celebration.
10. Involving Kids: Fun Family Projects with Lanterns
Creating ribbon lanterns is an excellent family project that encourages creativity and teamwork. Children can help choose the ribbons, cut them to size, and even assist in gluing them onto the lantern base. This hands-on activity not only fosters their artistic skills but also creates a sense of accomplishment as they contribute to the decorations for a special event.
To make it even more engaging, consider hosting a lantern-making party. Invite friends and their children to join in on the fun. Set up different crafting stations with supplies, and let everyone get creative. The experience will not only result in beautiful lanterns but also precious memories that your family will cherish for years to come.
11. Eco-Friendly Options: Sustainable Materials for Lanterns
In today’s environmentally-conscious world, opting for sustainable materials is more important than ever. When creating your ribbon lanterns, consider using natural fibers such as cotton or jute ribbons instead of synthetic alternatives. These materials are biodegradable and often more durable, providing a sustainable option for your crafting needs.
Additionally, repurpose materials you already have at home. Old jars, fabric scraps, and even leftover holiday decorations can be transformed into unique lanterns. This not only reduces waste but also gives your decorations a personalized and distinctive flair. By incorporating eco-friendly practices into your DIY projects, you can enjoy your celebrations while showing respect for the planet.
12. Capturing the Magic: Photography Tips for Your Lanterns
Once your beautiful ribbon lanterns are lit and displayed, don’t forget to capture their magic through photography. To get the best shots, consider the time of day and lighting conditions. Twilight or evening settings create a stunning backdrop for your lanterns, allowing their glow to shine through. Avoid harsh overhead lighting that might wash out the soft glow.
Experiment with angles and perspectives to find the most captivating compositions. Get close-ups of the details, such as the textures of the ribbons or the flickering light inside. Backlit photographs, where the lanterns are illuminated against a darker background, can create a truly enchanting effect. With some careful framing and creativity, you can immortalize the enchanting ambiance of your ribbon lanterns for years to come.
DIY ribbon lanterns are more than just decorations; they are a celebration of creativity, connection, and personal expression. By crafting these beautiful pieces, you transform your events into enchanting experiences that resonate with warmth and joy. Whether you opt for simple designs or intricate creations, the process of making and displaying your lanterns will surely light up your celebrations, creating lasting memories for you and your loved ones. So gather your supplies, unleash your imagination, and let the glow of your DIY ribbon lanterns illuminate your festive moments.