Creating a stunning photo backdrop can transform an ordinary photo into a work of art. Ribbon-themed backdrops are particularly enchanting, offering a rich array of colors, textures, and patterns to enhance any occasion. Whether for a wedding, birthday party, or a seasonal celebration, a ribbon backdrop provides a visually captivating setting. This guide will walk you through the steps of designing your own ribbon-themed photo backdrop, ensuring it stands out and reflects your unique style.
From selecting the right materials to incorporating lighting and personal touches, crafting a ribbon backdrop can be a fun and rewarding project. Let’s dive into the art of ribbon-themed backdrops and explore how you can design one that will be the highlight of your event.
1. Unveiling the Art of Ribbon-Themed Backdrops
Ribbon-themed photo backdrops are an innovative way to bring color and texture into your photography setup. The versatility of ribbons allows you to craft a unique visual experience that can easily adapt to various themes and styles. Whether you prefer a chic, minimalist look or a vibrant explosion of colors, ribbons can help you achieve your desired aesthetic.
Moreover, these backdrops are not only beautiful but also relatively easy to create. By combining different types, lengths, and colors of ribbons, you can create a dynamic backdrop that adds depth and dimension to your photographs. The art of designing a ribbon-themed backdrop opens up a world of creativity, making it a fulfilling DIY project.
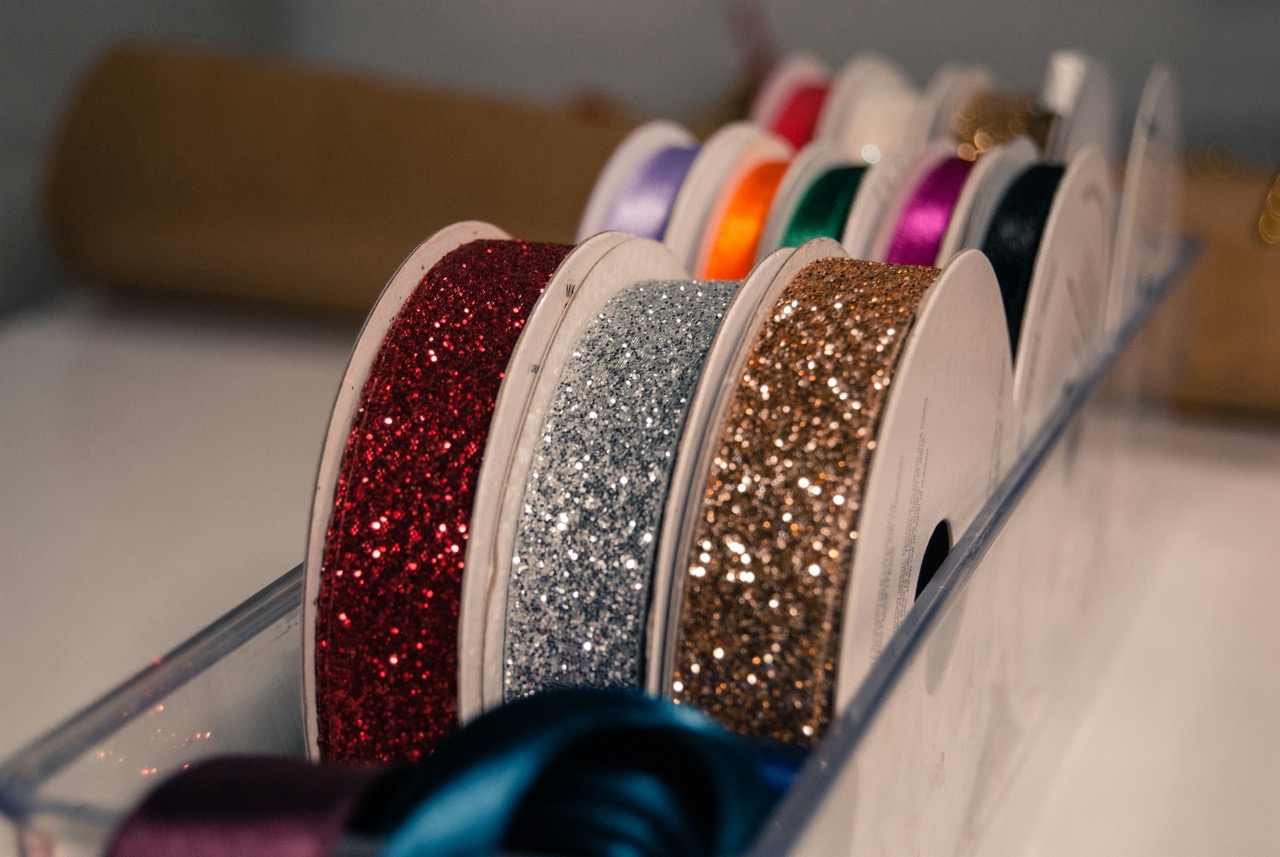
2. Choosing the Right Ribbons: A Colorful Palette
The first step in crafting your ribbon backdrop is to select the right ribbons. Consider the colors that will best suit your theme and the mood you want to convey. For instance, soft pastels may be ideal for a romantic wedding setting, while bold, bright colors can create a festive atmosphere for a birthday party.
Additionally, explore different materials and finishes of ribbons. Satin ribbons offer a smooth, elegant look, while burlap can provide rustic charm. Mixing and matching various types of ribbons will not only enhance your backdrop visually but also introduce interesting textures that catch the eye.
3. Essential Tools for Crafting Your Photo Backdrop
To embark on your ribbon backdrop project, gather your essential tools. You will need a sturdy base, which could be a wall, a wooden frame, or even a tension rod. This structure will support your ribbons and ensure stability. Having a pair of scissors, a hot glue gun, and adhesive tape on hand will facilitate the cutting and securing of ribbons efficiently.
Measuring tools such as a tape measure or ruler are also crucial for achieving precise lengths. Depending on your design, you may need additional materials, like hooks or clamps, to help fasten your backdrop securely. With the right tools, you can streamline the crafting process and focus on bringing your creative vision to life.
4. Planning Your Design: Layout and Composition Tips
Before diving into the crafting phase, it’s essential to plan your design carefully. Sketch out a layout that reflects your desired aesthetic while considering the dimensions of your backdrop space. Think about the arrangement of colors and patterns, ensuring a balanced composition that draws the viewer’s attention.
Incorporate varying lengths of ribbons to create visual interest and movement. A staggered approach, with shorter ribbons alternating with longer ones, can establish a rhythm that enhances the overall look. By meticulously planning your design, you’ll set the stage for a beautiful and harmonious backdrop that complements your photography.
5. Measuring Space: Ensuring a Perfect Fit for Your Backdrop
An often-overlooked aspect of backdrop creation is measuring your space accurately. Before you begin, take the time to measure the area where your backdrop will be displayed. This will help you determine the size and length of ribbons needed, ensuring a perfect fit.
Consider not only the width and height of your backdrop but also its depth, especially if you are layering ribbons or adding accents. Having a clear understanding of your available space will guide your design choices and help you avoid unnecessary adjustments later on.
6. Techniques for Attaching Ribbons Securely and Neatly
Once you have your ribbons cut to the desired lengths, it’s time to attach them to your backdrop structure. A hot glue gun is an effective tool for securing ribbons firmly, providing a clean and finished look. Apply a small amount of glue to the top edge of each ribbon and press it against your backdrop base, ensuring it holds well as it dries.
For added stability, consider using adhesive tape or staples in conjunction with glue. This multi-faceted approach can prevent ribbons from slipping or falling, especially if they are heavy or placed in high-traffic areas. Taking the time to attach ribbons securely will ensure your backdrop remains intact throughout your event.
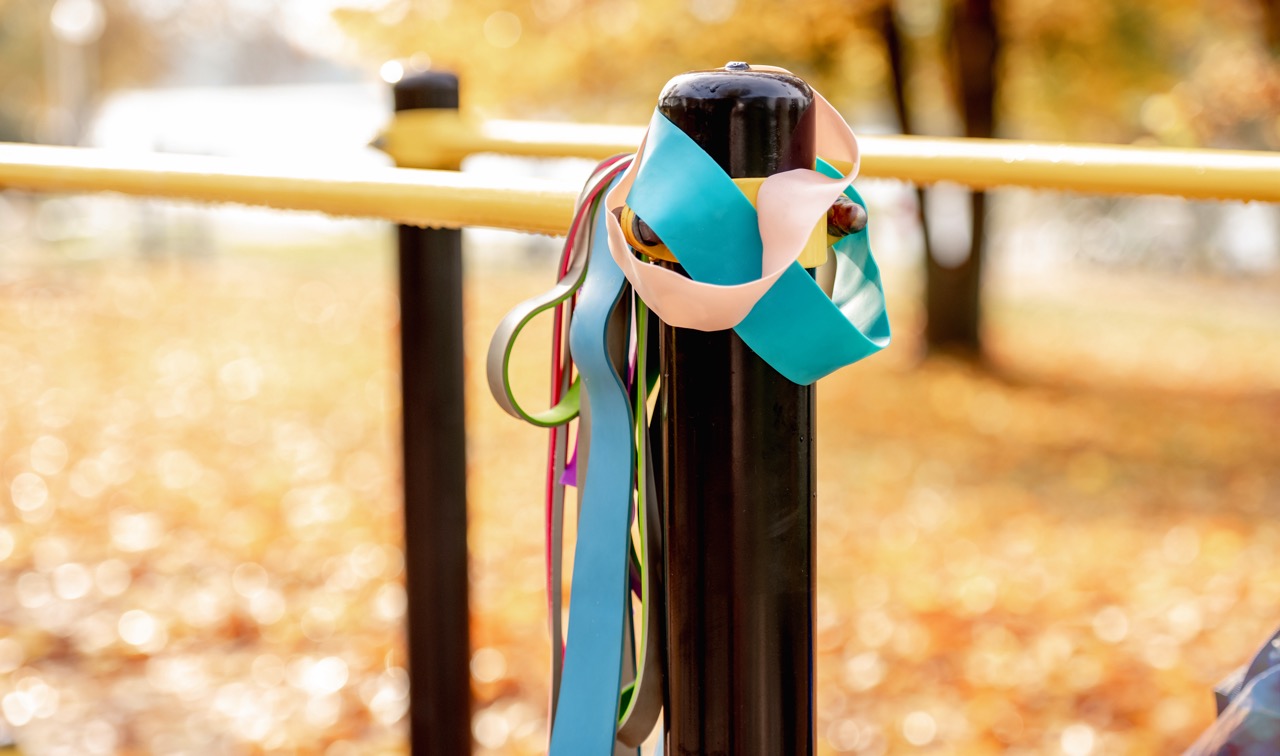
7. Creative Ways to Incorporate Different Ribbon Textures
To elevate the visual appeal of your ribbon backdrop, consider incorporating various textures. This can be achieved by mixing satin, grosgrain, lace, and burlap ribbons, each offering a distinct feel. Different textures not only create a richer visual experience but also enhance the tactile quality of your backdrop, encouraging interaction from guests.
Experimenting with thickness and width is another way to add dynamic layers. Using wider ribbons at focal points enhances visual weight, while thinner ribbons can fill gaps and add softness. By thoughtfully incorporating diverse ribbon textures, your backdrop will become a vibrant tapestry that captivates and engages.
8. Adding Depth: Layering Ribbons for Visual Interest
Layering ribbons is a fantastic technique to bring depth and dimension to your photo backdrop. By overlapping ribbons of varying lengths and colors, you can create a three-dimensional effect that draws the eye. Consider starting with a base layer of wider, bolder ribbons and gradually adding in lighter, thinner ribbons on top.
Try varying the spacing between layers to create movement and rhythm within your design. This method not only enhances the backdrop’s complexity but also allows for a more engaging photographic experience as it captures light and shadows in exciting ways.
9. Incorporating Lighting to Enhance Your Backdrop
Lighting plays a pivotal role in showcasing your ribbon backdrop. Utilize soft, diffused lighting to emphasize the textures and colors of the ribbons without causing harsh shadows. Fairy lights, spotlights, or even natural light can create a beautiful ambiance that enhances the overall aesthetic of your backdrop.
Position your lights strategically to illuminate the ribbon textures while ensuring they don’t overshadow the colors. Experiment with different angles and intensities of light to discover the effect that best complements your design. The right lighting can elevate your backdrop from beautiful to breathtaking, creating a stunning visual for your photos.
10. Personalizing Your Backdrop with Unique Accents
To make your ribbon backdrop truly your own, consider adding personal touches and unique accents. Decorative elements such as flowers, photographs, or themed props can enhance your design and tell a story. Think about integrating these accents in a way that complements your ribbons without overwhelming them.
You could attach small ornaments or seasonal decorations that resonate with the theme of your event, providing guests with a captivating visual narrative. Personalizing your backdrop not only adds character but also makes it a memorable focal point for your photography.
11. Maintaining Your Backdrop: Tips for Longevity
To ensure your ribbon backdrop maintains its beauty for future events, proper maintenance is key. Keep it clean by dusting off any dirt or debris that may accumulate, especially around areas where ribbons overlap. If your ribbons are washable, consider hand washing them gently and allowing them to air dry before reusing.
Store your ribbons properly after each use to avoid tangling or damage. Organize them in a way that preserves their shape and vibrancy, such as hanging them on a rod or rolling them up carefully. With a little care, your ribbon backdrop can become a timeless piece you can enjoy for years to come.
12. Showcasing Your Ribbon Masterpiece: Photography Tips
Once your ribbon backdrop is complete, it’s time to showcase it through photography. Position your camera to capture the backdrop from various angles, considering the distance and perspective that best highlight its features. Utilize a tripod for stability, allowing for steady shots even in low light conditions.
Experiment with different camera settings, such as depth of field, to create a beautiful bokeh effect that softly blurs the background while emphasizing your subject. Encourage guests to pose in front of the backdrop to capture the joy of the moment, ensuring that your ribbon creation shines in every photograph.
Creating a ribbon-themed photo backdrop is a delightful journey that marries creativity with craftsmanship. From selecting the perfect ribbons to incorporating lighting and personal touches, each step enhances the overall experience. With a little planning and effort, your backdrop can become a stunning focal point for any event, inviting everyone to capture precious memories in front of a colorful tapestry of ribbons. Whether you’re an experienced crafter or trying your hand at DIY for the first time, the joy of creating and showcasing your ribbon backdrop is sure to leave a lasting impression.